
Upload the portrait photo
Add a clear portrait photo where the face area is visible, then include a prompt that names the shine areas you want reduced.
Create with Face Shine Remover using a portrait photo and a clear edit prompt. Guide the visual direction, subject, setting, and destination format to produce a natural-looking portrait edit for your project.
Face Shine Remover helps you turn a portrait photo and edit prompt into a natural-looking portrait edit. It is designed for focused shine reduction when you need a cleaner face area without rewriting the whole image.
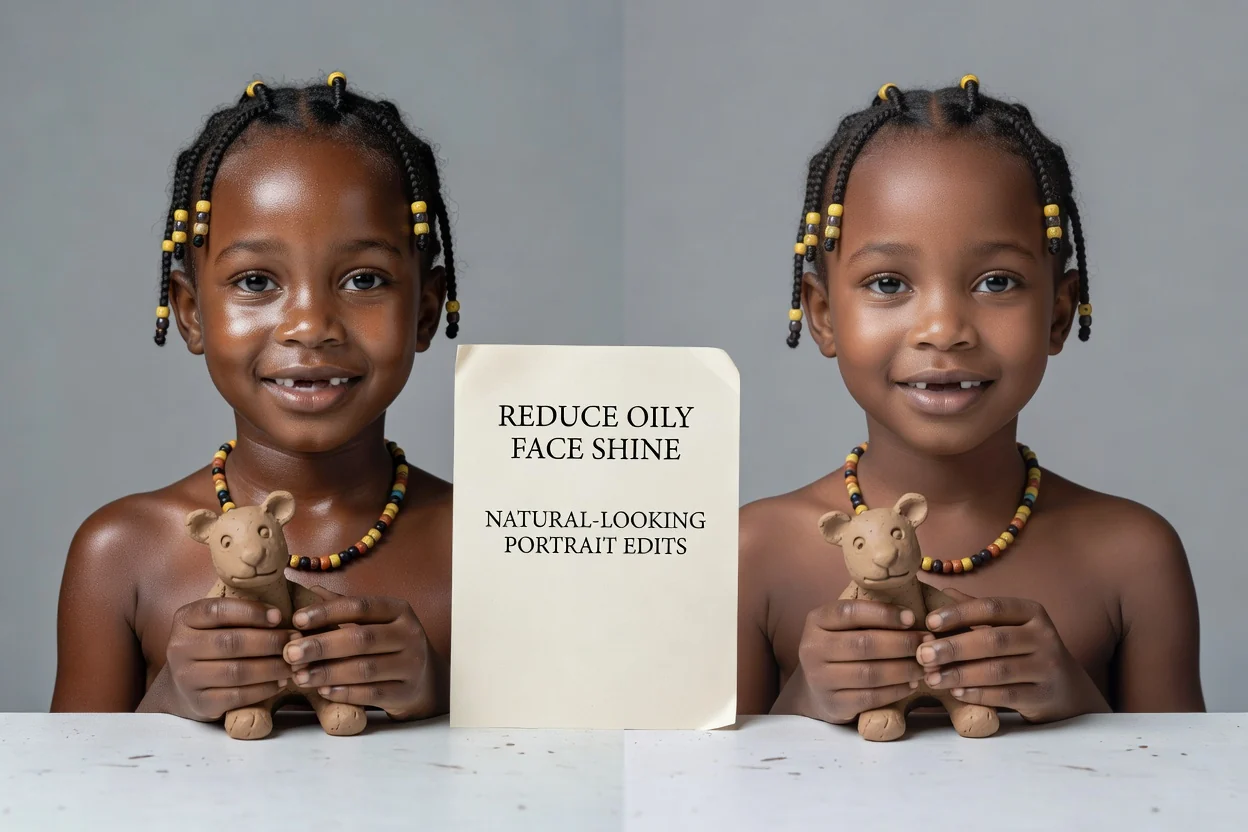
Follow a short creation flow from portrait upload to review-ready result, using the prompt to guide how the face should be refined.
Add a clear portrait photo where the face area is visible, then include a prompt that names the shine areas you want reduced.
Describe whether the edit should look subtle, matte, polished, or studio-like, and mention the subject and setting for context.
Choose the destination format that matches your project, then create the edit and review the output before using it.
Use focused controls to reduce oily face shine while keeping the image direction aligned with the portrait you need.
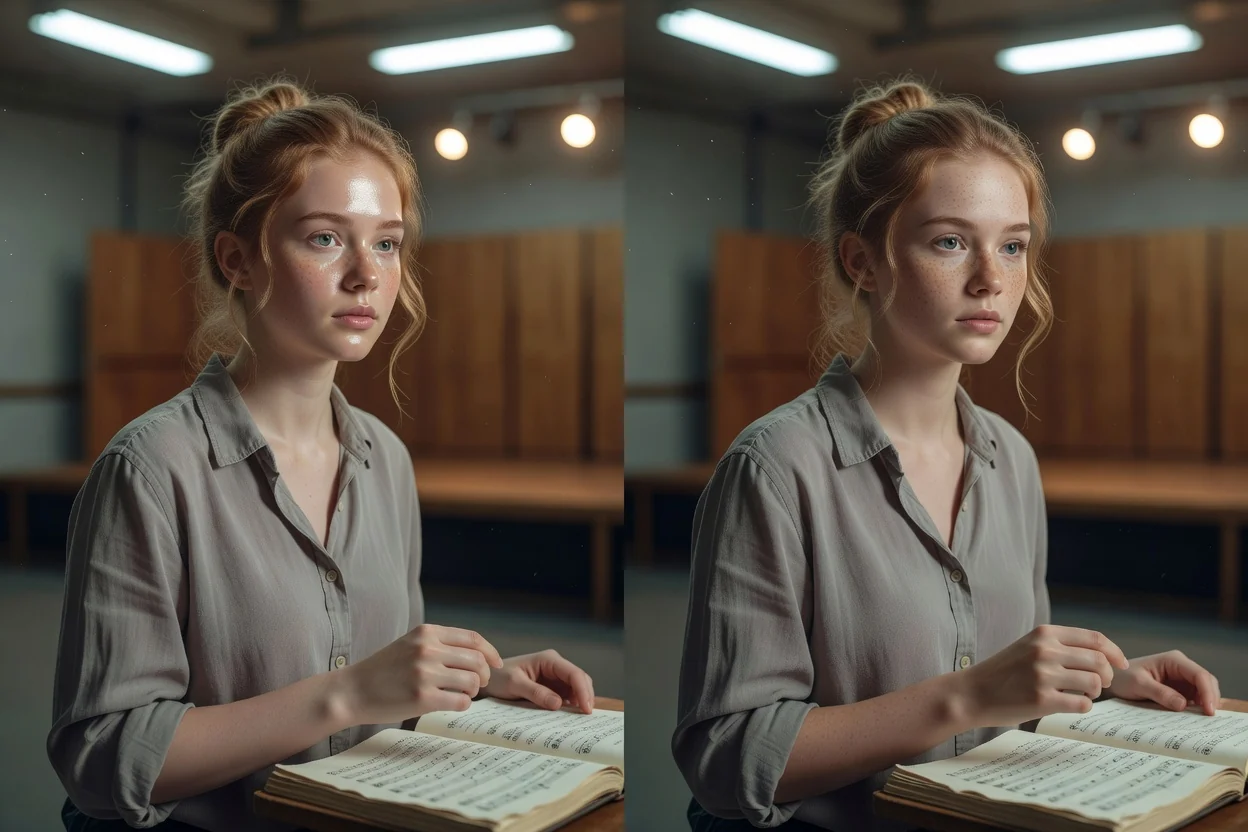
Describe where shine appears, how subtle the edit should feel, and whether the portrait should remain natural, polished, or studio-ready.
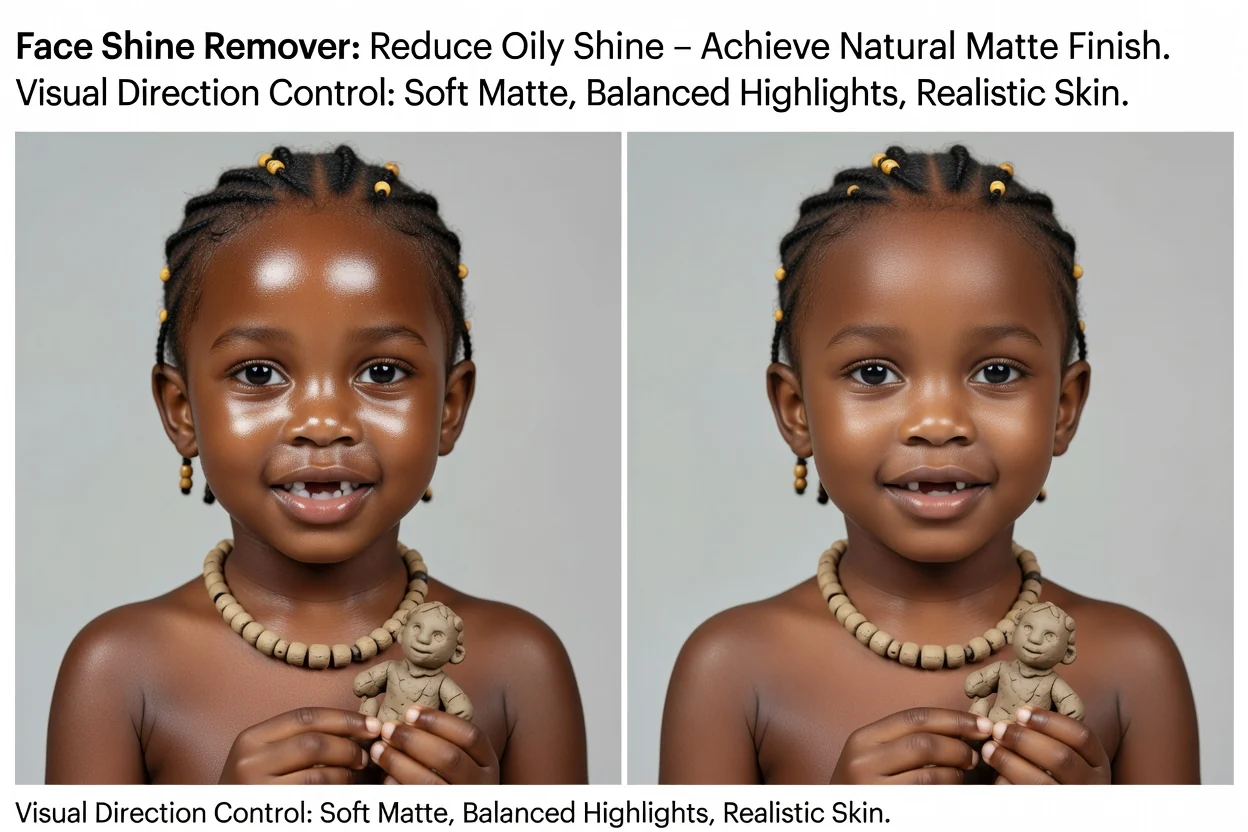
Guide the image toward a soft matte finish, balanced highlights, and skin that still looks realistic rather than over-edited.
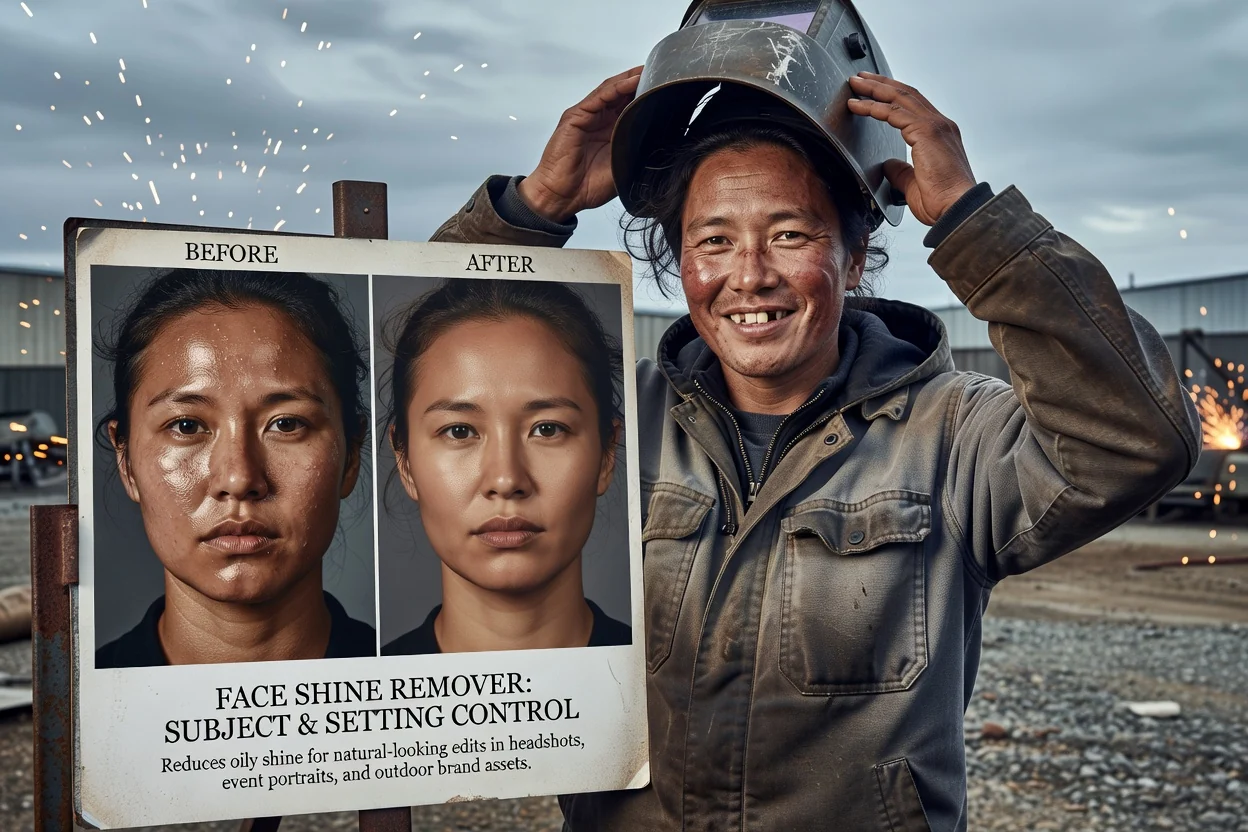
Reference the subject and setting so the edit fits a headshot, event portrait, outdoor scene, or brand asset.
Create portrait assets where a cleaner face result helps the subject look more polished while preserving the original setting.
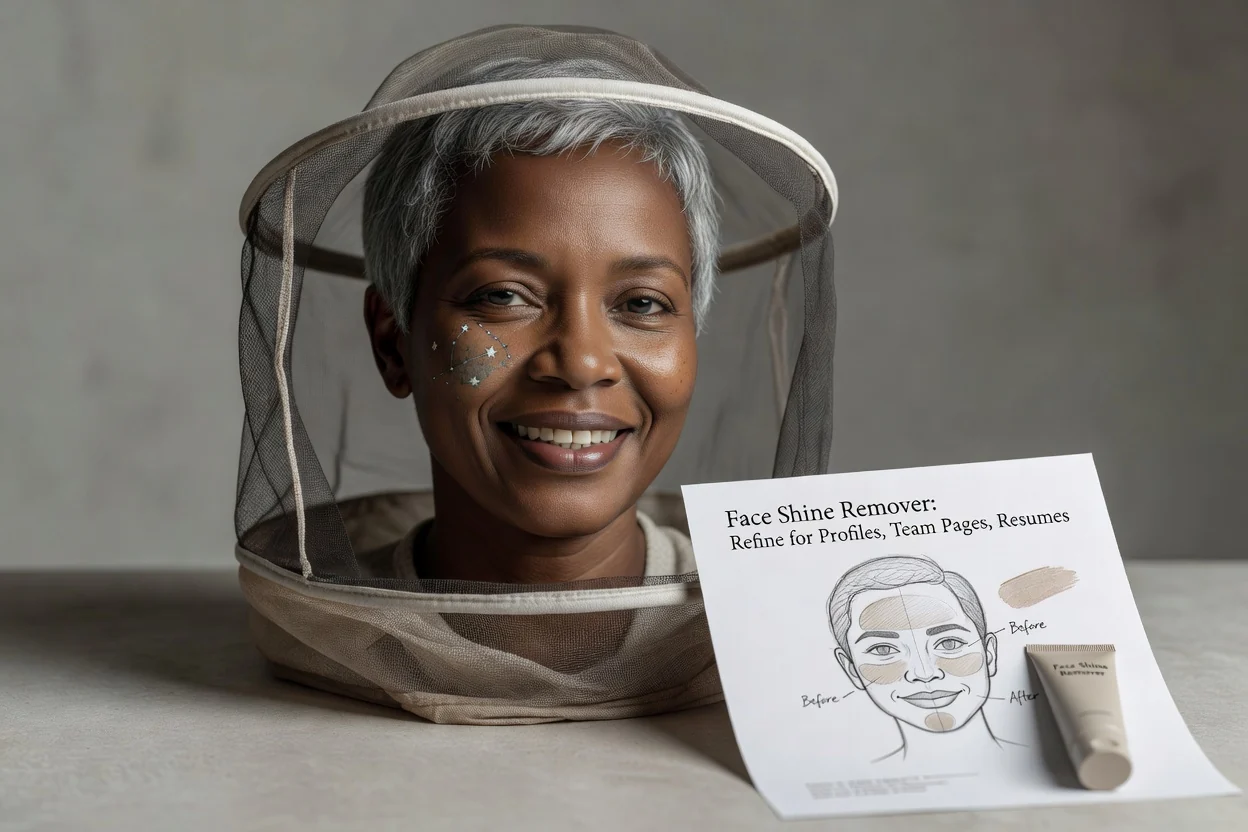
Refine a professional portrait for profiles, team pages, resumes, or presentation materials where shine reduction needs to feel natural.
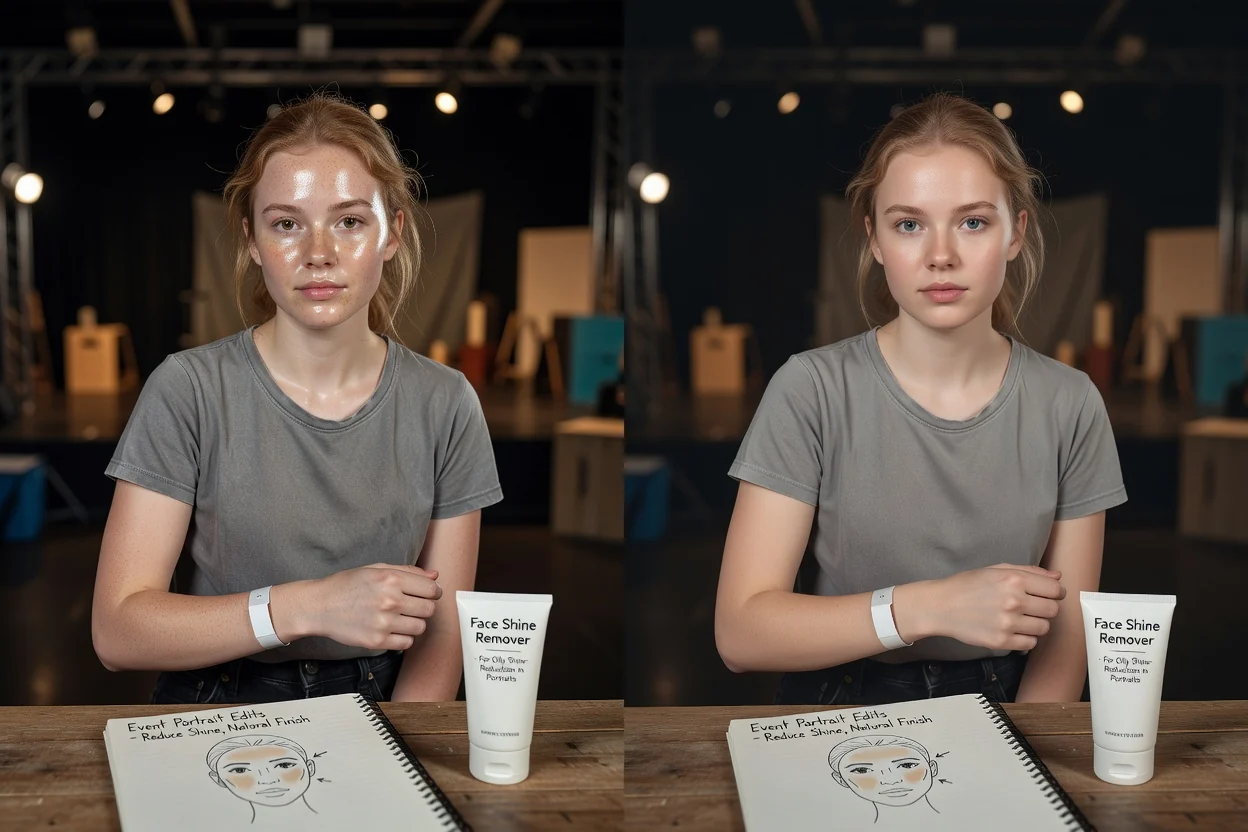
Improve portraits from conferences, weddings, parties, or on-location shoots where flash or bright indoor lighting caused visible shine.

Balance highlights in daylight portraits where sun, humidity, or reflective skin areas make the face appear too glossy.
Before using the edited portrait, review the face area and surrounding details so the finish supports the project rather than distracting from it.
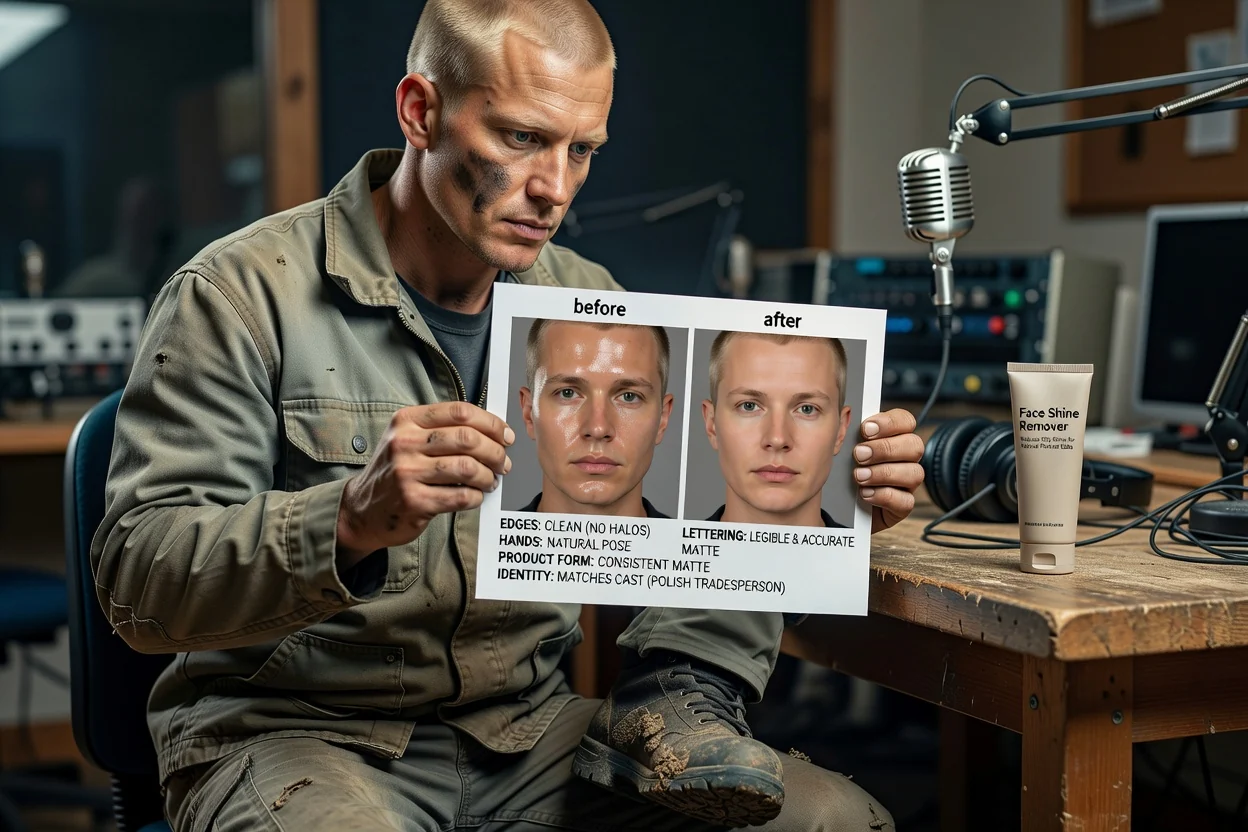
Compare the edit with your brief and confirm the shine reduction looks appropriate for the intended portrait style.
Check facial texture, expression, eyes, hair, accessories, and skin tone so important details remain believable.
Confirm the destination crop and format work for the final placement, such as a profile, post, presentation, or campaign asset.
Face shine edits depend on the source photo, lighting, and prompt detail, so each result should be checked before use.
Generated results can vary, especially with harsh reflections, low-resolution photos, heavy makeup, or complex lighting across the face.
Important details such as facial texture, expression, hairline, glasses, and background edges require review after the edit is created.
Answers to common questions about Face Shine Remover, supported inputs, and how to guide the edit.
Upload a portrait photo, describe the shine reduction you want, and create with Face Shine Remover for a cleaner portrait result.