AI Image to Video Generator

Start with one product photo, portrait or illustration. Describe a small subject or camera movement, select the available video settings, and review the generated clip against your image.

One reference imageMotion promptModel settingsReview the result
0 / 2000

Explore video model guides

The generator starts with HappyHorse. Check the current selector for available models, settings and credit cost; a model guide does not guarantee availability or a particular result.

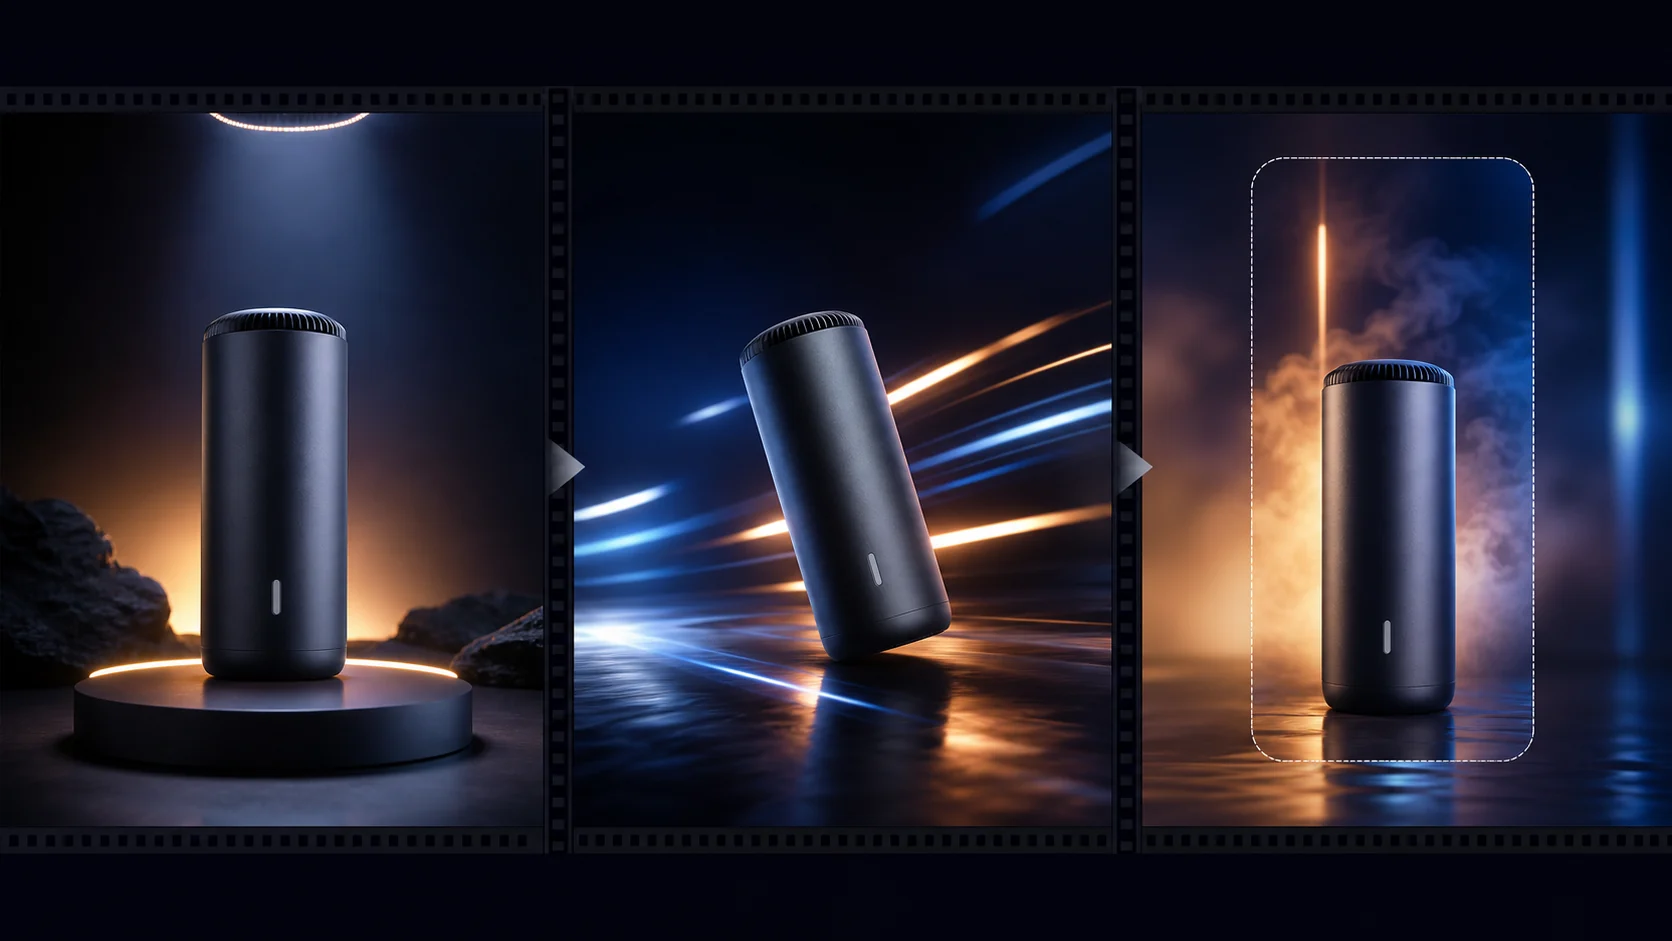
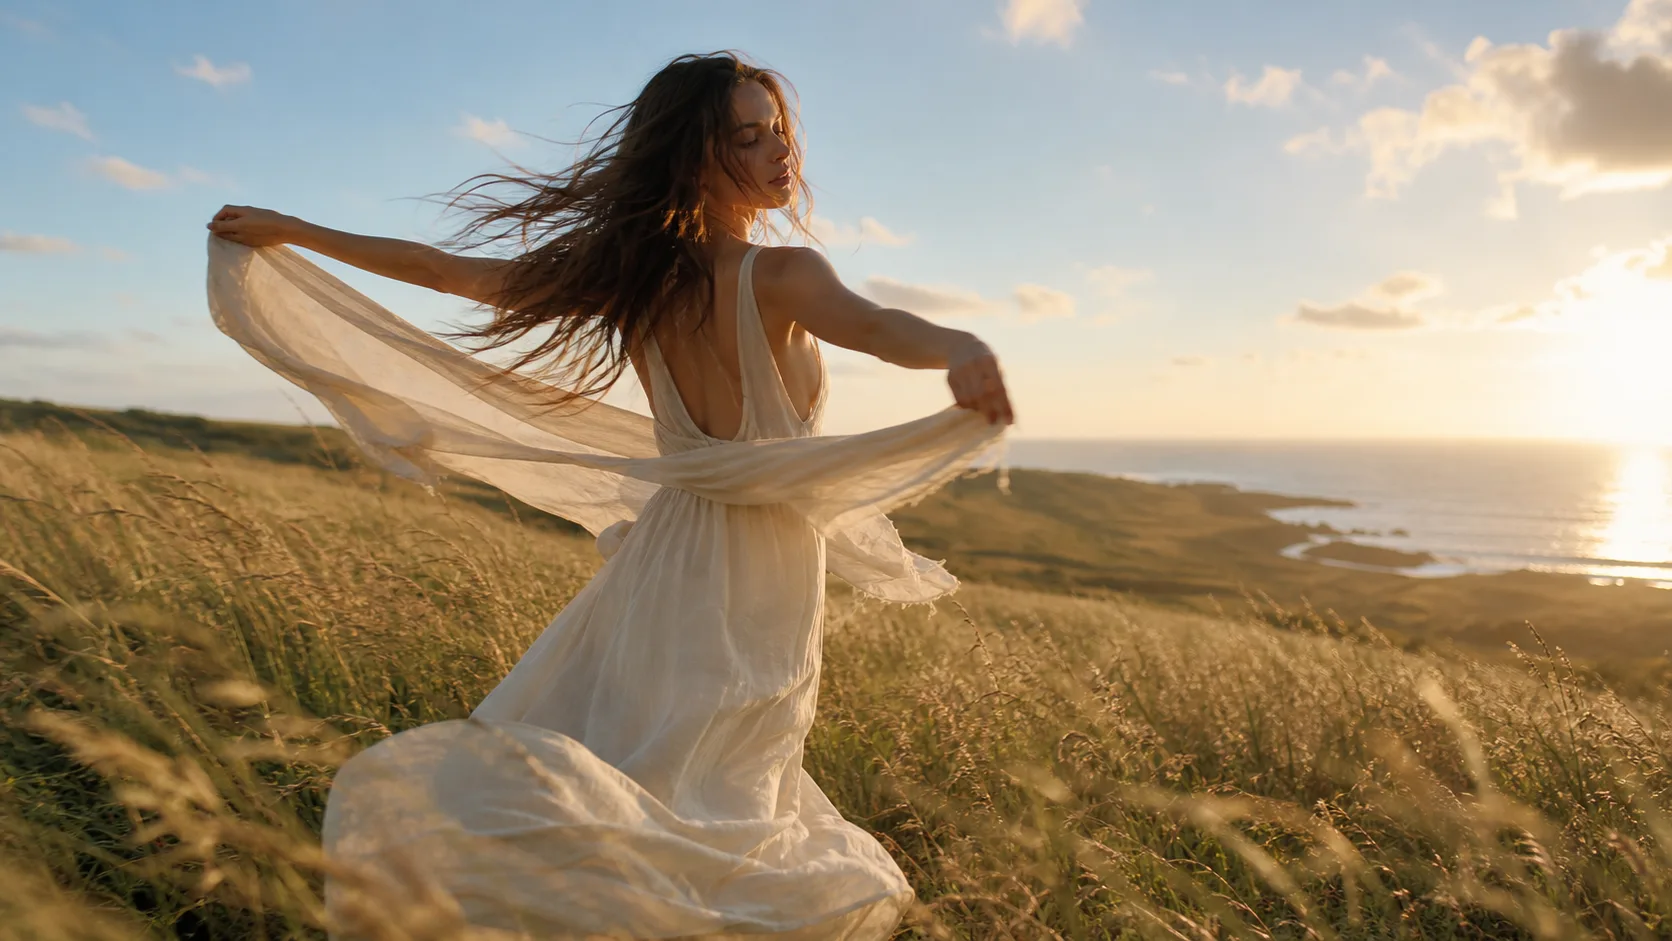
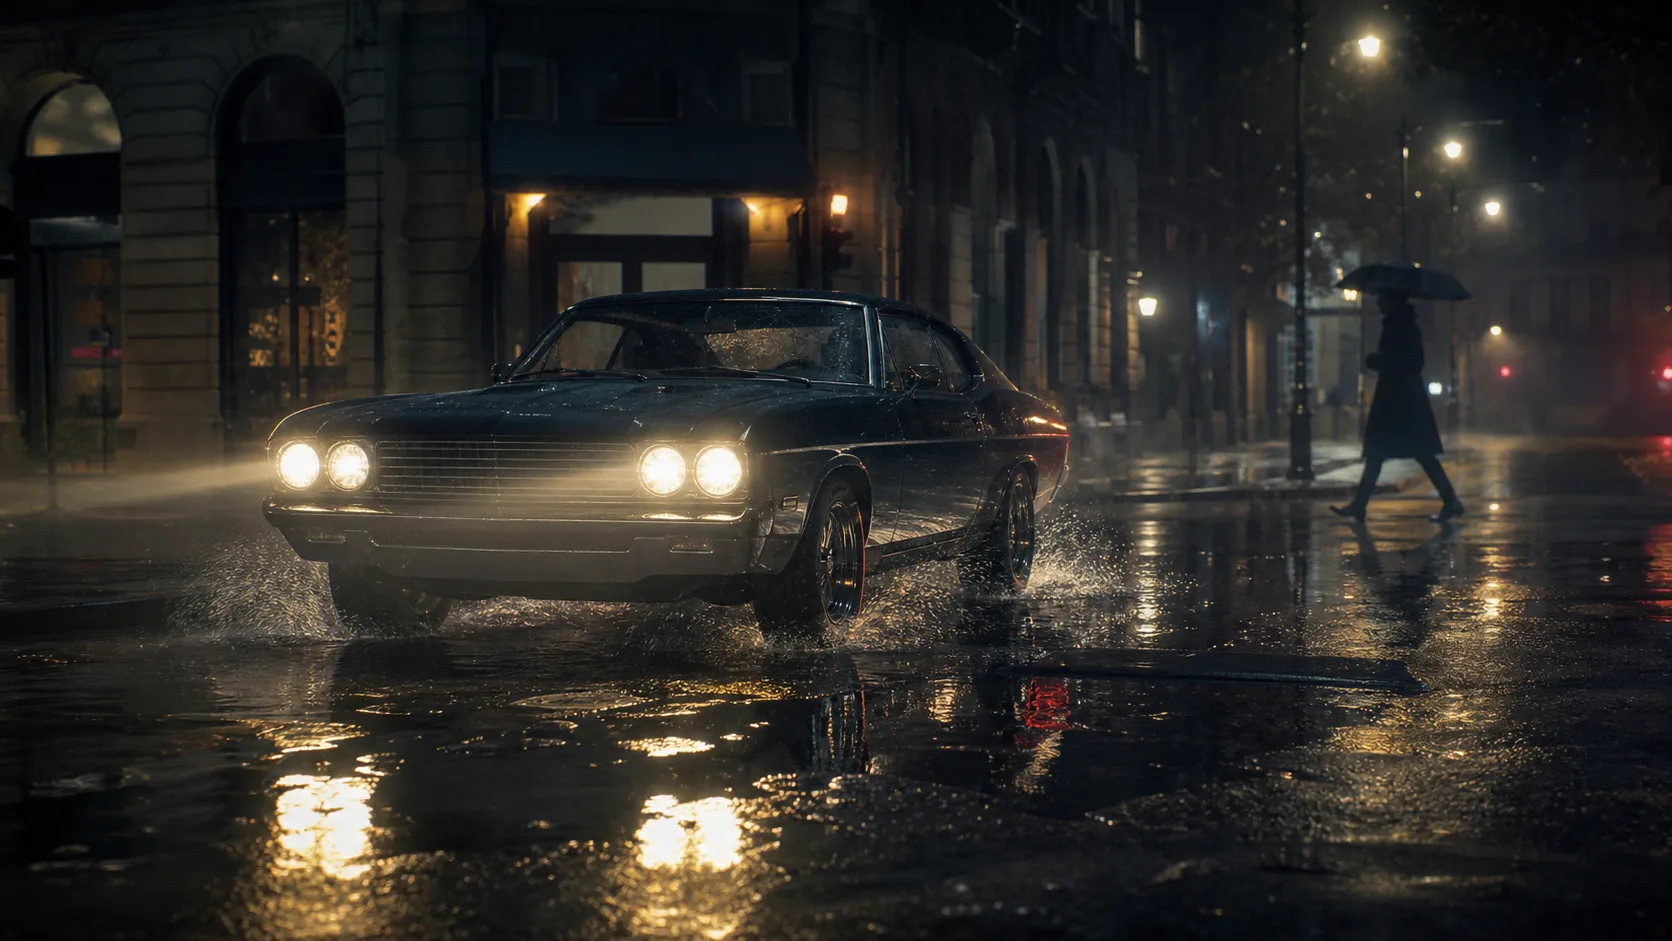
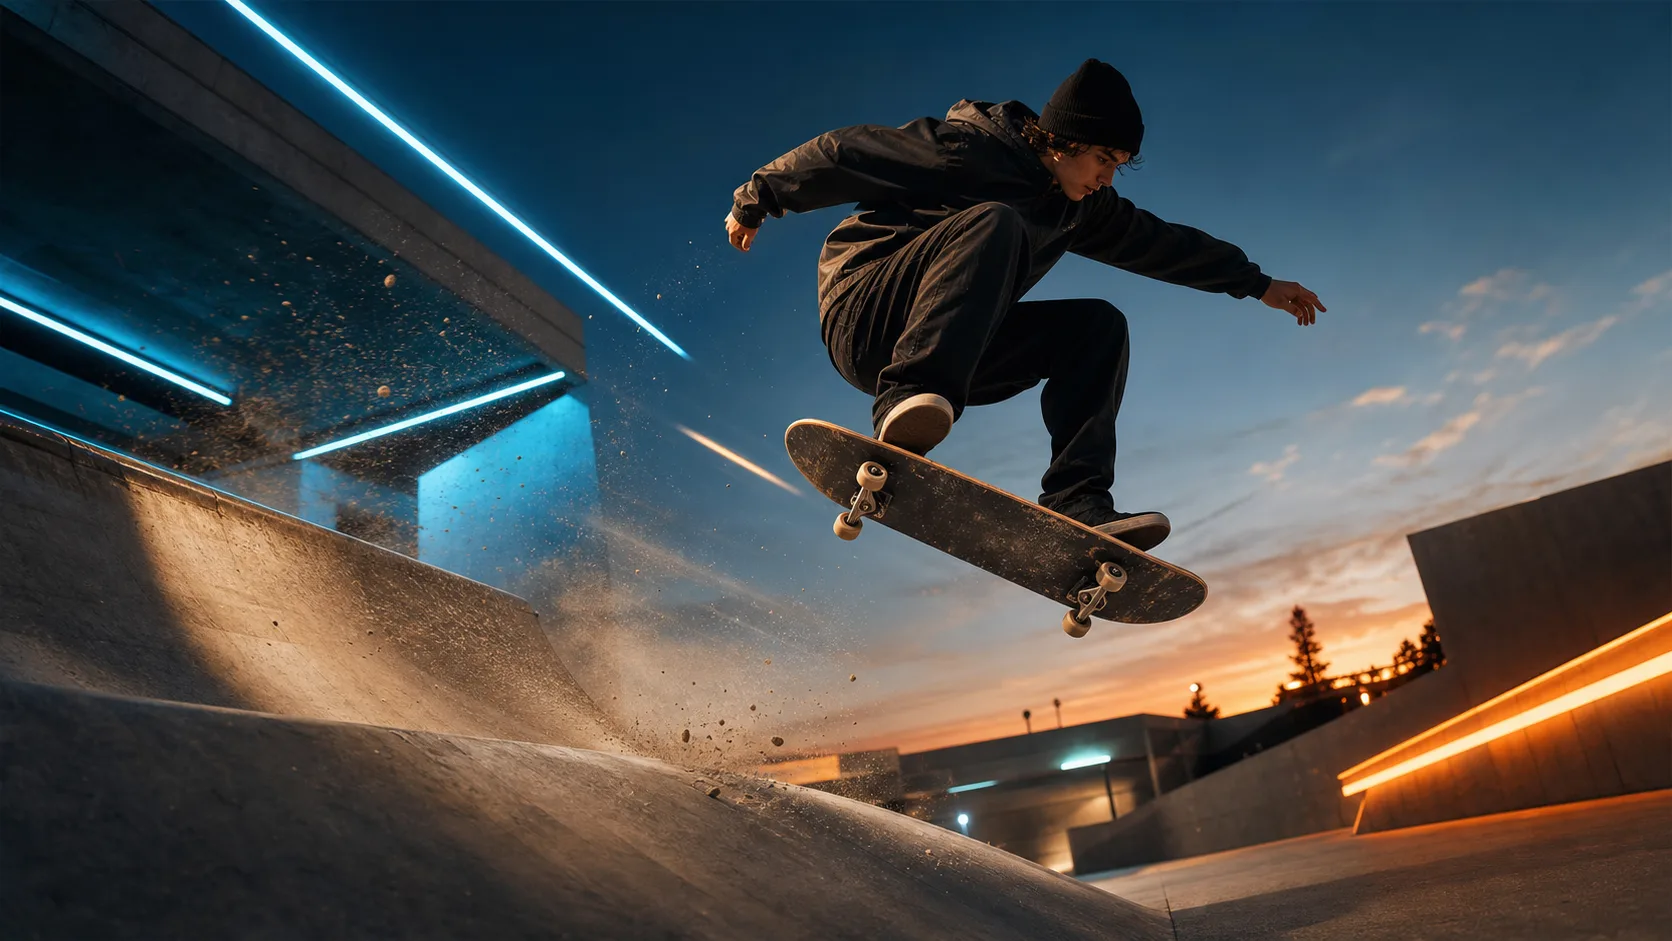
Four starting-image motion prompts

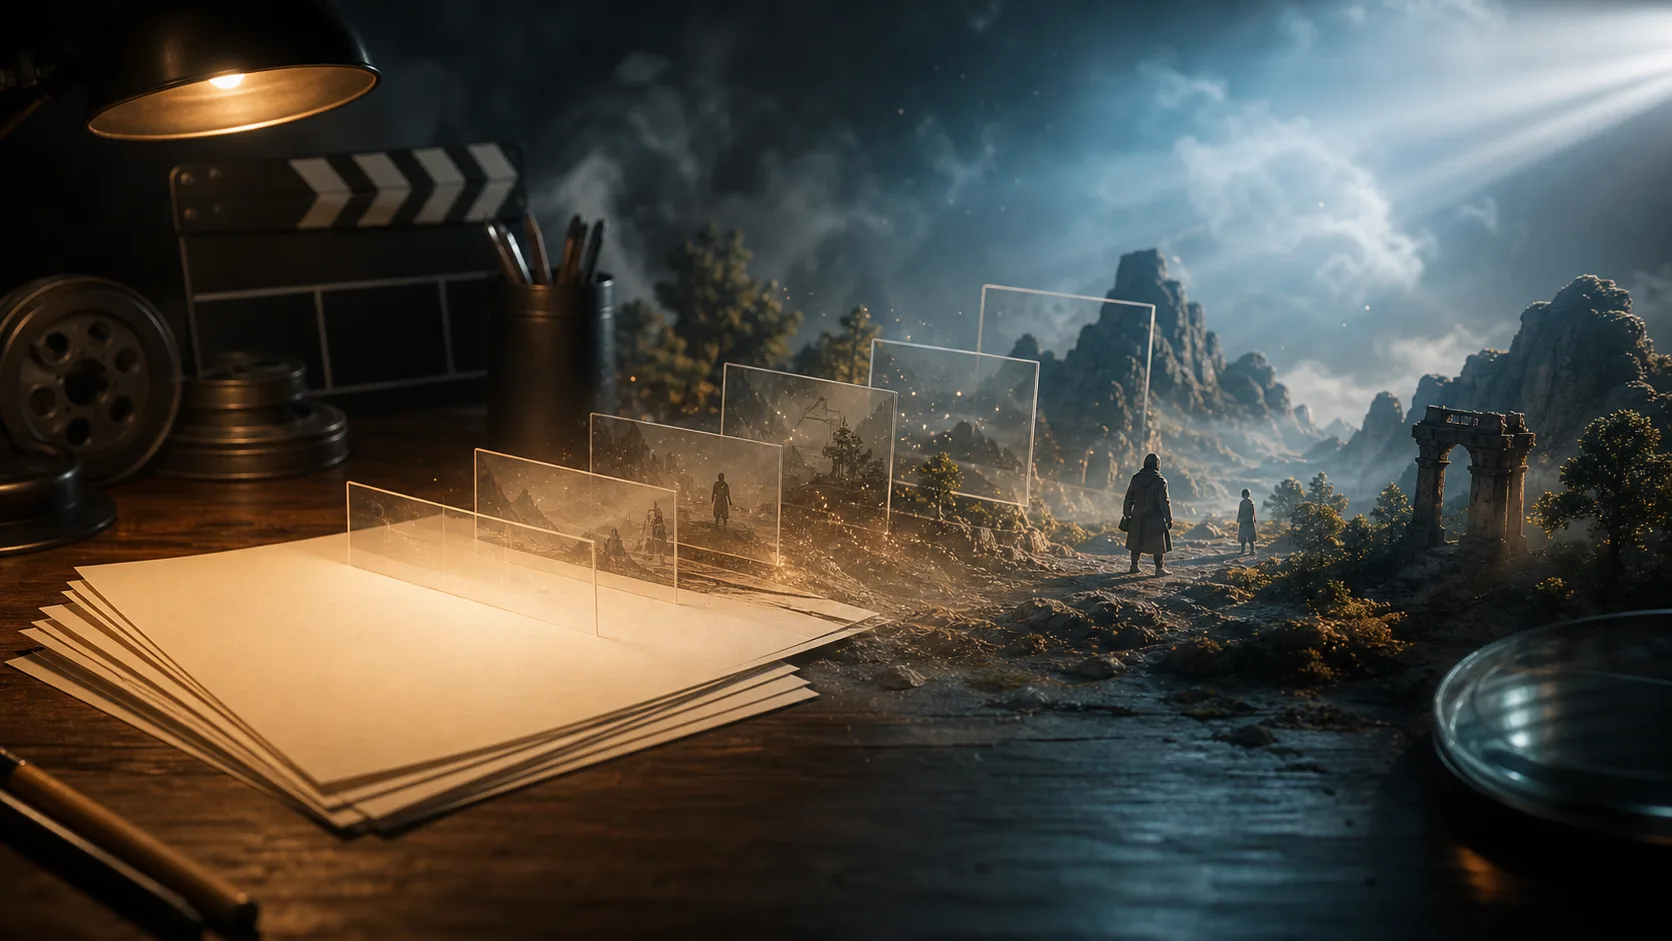
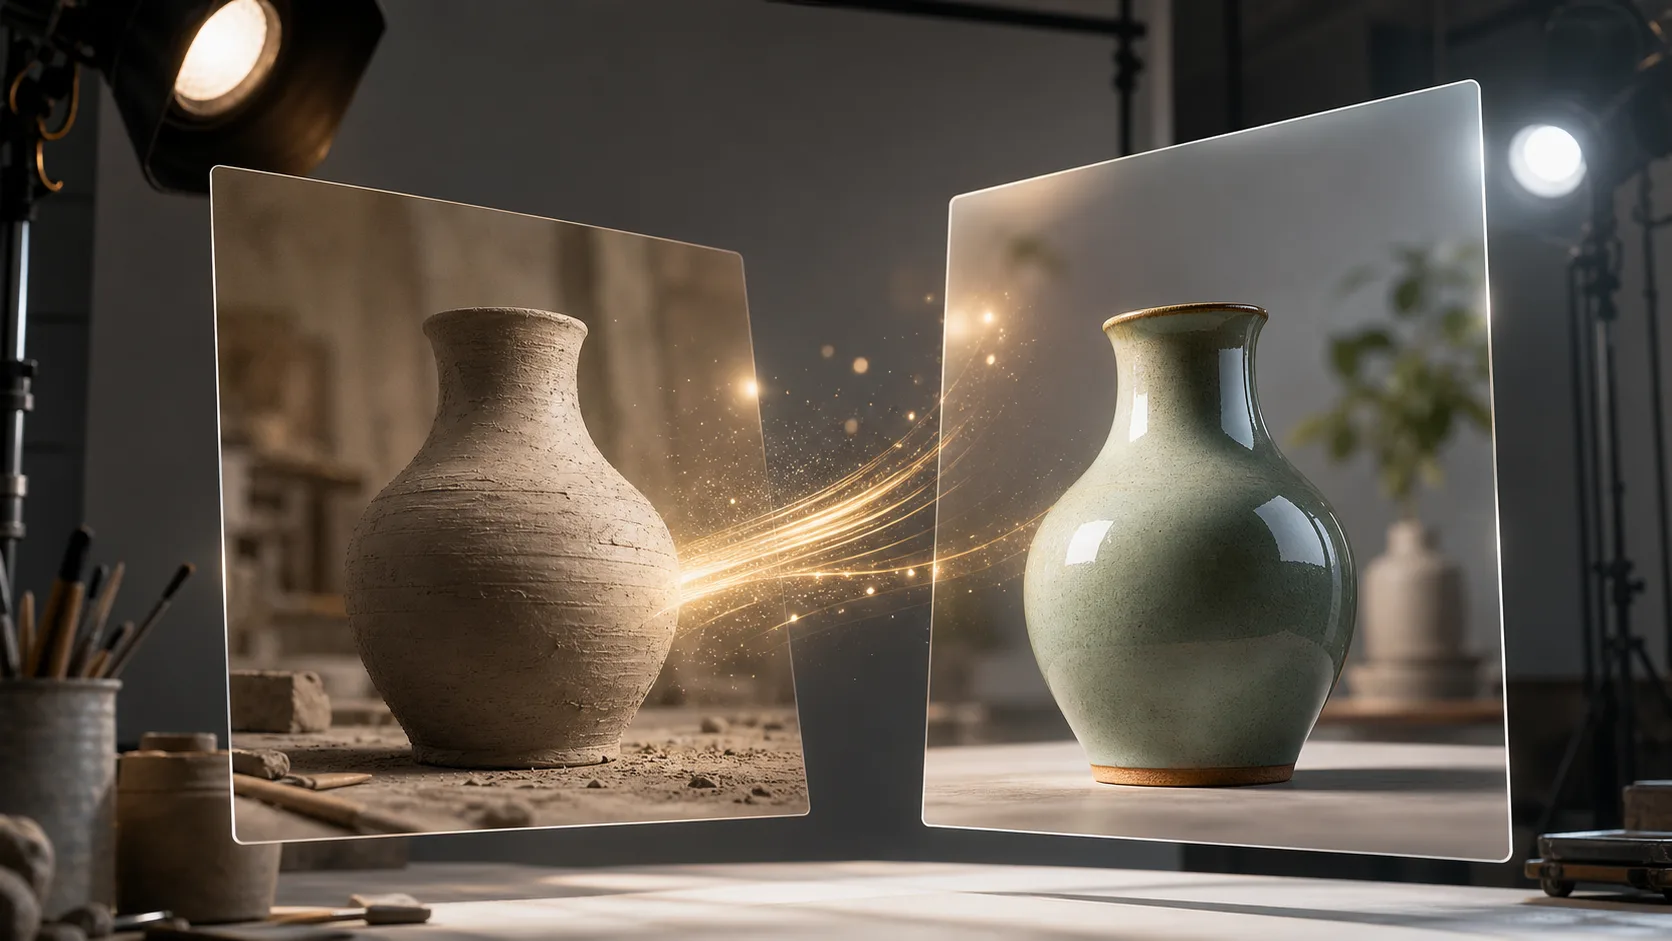
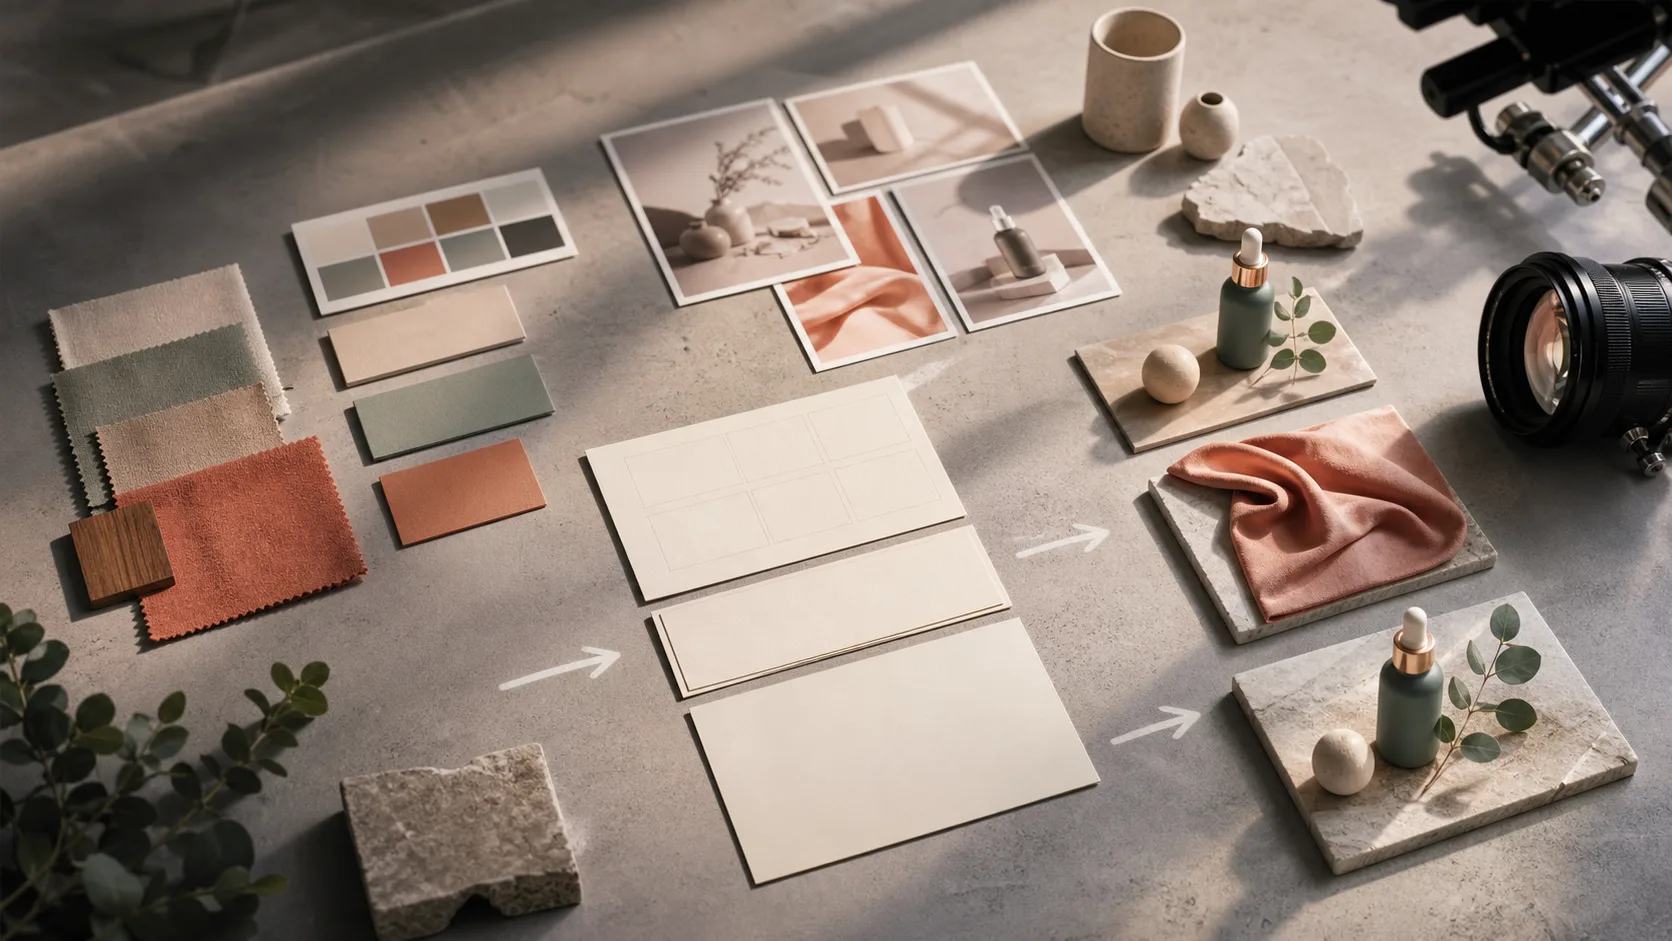
These still images illustrate planning ideas, not recorded generation results. Upload your own reference first, then use one prompt and inspect the output.

Animate one image, then inspect the clip

Treat the image as the visual starting point and the prompt as movement direction. Requested details are not guaranteed to stay unchanged.

01

Choose one clear image

Upload a sharp image with a visible subject and enough surrounding space. This page accepts one reference image; prepare the composition before generating.

02

Request one movement

Name a small subject action or one camera move. State which product, face or background details matter; avoid asking for several scene changes.

03

Check the available settings

HappyHorse is the initial selection. Choose a currently available model and inspect its displayed duration, aspect ratio, resolution and credit cost before generating.

04

Generate and compare

Compare the result with your image frame by frame. If labels, faces or edges drift, simplify the movement or use a clearer image before retrying.

What to prepare and check

One starting image

Use a product photo, portrait, illustration or scene. Extra reference images are outside this page’s one-image workflow.

Motion direction

Describe an action and camera movement in the prompt. This is a direction for generation, not exact editing control.

Visible model controls

Use the options currently shown for your selected model. Supported settings and cost can differ by model.

One shot at a time

Generate a focused shot for a product detail, social post or creative test. Assemble a longer story separately.

Detail review

Check faces, product shapes, labels, hands and background edges before using a clip. A reference image does not guarantee perfect consistency.

Explore related tools

Move between still image generation, reference edits, and video creation.

Choose Your Plan

Free images include a watermark. Upgrade for clean outputs, faster generation, and commercial use.

Starter Pack

$9

A one-time credit pack for trying image, music, and short video generation.

  • 600 credits
  • ≈ 100 GPT Image 2 images at 1K Low (6 credits each)
  • Up to 7 short videos
  • Credits valid for 30 days
  • No watermarks

Creator

$19/mo

Monthly plan · 1,500 credits renew each month

  • 1,500 credits per month
  • ≈ 250 GPT Image 2 images at 1K Low (6 credits each)
  • Up to 18 short videos/month
  • Works with ClipCanva Pro and other credit models
  • Priority queue
  • Community support
  • No ads
  • No watermarks
30 founding memberships

GPT Image 2 Unlimited

$29/mo

Use code FOUNDING6 at Stripe Checkout: $19/month for your first 6 months, then $29/month.

  • Unlimited GPT Image 2 generations
  • Text-to-image and image-to-image
  • No credits required for GPT Image 2
  • Other models use credits
  • No watermarks
Best value

Pro

$39/mo

Monthly plan · 4,000 credits renew each month

  • 4,000 credits per month
  • ≈ 666 GPT Image 2 images at 1K Low (6 credits each)
  • Up to 50 short videos/month
  • Works with ClipCanva Pro and other credit models
  • Highest priority queue
  • Unlock ClipCanva Pro
  • No ads
  • No watermarks
  • Advanced Refine

Studio

$109/mo

Monthly plan · 12,000 credits renew each month

  • 12,000 credits per month
  • ≈ 2000 GPT Image 2 images at 1K Low (6 credits each)
  • Up to 150 short videos/month
  • Works with ClipCanva Pro and other credit models
  • Highest priority queue
  • Early access to new features
  • Priority support

Secure checkout · Subscriptions renew automatically · See refund eligibility

Team

For agencies, production teams, and custom volume needs.

Contact us

Image to Video FAQ

Common questions before animating a still image.

How many reference images can I use here?
This page uses one reference image. If you need a separate reference workflow, inspect Reference to Video and its current controls rather than adding extra images here.
What image should I upload?
Use a sharp image with a visible subject and a simple background. Prepare the intended composition first; blur, blocked details and small labels are harder to preserve.
Can I choose exactly what moves?
You can describe subject and camera movement. The model interprets the prompt, so inspect the result for unintended motion or altered details.
Should I edit the starting image first?
Yes, when the crop, lighting or background already needs correction. Use Image to Image for a separate edit, review it, then animate the prepared image.
Which model is selected when I open this page?
HappyHorse is the initial model. Select a currently available alternative in the generator if needed. The model guides below are informational; Sora is not accepted as a model URL parameter on this page.
What makes a useful motion prompt?
Start with your reference, one subject action, one camera move, and the details to preserve. For example: a slow camera push-in, the package stays still, soft studio light, no extra text.
Why did my product or face change?
Generated video can alter labels, shapes, faces or hands. Reduce motion, use a clearer reference and compare each attempt. Do not publish a clip that misrepresents the product or person.
How do I make a vertical social clip?
Prepare a suitable composition and choose a vertical aspect ratio when the selected model exposes that option. Keep one clear action and add captions in your editor; a prompt alone does not set every output control.

Animate your first image

Upload one image, try a focused movement, and compare the clip before using it.