
Canva AI Video Generator: Script & Audio Guide
Learn how Canva's AI video generator creates short clips with synchronized audio, then use a script-first workflow for footage that is easier to edit.
Quick answer: this independent guide explains how to prepare a script and audio brief before using Canva's current AI video generator. At the time of writing, Canva's feature page describes Create a Video Clip as a text-to-video experience powered by Veo 3 that generates a clip with synchronized audio, including dialogue and sound effects, before the creator fine-tunes it with Canva's editing tools. Check that official page for the current experience because product details can change.
If you begin with a loose idea, use an AI script generator to turn it into spoken lines and scene beats. If the script is already approved, move to an AI video generator with a compact scene brief. When a reference frame defines the product, character, or composition, an image-to-video workflow may give you a clearer visual starting point.
Quick answer: what the generator does and what you still decide
The generator translates a written description into moving footage and, where supported by the current experience, matching sound. It does not remove the need for creative decisions. You still choose the message, audience, scene order, spoken wording, brand-safe details, and final edit.
Treat each generated clip as a shot rather than an entire campaign. A single prompt is strongest when it has one subject, one action, one setting, one camera idea, and one audio goal. Build a longer video by planning several shots, generating them separately, and assembling the best takes in an editor.
A script-to-video workflow that reduces guesswork
Start with the outcome: what should the viewer understand or feel after the clip? Write one sentence for that outcome, then turn it into a short sequence:
- Hook: create immediate visual or spoken interest.
- Proof: show the product action, transformation, or key detail.
- Payoff: make the benefit visible or complete the scene.
- Next step: add the final message during editing if the generated shot does not need on-screen text.
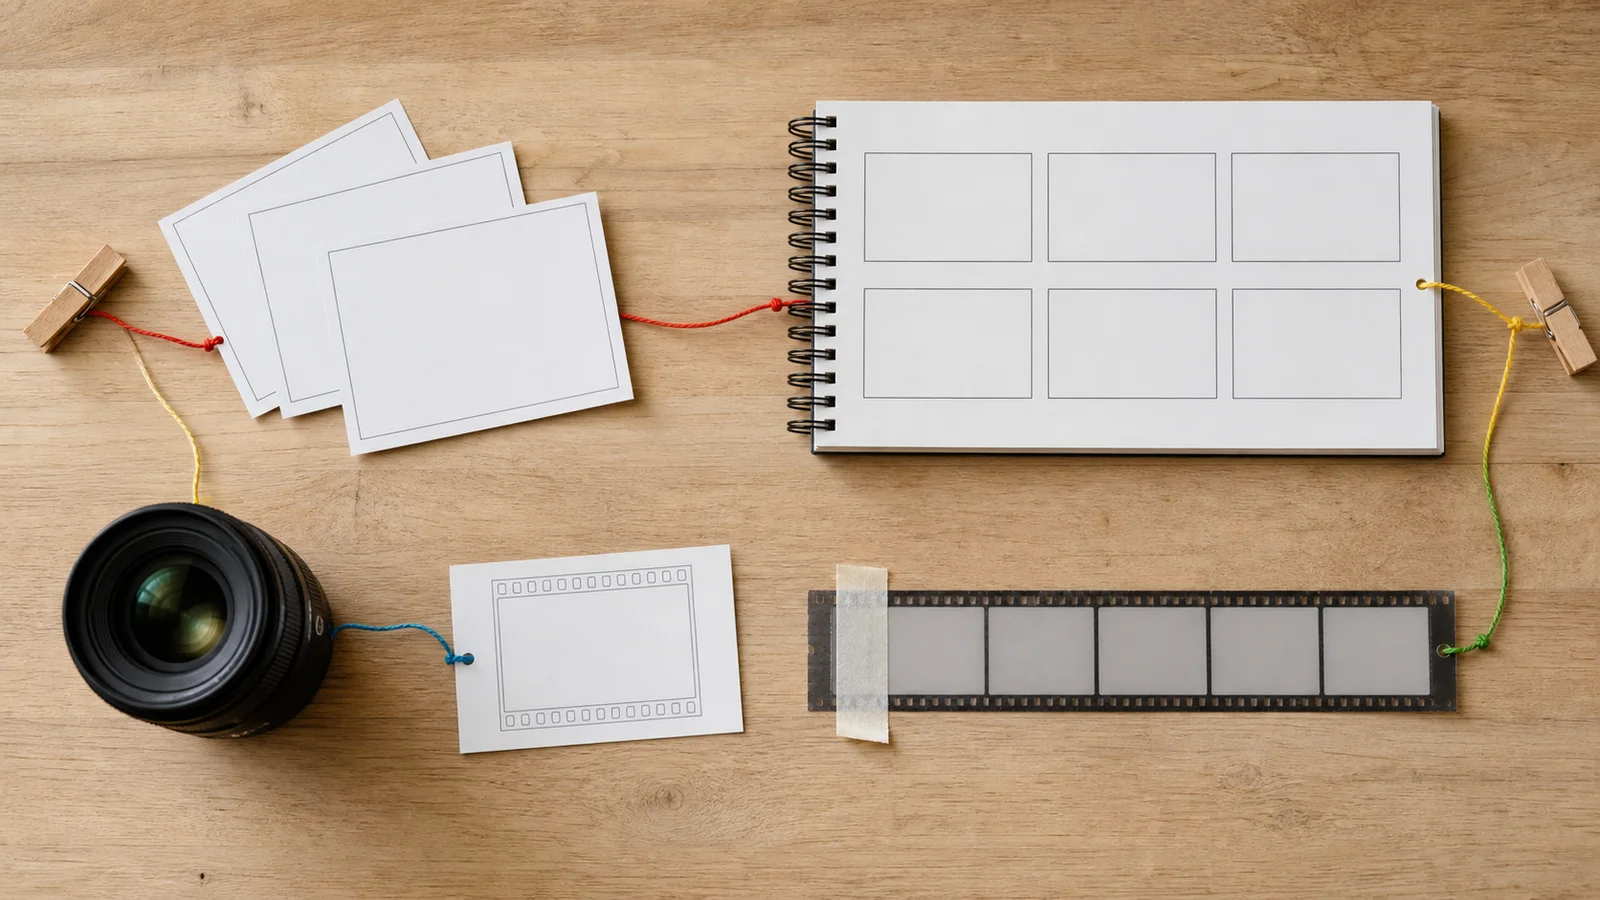
The workflow separates message planning from generation so each clip has one clear job.
Write the spoken line before the visual prompt when dialogue or voiceover carries the idea. Then describe a visual action that supports that line rather than repeating it. For example, a voiceover about faster morning preparation could accompany a clear product demonstration instead of a person merely talking to camera.
How Canva's Create a Video Clip path currently works
At the time of writing, Canva's feature page presents a simple handoff: describe the clip in a text prompt, generate video with synchronized sound through Veo 3, then continue in Canva's editing tools. Canva's Veo 3 newsroom announcement describes the same path from a single prompt to a clip with sound and then refinement in the Video Editor.
That product path changes what belongs in the prompt. Include the subject, visible action, setting, camera direction, and the sound that must occur with the action. Keep final captions, exact brand typography, sequence pacing, and any replacement audio as editing decisions. If a character speaks, provide the exact short line and identify the speaker. If action sound matters more, make that the primary audio instruction.
The Canva path moves from prompt and generated sound to creator review and fine-tuning in the editor.
For a full dialogue, voiceover, ambience, music, and sound-effects plan, use the AI video with audio workflow. This guide keeps audio at the single-scene brief level.
Use this script and scene brief template
For each shot, complete this compact brief:
| Field | What to write |
|---|---|
| Purpose | The one thing this shot must communicate |
| Subject | Person, product, object, or environment |
| Action | One visible action with a clear beginning and end |
| Setting | Location, time of day, and relevant background |
| Camera | Framing and one understandable movement |
| Audio | Exact dialogue or voiceover, plus supporting sound |
| Continuity | Details that must remain stable across shots |
| Exclusions | Text, logos, objects, or changes you do not want |
A structured brief makes it easier to spot missing information before spending time on another take.
Keep exclusions concrete. “No extra writing on the package” is easier to evaluate than “make it perfect.” Likewise, “the red bottle remains the same shape in every frame” gives you a specific continuity check.
Fine-tune the generated clip in Canva's editor
Canva's current product flow does not end when the clip appears. Review the generated take, then use the editor for the decisions that need direct control: trim the usable action, place it in a longer sequence, adjust pacing, add approved captions and graphics, and replace or balance audio where the project requires it.
Check small text, product geometry, hands, object continuity, speech, and cause-and-effect motion. Replace weak shots rather than forcing them into the edit. Add captions from the approved script, not from an unchecked assumption about what was said.
Worked prompt: turn a rough idea into a focused brief
A rough request might be:
Make a stylish coffee product video with sound.
That leaves the subject, action, camera, and audio relationship unclear. A more focused brief is:
Close shot of a plain matte travel mug on a light wood kitchen counter at sunrise. A hand lifts the lid, pours in fresh coffee, and closes it in one calm action. The camera makes a slow, steady push toward the mug. Warm natural window light, realistic steam, uncluttered background. Sound focuses on the pour and soft lid click, with low morning room ambience. No labels, no added writing, and no change to the mug's shape or color.
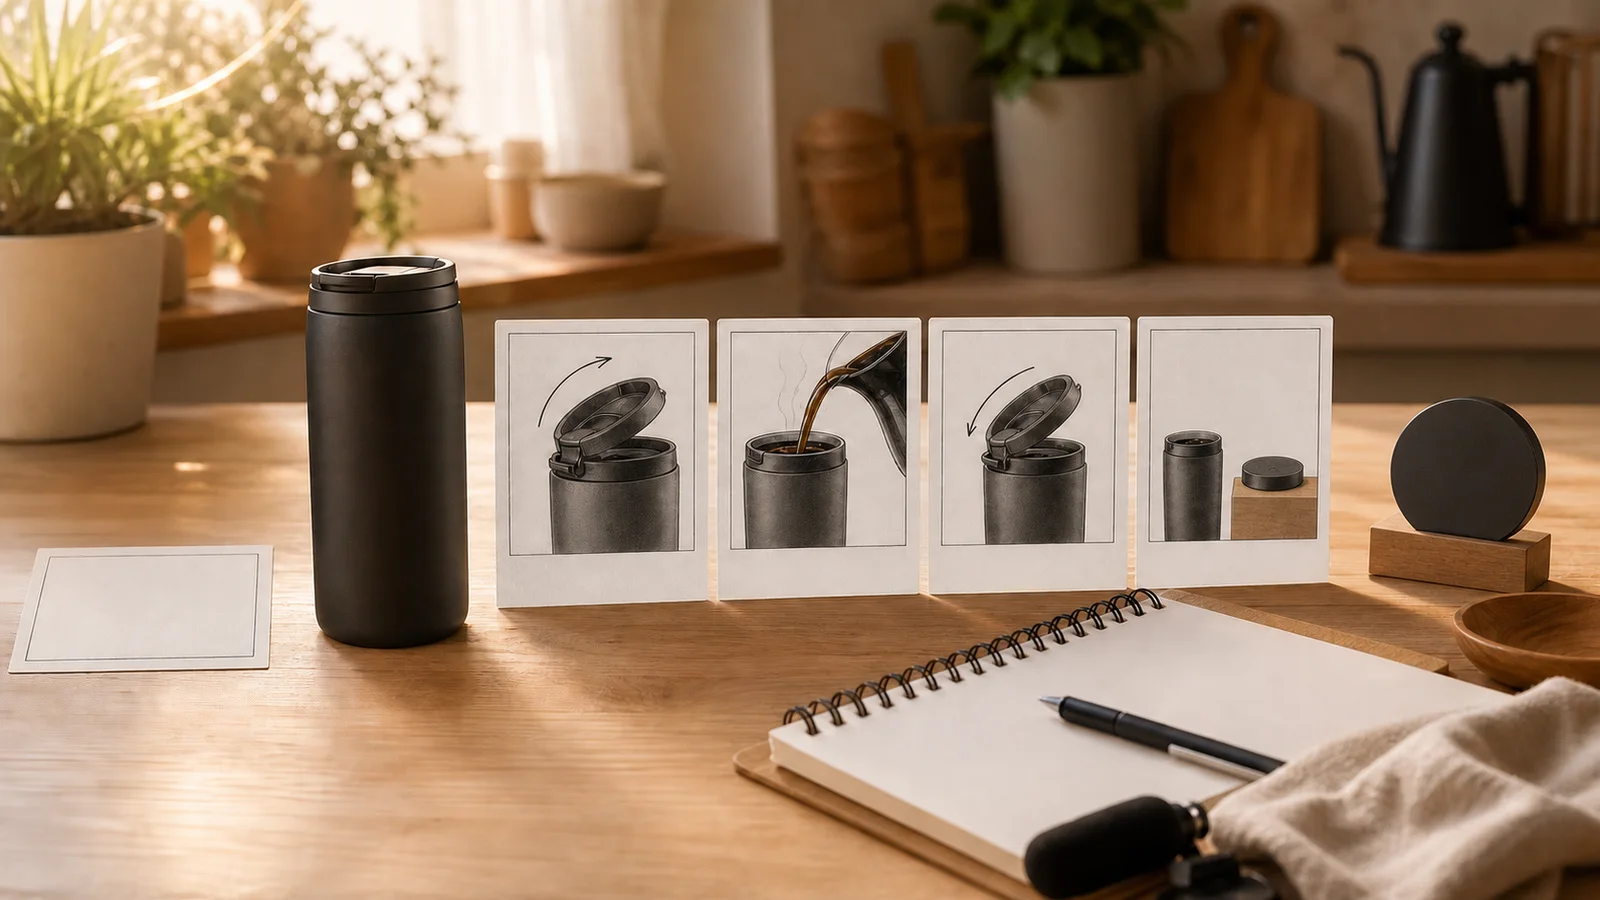
The refined version gives both generation and review a shared definition of success.
The prompt is not longer for its own sake. Every sentence answers a production question. If a detail does not affect the shot or the review, remove it.
Publishing checklist
Before publishing, review the clip at normal speed and frame by frame:
- Does the shot communicate the intended message without an explanation?
- Does the action begin and end cleanly enough to edit?
- Are subject, product, hands, and background visually coherent?
- Is dialogue accurate and attributable to the right speaker?
- Do scene sounds match visible actions?
- Is any generated text readable and correct, or should it be replaced in editing?
- Are captions based on approved wording?
- Does the final sequence avoid implying unsupported product facts?
- Have you checked the current platform terms and settings relevant to your intended use?
If choosing among script tools is the earlier problem, compare the roles in this Canva AI script alternatives guide.
FAQ
Should I write a full script before generating?
Write the full message and scene order first, but generate one focused shot at a time. This keeps dialogue, action, and continuity easier to review.
Should dialogue be inside the prompt?
Include exact dialogue when the visible speaker and delivery matter. For precise brand wording, also keep an approved copy outside the prompt so you can verify or replace the audio during editing.
Can one prompt create a finished multi-scene video?
A broad prompt may produce an interesting result, but separate shot briefs usually give you clearer review points and more editing control. Assemble the selected shots into the final sequence.
What if the visual is good but the audio is not?
Keep the visual only if your editing workflow allows you to replace the sound cleanly. Otherwise, revise the brief so the primary audio action is simpler and generate another take.
Official sources
Canva's AI video generator feature page is the best place to verify how Create a Video Clip is currently presented. Canva's Veo 3 newsroom announcement explains the prompt-to-clip-to-editor handoff. For the underlying video model family, review Google DeepMind Veo. Product interfaces and model capabilities can change, so check those primary pages before relying on a time-sensitive detail.