
Start with the image
Upload or provide the source image and specify the shadow direction you want the edit to follow.
Create with Add Shadow to Image by providing a source image and shadow direction. Shape a grounded result for product visuals, campaign assets, profile imagery, or scene edits that need clearer depth.
Add Shadow to Image is a focused creation tool for turning a source image and shadow direction into an image with a grounded shadow. It helps creators and teams define light placement, subject context, and output format before producing a visual result.
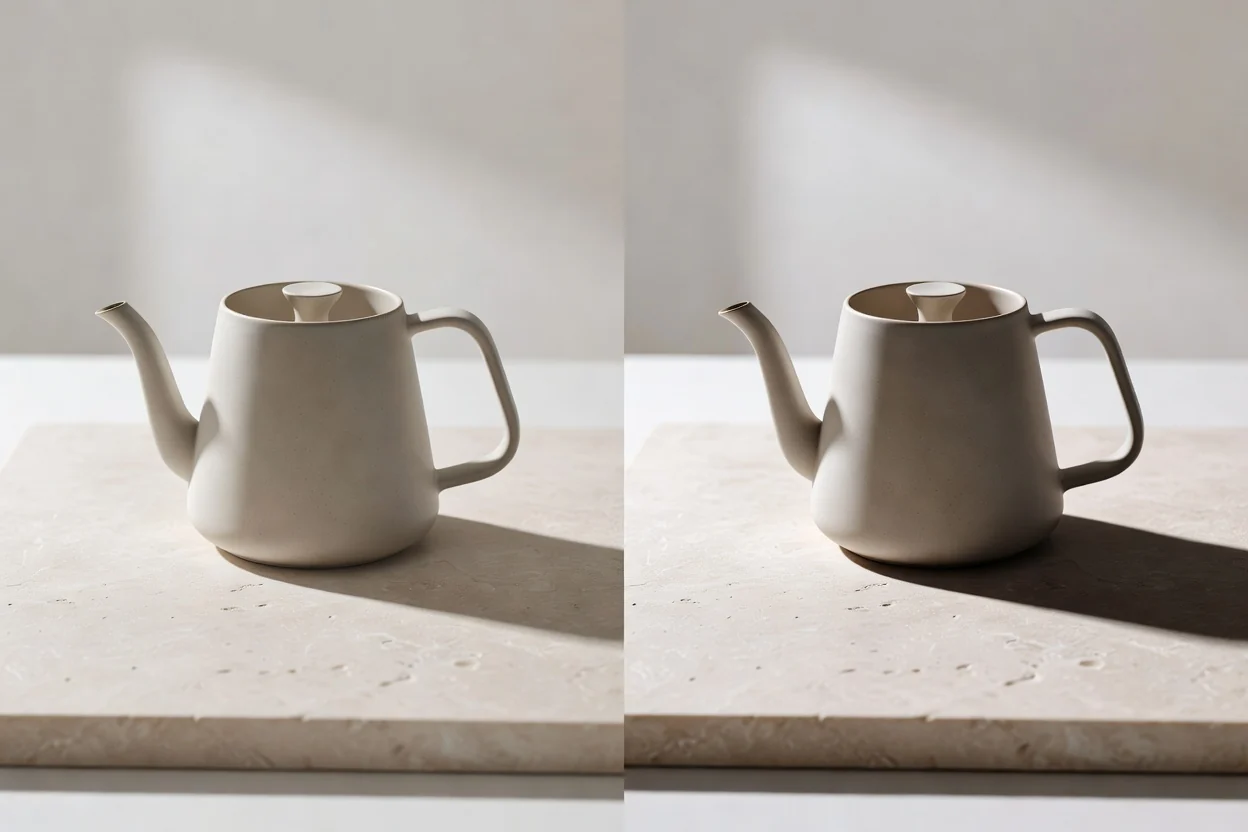
Create the image shadow by starting with the source asset, then guide the lighting and output requirements before checking the generated result.
Upload or provide the source image and specify the shadow direction you want the edit to follow.
Add prompt detail for lighting angle, softness, opacity feel, subject position, and scene context when you need to add realistic shadow to photo edits.
Choose the destination format and inspect the result for grounding, crop, and important visual details.
Control how the image shadow should feel, where it should sit, and how the finished asset should be prepared for its destination.
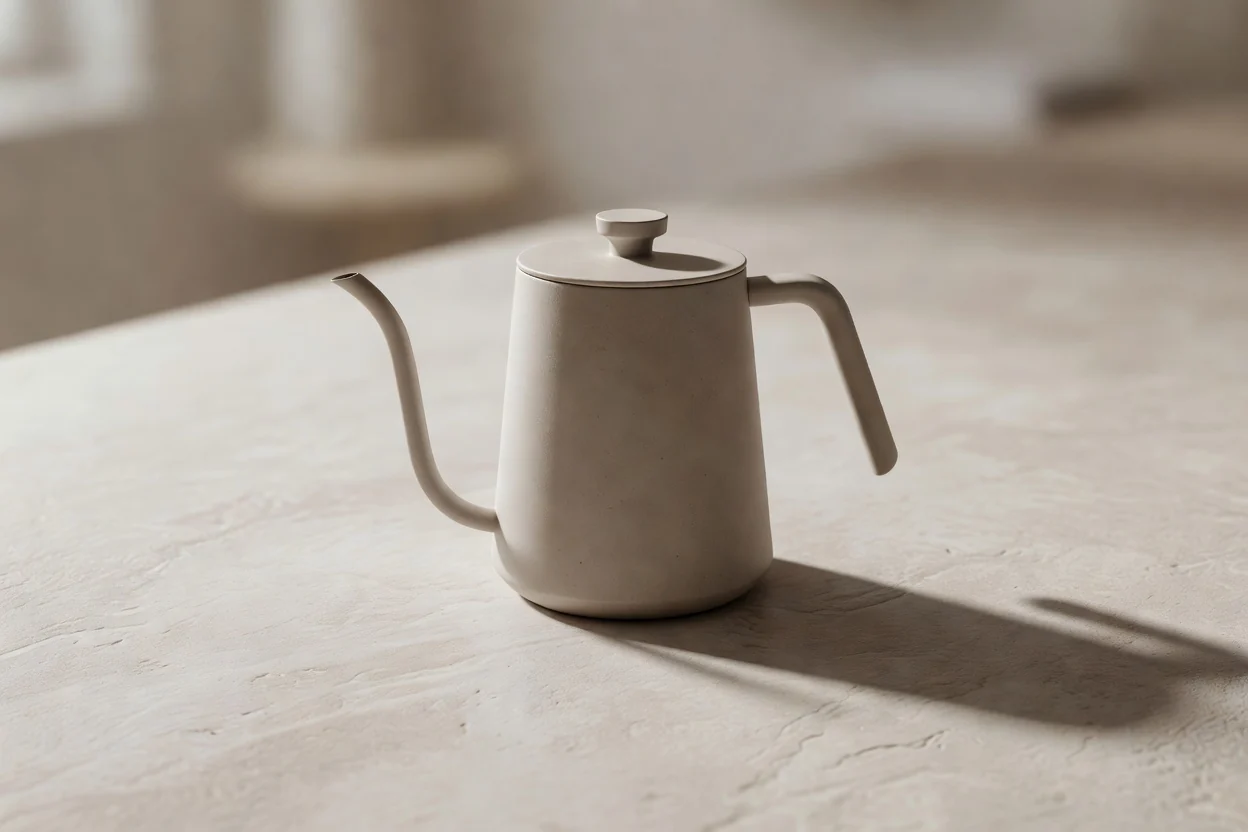
Describe whether the shadow should be soft, sharp, subtle, angled, or studio-like so the edit follows the intended lighting mood.
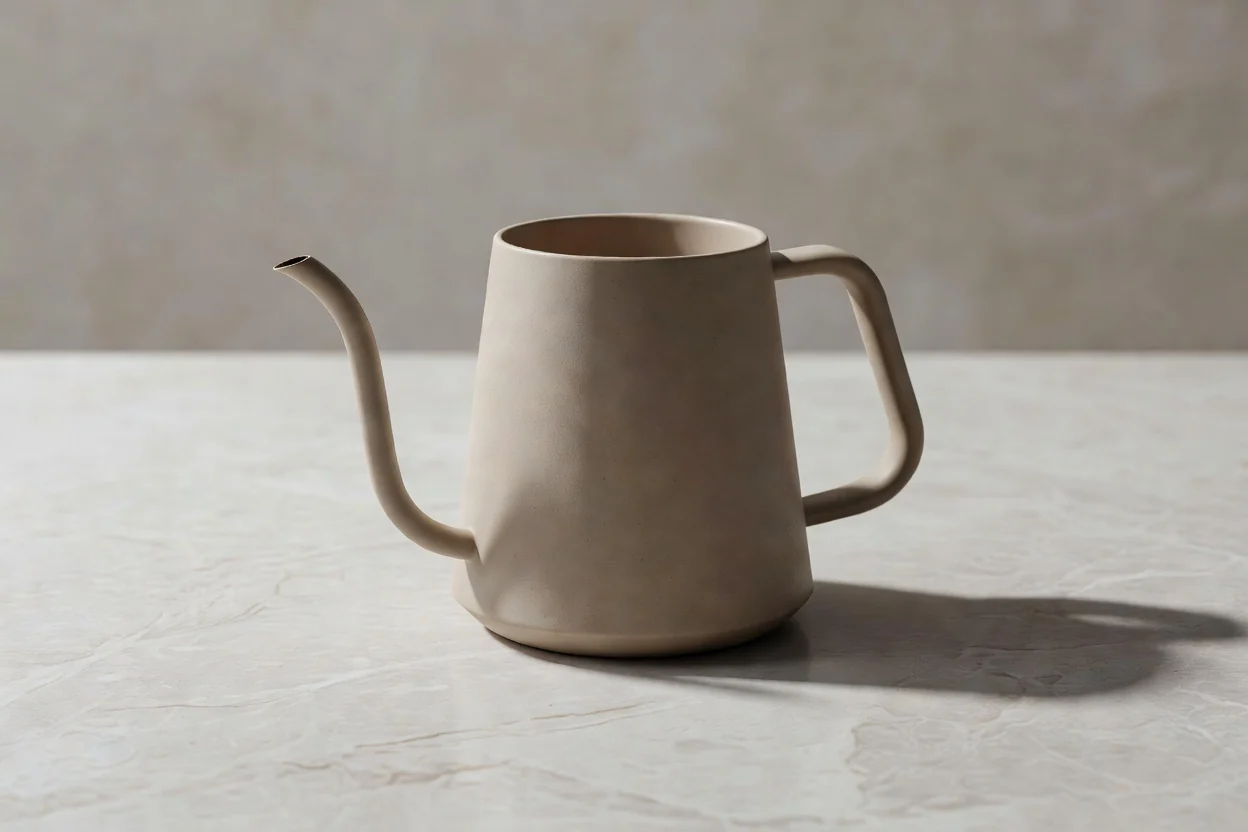
Use context about the subject and setting to add realistic shadow to photo edits without losing the purpose of the original scene.
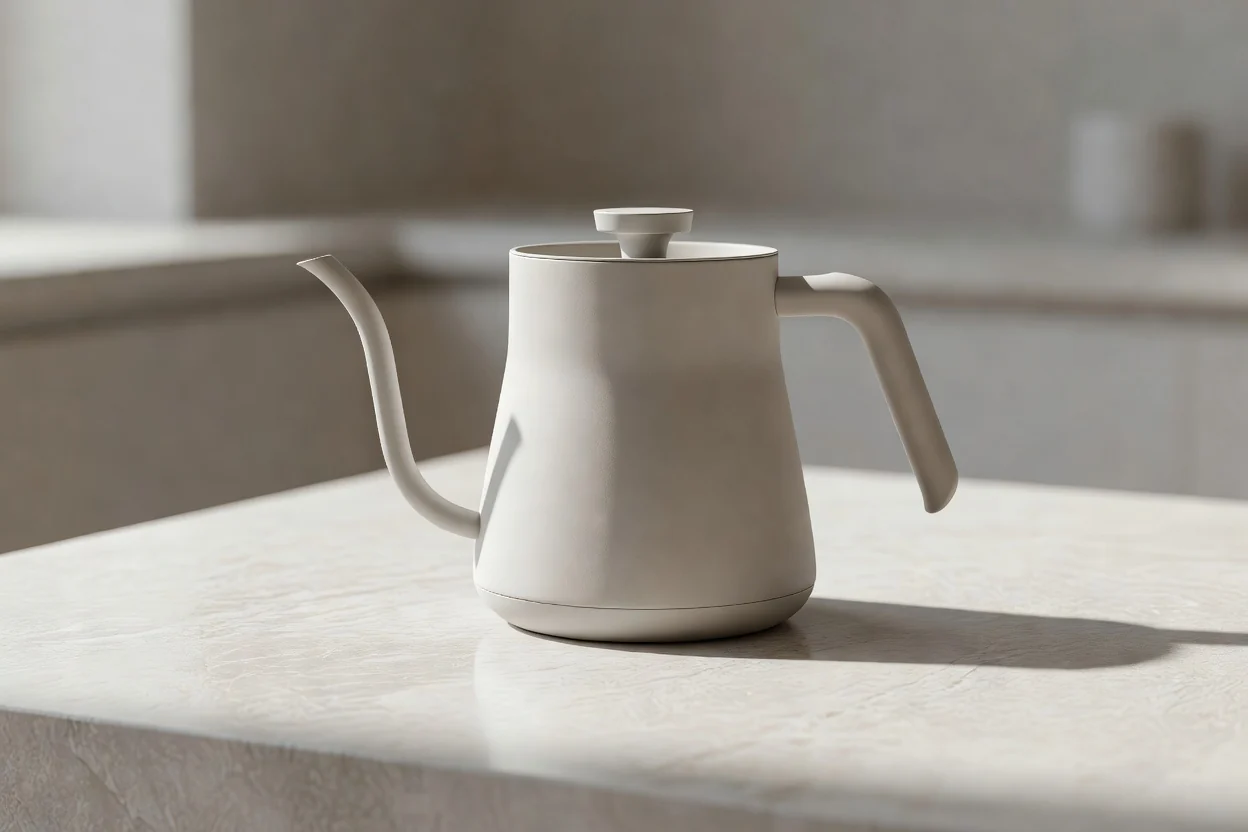
Prepare a drop shadow on product image assets for catalog, ad, landing page, or social layouts where depth and separation matter.
Create a result for practical image workflows where a shadow improves depth, grounding, or product separation.

Match the shadow direction to the suggested light source so portraits, objects, or lifestyle shots feel more natural in the scene.
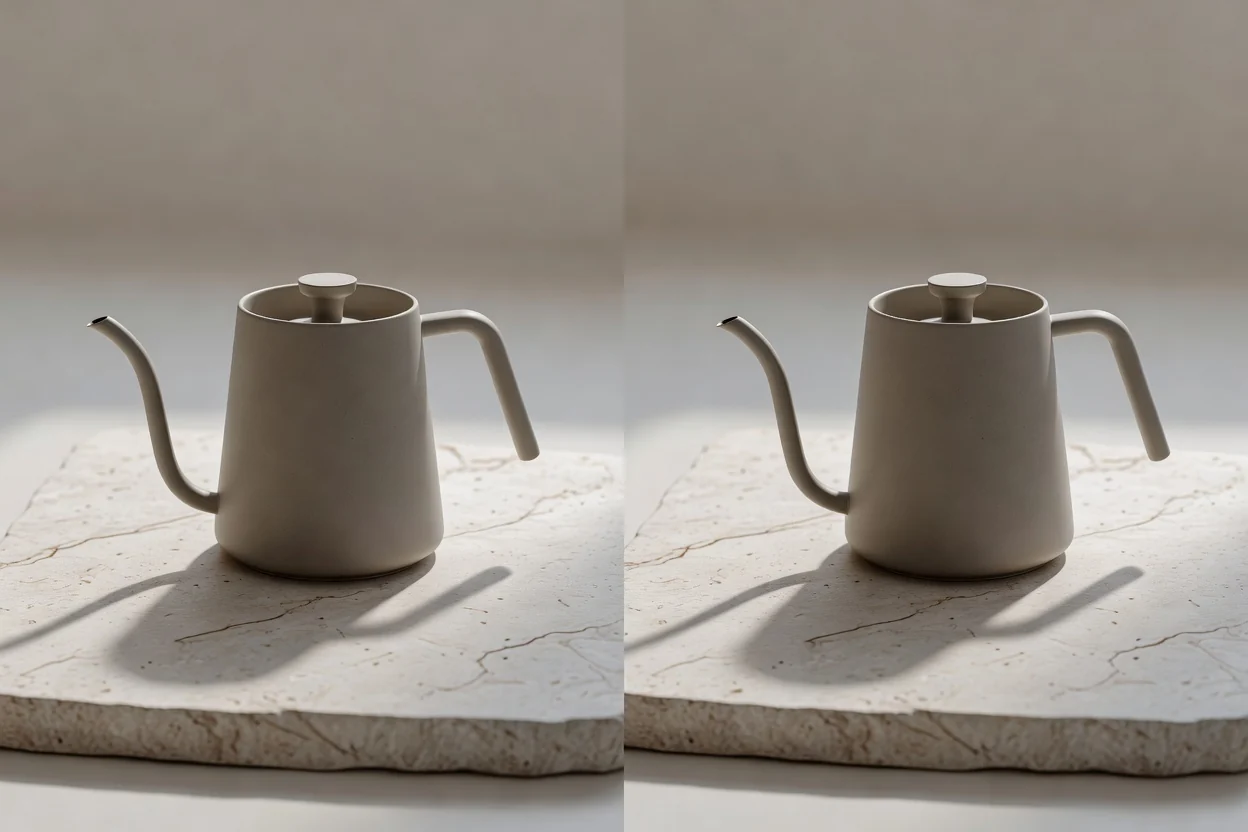
Guide softness and opacity so the result feels suitable for clean studio looks, soft daylight, or more dramatic presentation styles.

Add a drop shadow on product image layouts to help items stand apart from flat backgrounds in store, ad, or comparison visuals.
Use this image review stage to check the generated edit before publishing or handing it off. Focus on details that affect realism, clarity, and destination fit.

Compare the output with the brief, including shadow direction, subject placement, mood, and whether the edit supports the intended message.
Inspect edges, contact points, reflections, and small details so the shadow appears grounded rather than floating or detached.
Confirm crop, aspect ratio, and destination format before placing the image into ads, stores, presentations, or social posts.
Understand the image limits before you depend on a final asset. Generated results can vary, and important details may need inspection against your brief.
Lighting, edge softness, and exact shadow placement may differ between attempts, especially when the source scene has complex surfaces or unclear light cues.
Small logos, fine edges, reflections, transparent materials, and background contact points can require close checking before the result is used in a layout.
Common questions about Add Shadow to Image, including inputs, controls, cost-related wording, and when to inspect the result before use.
Bring your source image and shadow direction, then create with Add Shadow to Image for a grounded visual result.