
Upload an image
Choose a JPG, PNG, or WebP image from your device.
Use the image brightness and contrast editor to refine a JPG, PNG, or WebP in your browser. Move the brightness and contrast controls independently, preview the processed result, and save the finished file when it looks right.
Source image
Choose an image to see the source preview.
Result
An image brightness and contrast editor changes how light or dark an image appears and how strongly tones are separated. Brightness shifts the overall light level, while contrast increases or reduces the difference between shadows, midtones, and highlights.
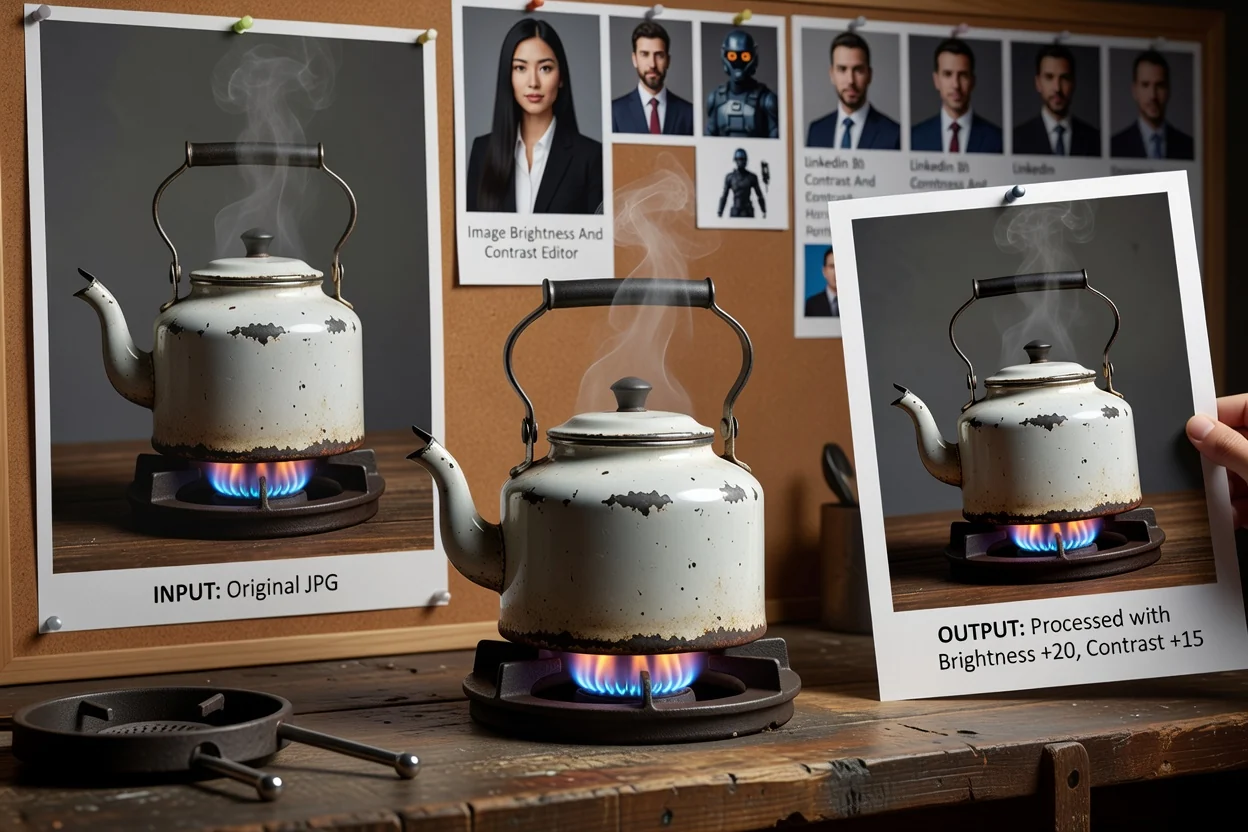
Process an image in a short, reviewable sequence.
Choose a JPG, PNG, or WebP image from your device.
Use the brightness slider to adjust image brightness, then use the contrast slider to change image contrast as needed.
Check the processed preview and refine the settings until the image result looks right.
The tool is built for a straightforward brightness and contrast correction workflow with supported image formats and a reviewable output.
Upload a JPG, PNG, or WebP image.
The output is a processed result that can be reviewed before saving as a downloadable file.
Use independent brightness and contrast controls. Each control applies a real pixel edit so the previewed change becomes part of the processed file.
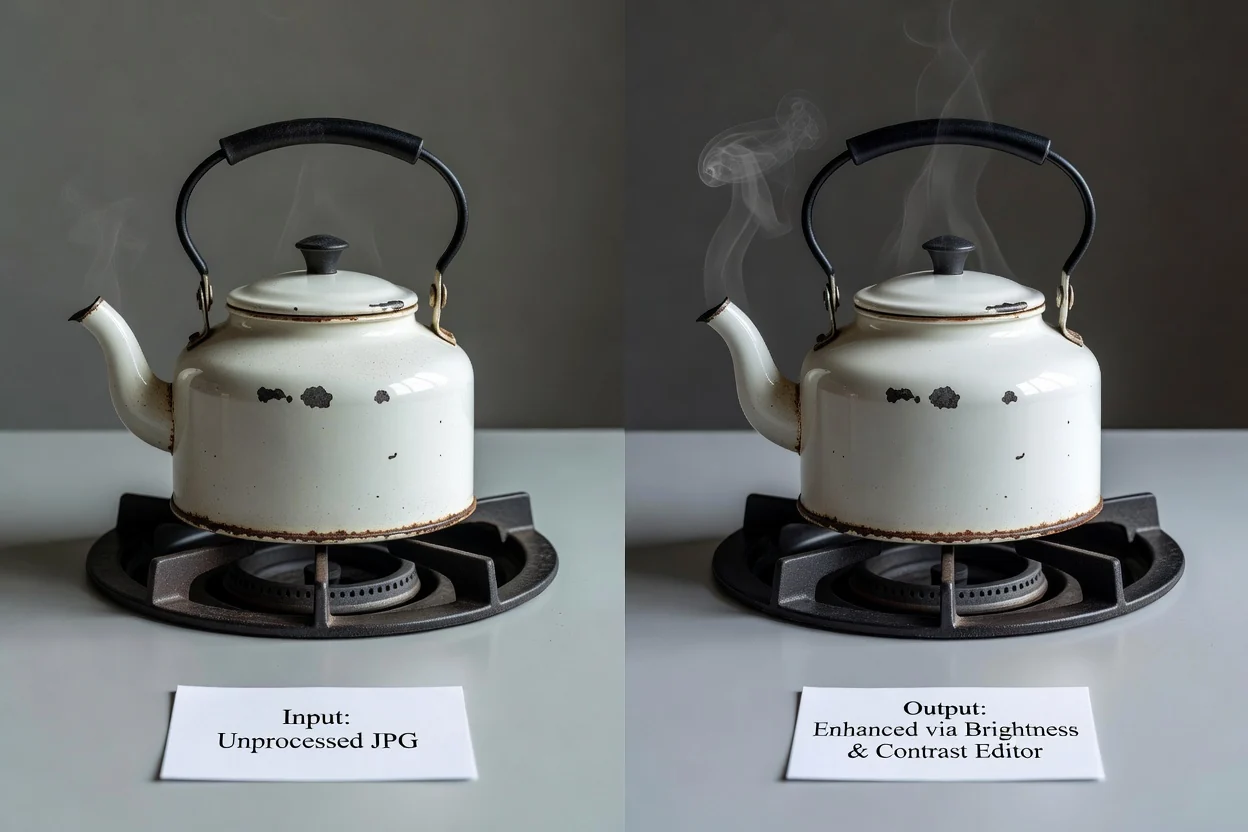
Focused controls help you tune the result without switching between multiple tools.
Move brightness and contrast separately so one correction does not force the other. You can adjust image brightness first, then fine-tune contrast for the final look.
Edits are applied to the actual pixels of the image, making the preview match the processed result more closely than a visual-only filter.
Process the file in a local browser workflow designed for a single image adjustment task.
Use the preview to compare the current look before saving, especially after you change image contrast on images with strong shadows or highlights.
Common ways to use the tool when an image needs quick tonal correction.
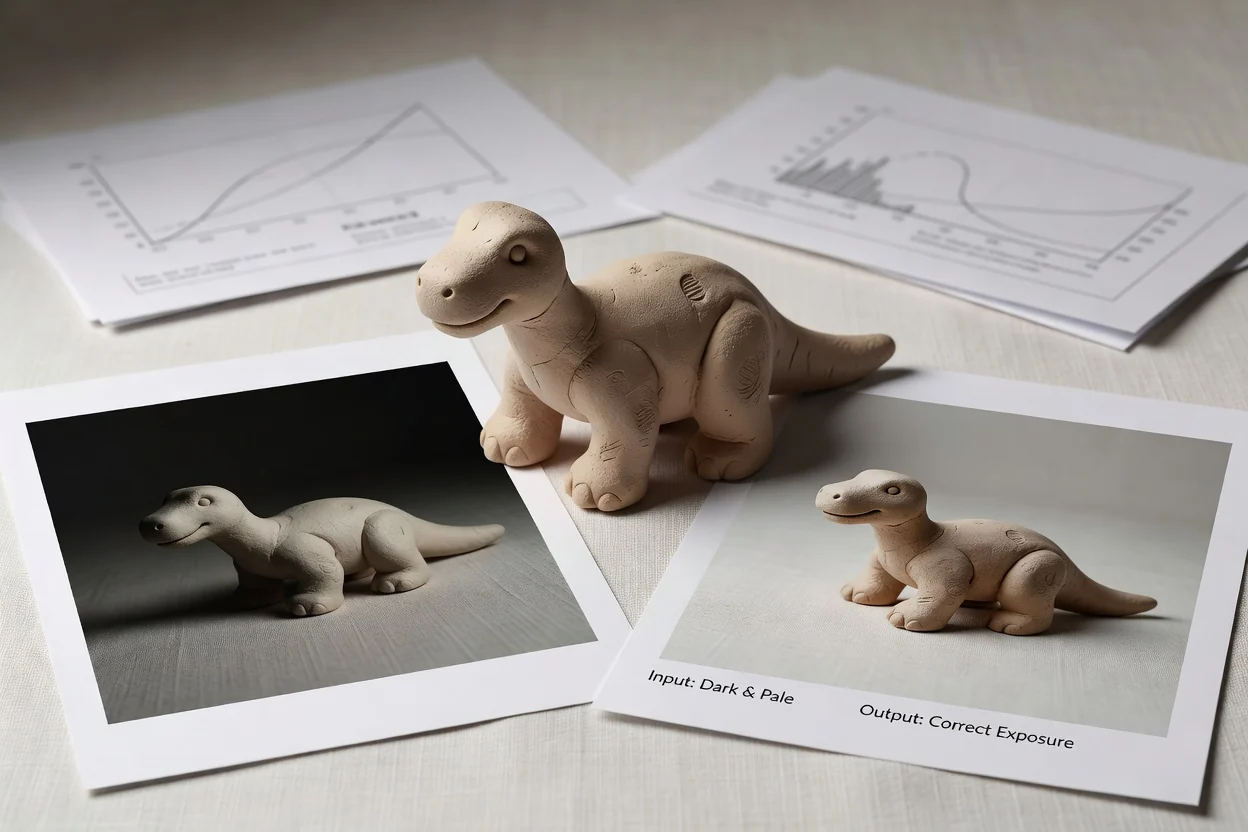
Adjust image brightness when a product, profile photo, or social post looks too dark or too pale.
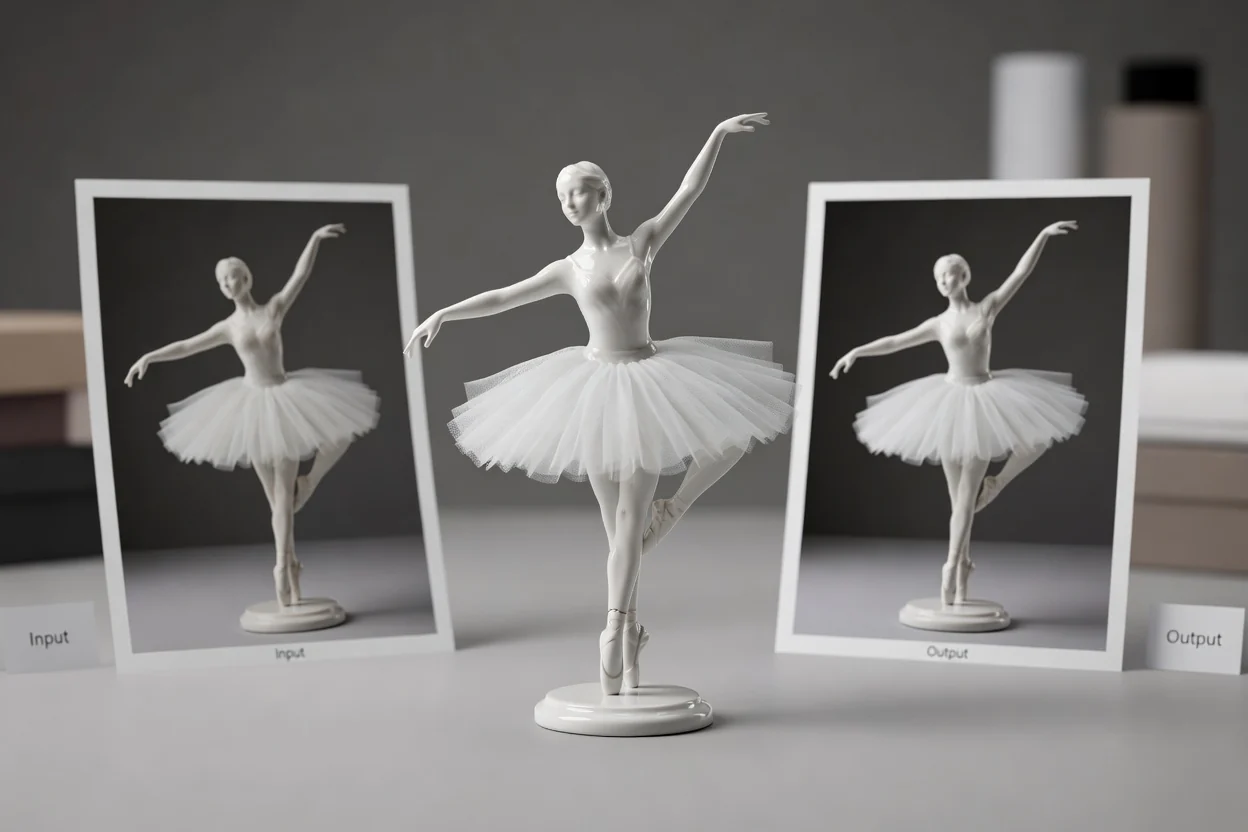
Change image contrast to make tones look clearer for presentations, listings, thumbnails, or editorial images.
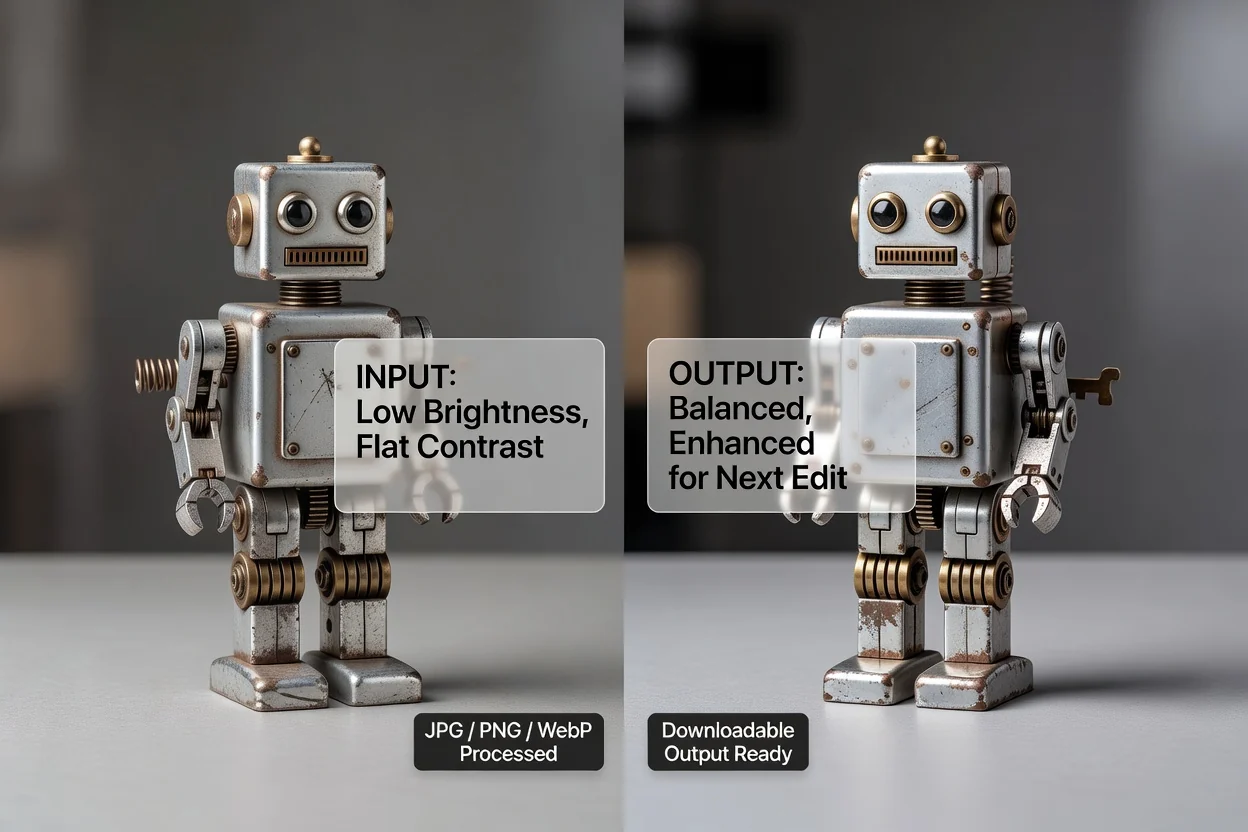
Use the independent controls to prepare a more balanced image before resizing, cropping, or converting it.
Brightness and contrast edits are useful for broad tone correction, but they cannot solve every source issue.
The adjustment affects the whole image rather than a selected region, subject, or background area.
If detail is completely clipped in the source, the editor cannot recreate information that is no longer present.
Very strong settings can make an image look washed out, overly dark, or harsh. Review the result before saving.
Answers to common questions about using the image brightness and contrast editor.
Continue with other image utilities when the brightness and contrast task is complete.
Upload a supported image, set brightness and contrast, review the result, and save the processed output.