
What changes
- Color photography becomes graphite line, tone, hatching, and paper texture
- Background detail and surface texture are simplified to support the drawn subject
Turn a focused portrait, pet, product, vehicle, object, or architecture photo into a recognizable pencil sketch with graphite shading, confident contours, crosshatching, and subtle paper texture.
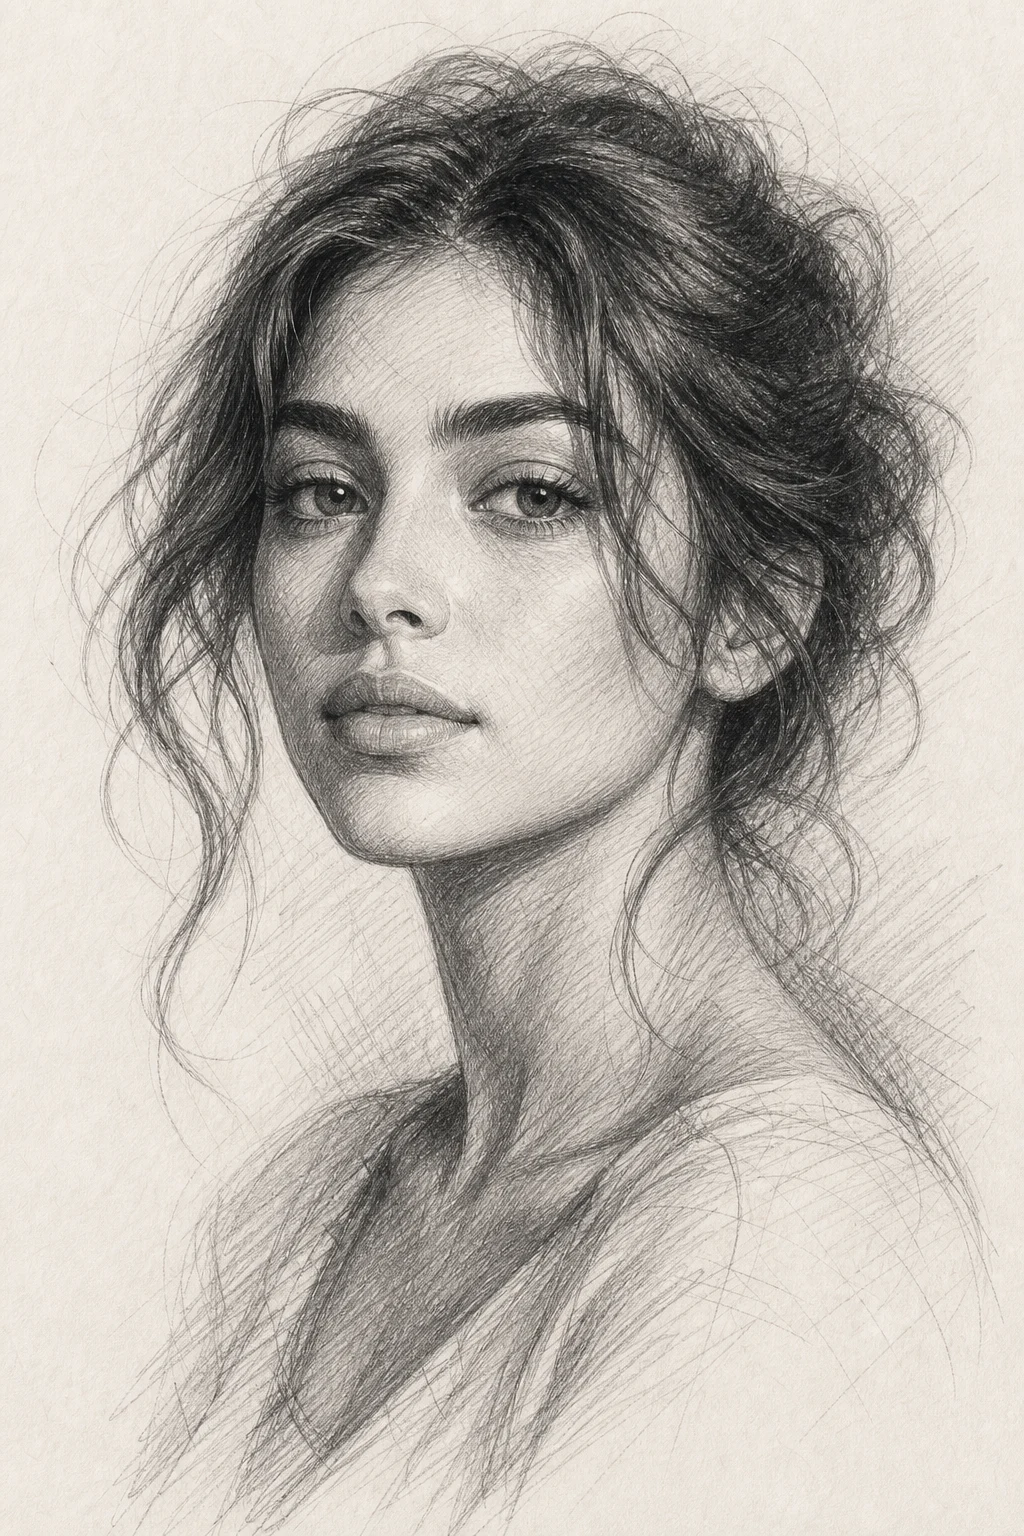
Apply the Photo to Sketch effect to the uploaded portrait, pet, product, or object photo. Preserve the subject identity or object shape, pose/layout, key details, and composition. Convert the image into a clean pencil sketch with realistic graphite shading, confident contour lines, crosshatching, subtle paper texture, graduated tones, and polished hand-drawn quality. Keep the uploaded subject recognizable regardless of whether it is a person, pet, or product.
Photo to Sketch converts a source photo into a pencil sketch look, replacing color photography with graphite linework, tonal shading, hatching, and paper texture. The result keeps the subject recognizable while simplifying background detail so the drawing style supports the main person, pet, product, object, vehicle, or building.
The image is reinterpreted as a pencil sketch while keeping the main subject, pose, proportions, and composition aligned with the original photo.
Start with a suitable photo, choose the drawing character you want, then review the final sketch for subject accuracy and pencil detail.
Pick a focused, well-exposed image with clear edges, readable midtones, and minimal motion blur.
Decide whether the sketch should feel like soft graphite, clean outline, charcoal-like contrast, or visible crosshatching.
Check the result for recognizable identity, correct proportions, coherent shadows, clean hatching, and readable small details.
Explore different pencil and graphite treatments depending on whether the subject needs soft shading, strong contours, crosshatching, or simplified background detail.
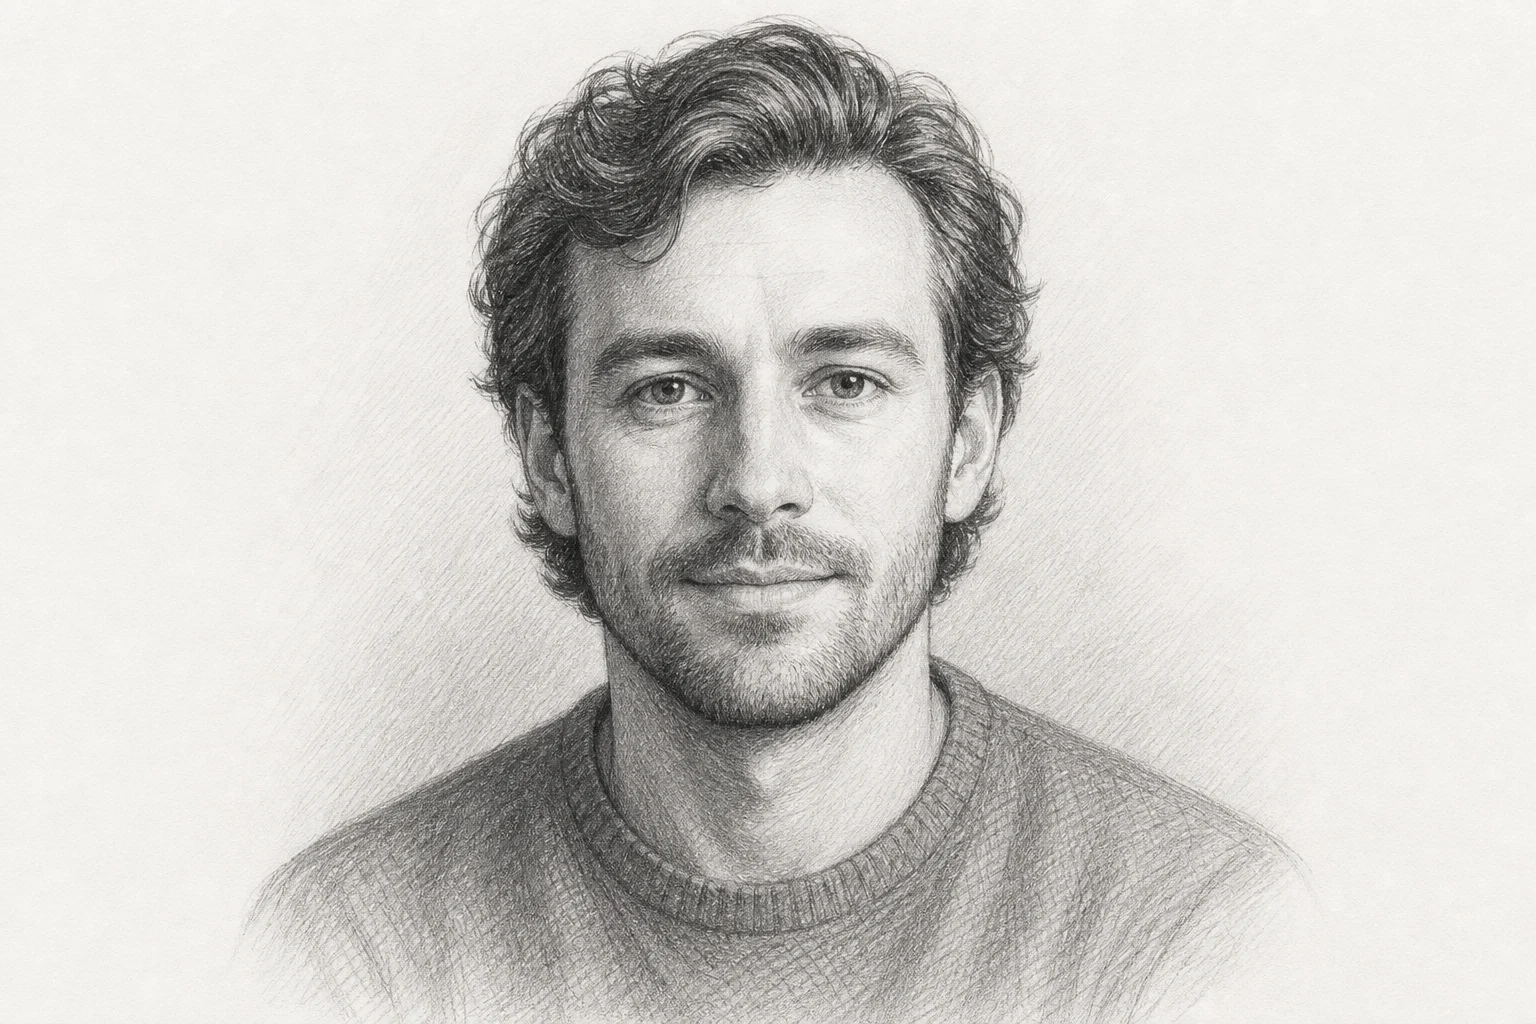
A balanced pencil sketch look with clear contours, graphite shading, and paper texture for portraits, pets, products, and everyday subjects.
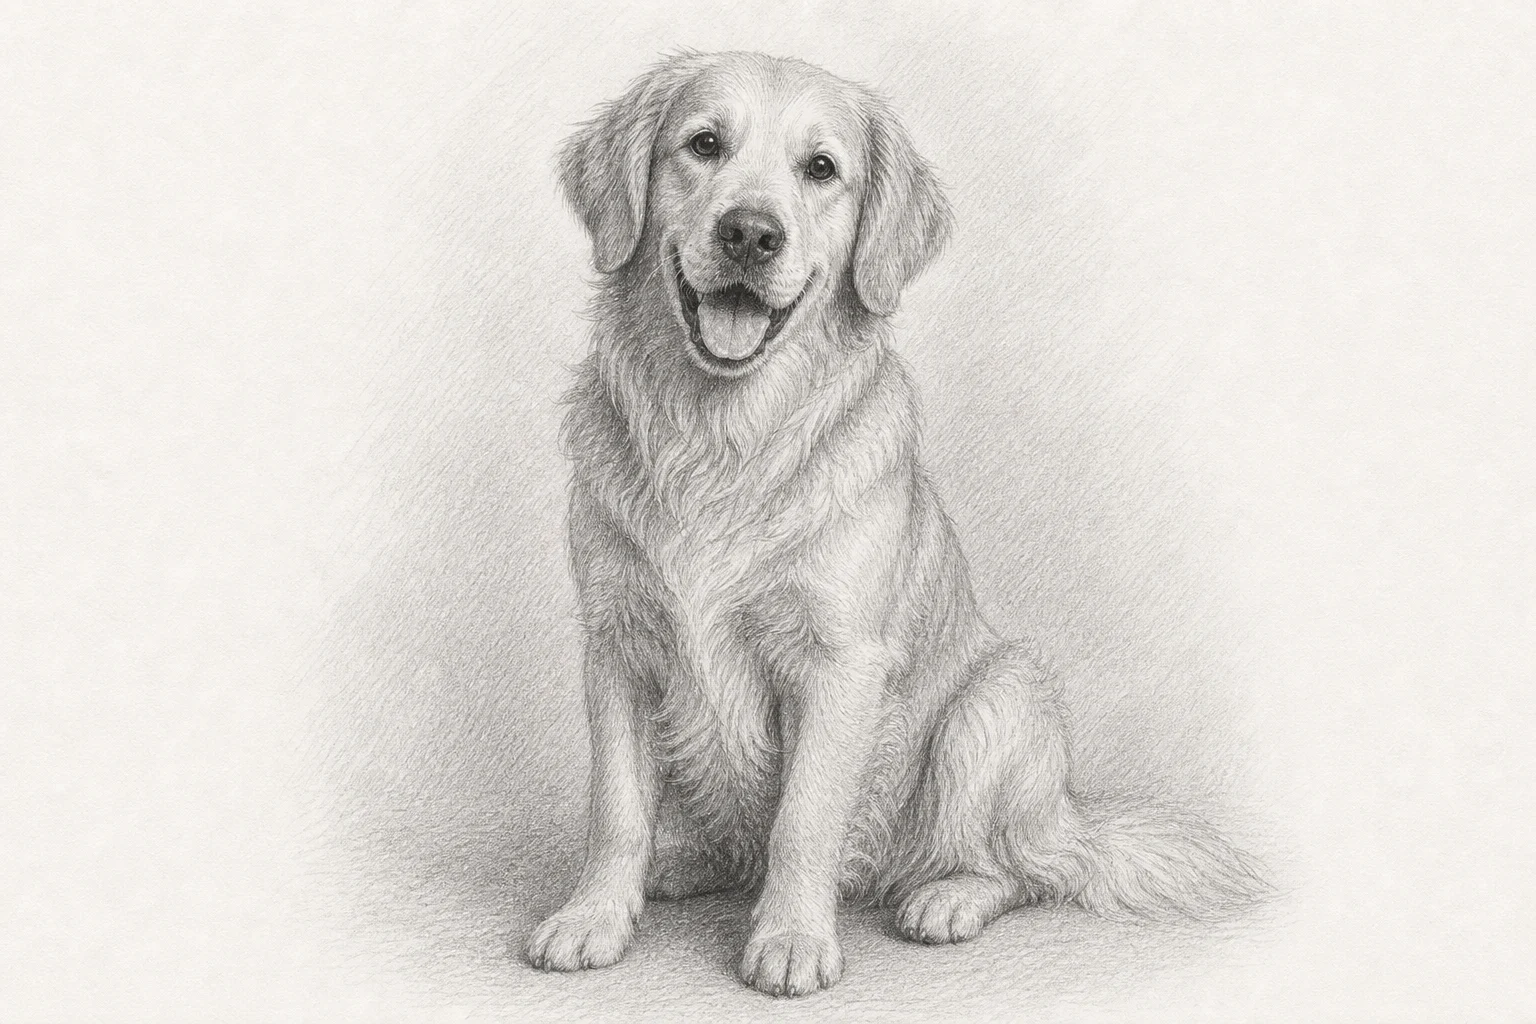
A more tonal graphite style that emphasizes graduated shadows, facial structure, object volume, and smooth midtone transitions.
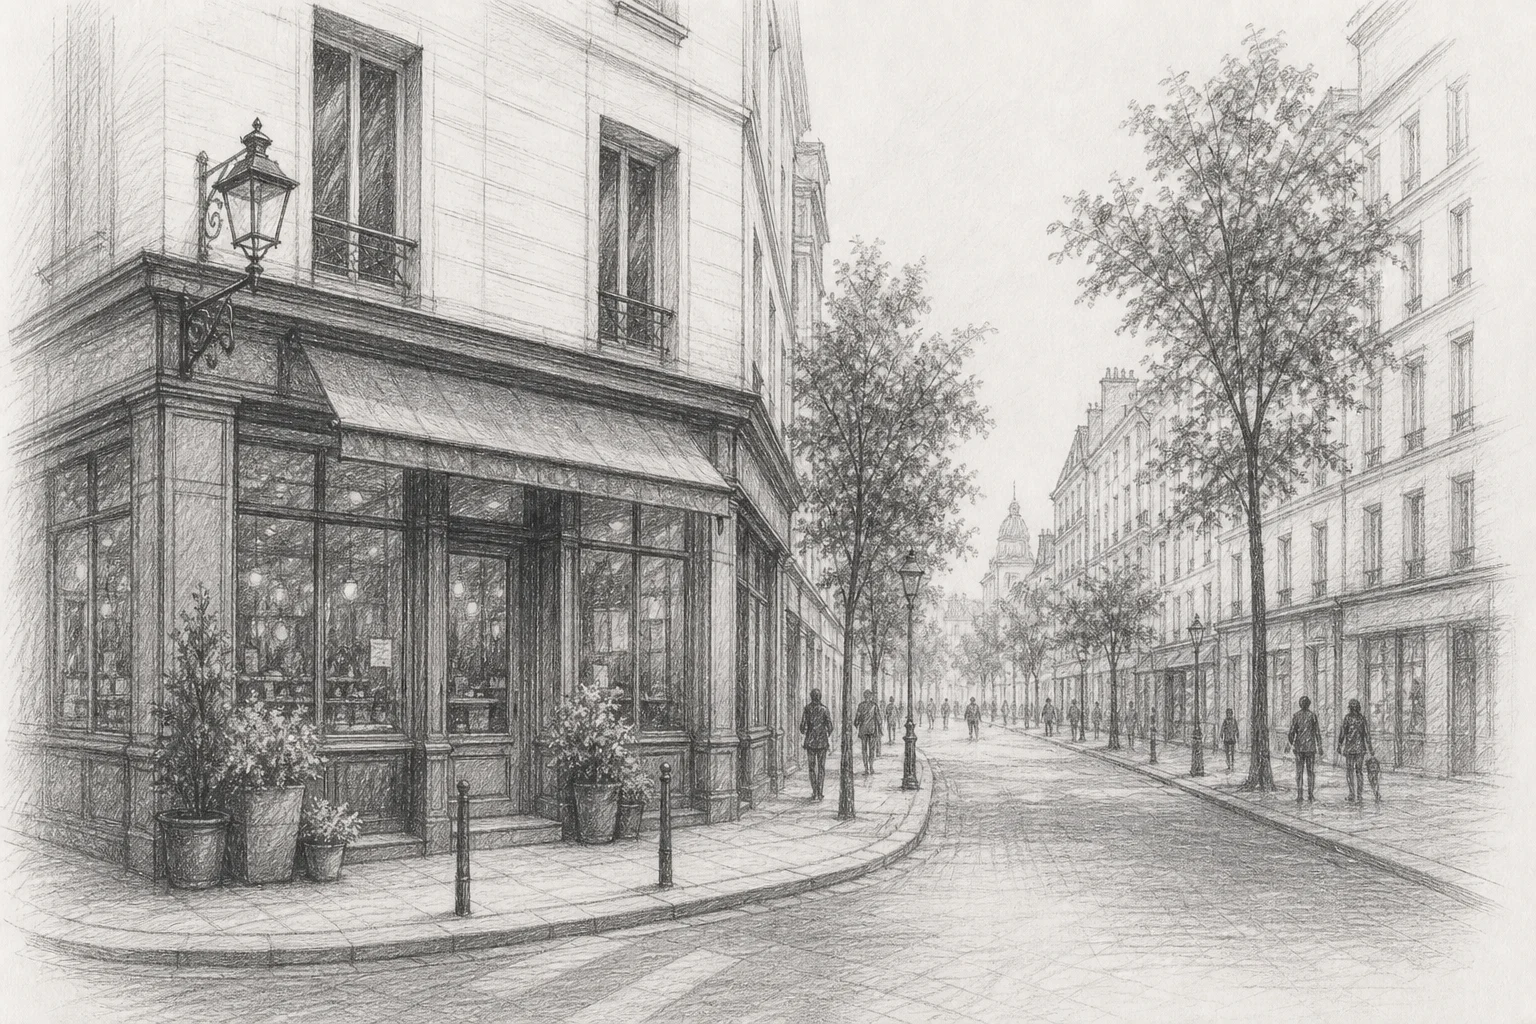
A line-forward sketch with confident outlines and visible hatching, useful for architecture, vehicles, products, and subjects with strong edges.
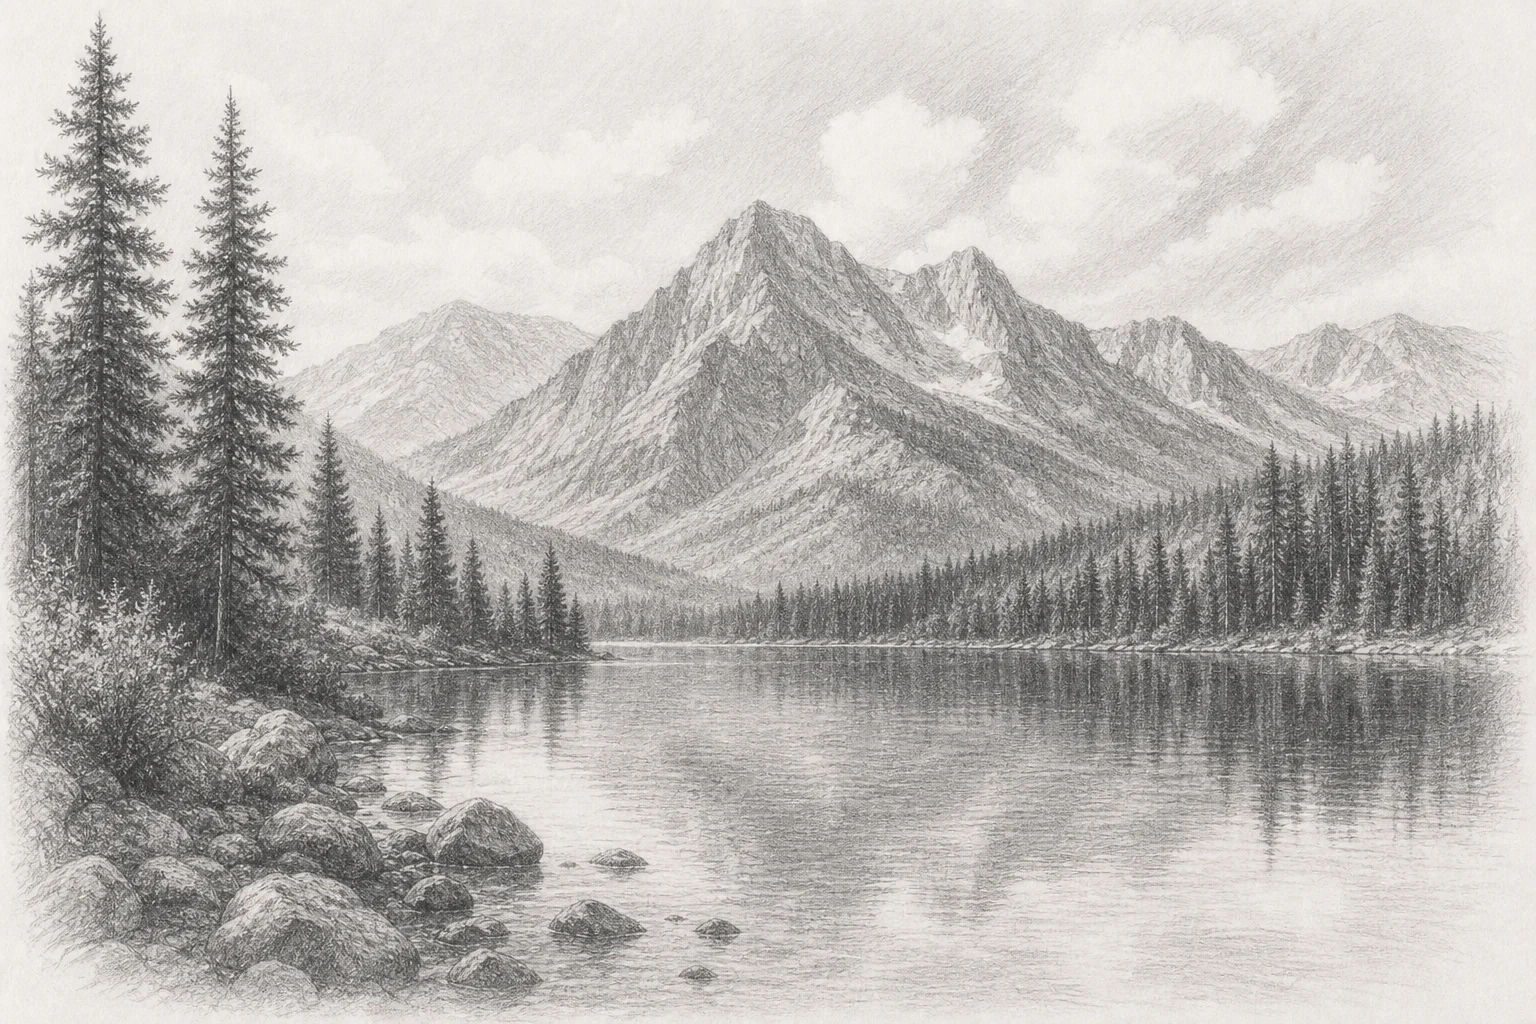
A cleaner concept sketch that reduces background detail so the main figure, product, pet, or object shape stays easy to read.
Use the sketch style when you want a hand-drawn visual concept from a real photo while keeping the subject recognizable.
Create pencil sketch concepts from portraits, pets, travel shots, and memorable photos for personal art direction or gift-art planning.
Turn products, buildings, objects, vehicles, screenshots, or scene photos into graphite-style references for storyboards, craft projects, design exploration, and illustration planning.
The strongest results usually start with a focused image that already has clear shapes, readable shadows, and enough midtone information for pencil shading.
Describe the drawing character you want: clean pencil sketch, realistic graphite shading, bold contour lines, soft portrait tones, crosshatching, subtle paper texture, or reduced background detail. Mention any key features that must stay recognizable, such as eyes, product edges, vehicle shape, building lines, or pet markings.
Sketch conversion interprets texture and shading rather than reproducing every pixel, so a final review is important for identity, structure, and line quality.
Compare facial features, anatomy, pet markings, product geometry, logos, vehicle lines, or architectural proportions against the original photo.
Look for continuous contours, believable hatching direction, consistent graphite shadows, and paper texture that supports the subject instead of distracting from it.
Fine text, hands, logos, and tightly repeated patterns can become simplified or noisy, so zoom in and make sure important small details remain readable.
Common questions about choosing a source photo, guiding the pencil sketch style, and reviewing the finished drawing.
Use a clear, well-lit source image and create a pencil sketch concept with recognizable structure, graphite shading, and controlled background detail.