
What changes
- Scratches, dust, cracks, stains, fading, blur, and uneven contrast are reduced
- Tonal balance and recoverable edge or facial detail are clarified
Clean up scanned family, archival, or historical photographs affected by scratches, fading, stains, dust, blur, or uneven contrast while keeping the original faces, clothing, setting, and period character intact.
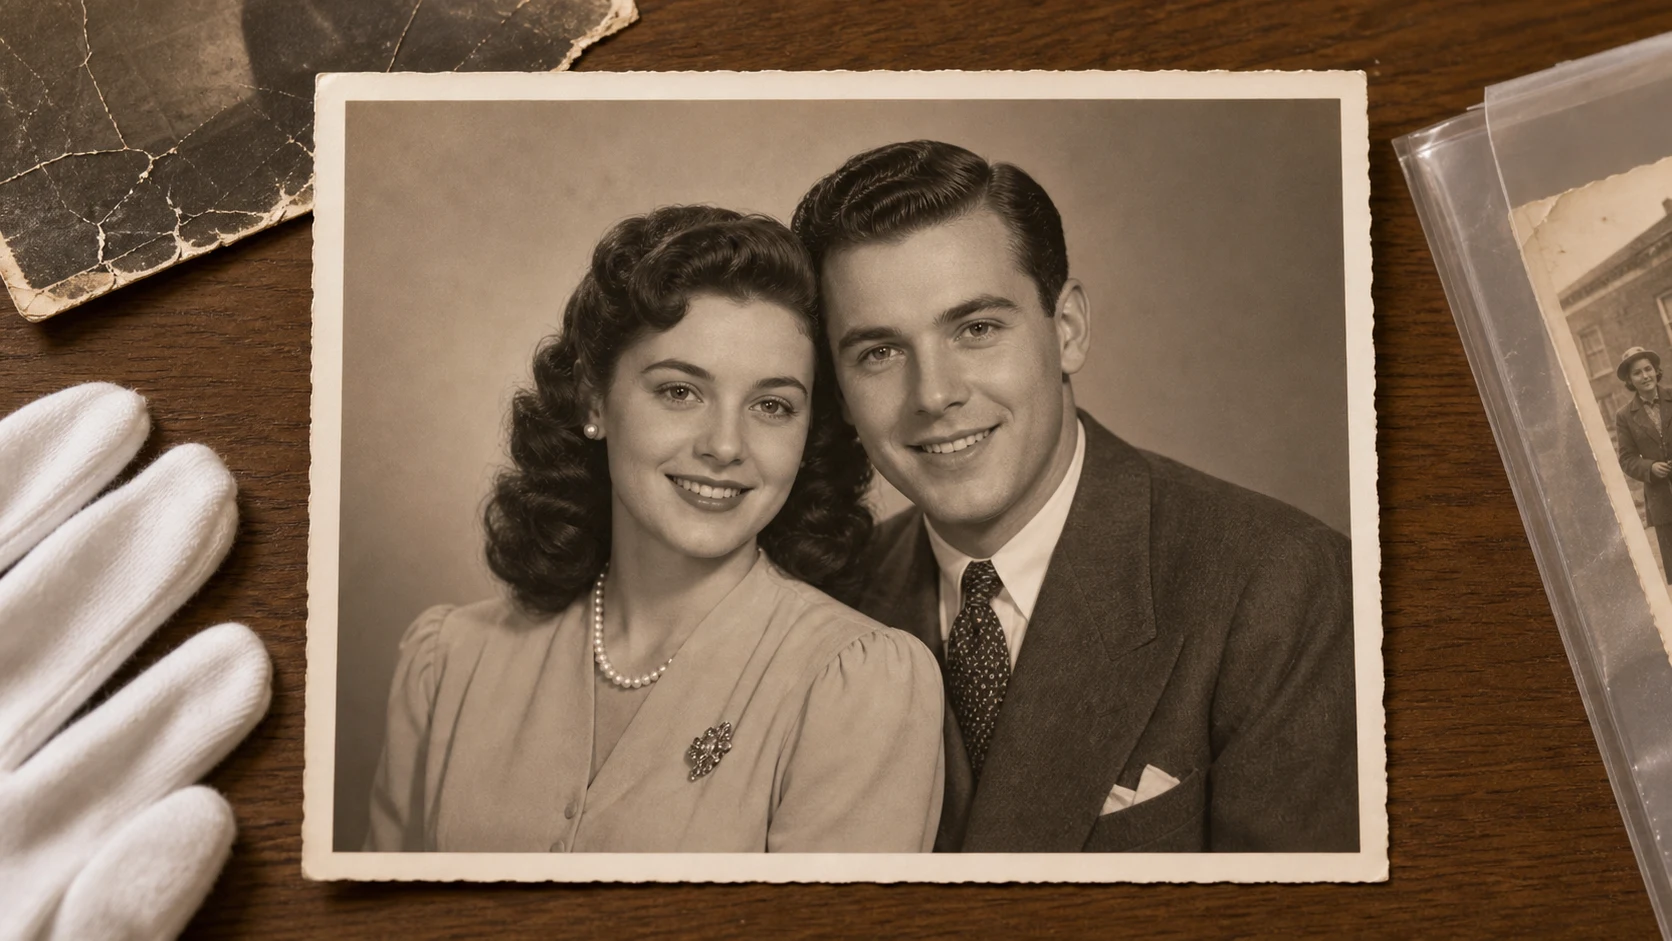
Apply the Old Photo Restoration effect to the uploaded old or damaged photo. Preserve the original people, faces, pose, clothing, background, composition, and historical character. Restore scratches, dust, fading, blur, stains, cracks, and contrast issues while keeping the photo natural. Enhance detail, tonal balance, and optional gentle colorization only when appropriate. Do not modernize clothing, change identities, or replace the scene.
Old Photo Restoration is designed for repairing visible age, print, and scan damage in older photographs without redesigning the people or historical scene. It helps reduce scratches, cracks, stains, dust, fading, blur, and contrast problems so the image becomes cleaner and easier to read while staying faithful to the original photograph.
The result should look cleaner and more legible while still reading as the same original photograph, not a newly staged or modernized scene.
Start with the best capture of the original print, guide the restoration toward repair rather than redesign, then compare the result with the source before using it in an archive or reprint.
Scan at the highest practical quality, or photograph the print in even light with no glare, shadows, perspective skew, or cropped damage.
Keep the full damaged area and border detail where possible so scratches, stains, cracks, and fading can be addressed in context.
Decide whether the image should remain black-and-white, sepia, or color, and prioritize natural tone, grain, and period character.
Compare the restored version against the original, checking faces, hands, clothing, background objects, repaired areas, contrast, and sharpness.
Different source photos call for different restoration priorities, from subtle monochrome cleanup to heavier repair of scratched or faded prints.
Reduce scratches and fading in an older portrait while keeping facial features, clothing, pose, and print character close to the original.

Improve a worn archival image by balancing tone and reducing visible damage without replacing the historical setting or composition.
Use this restoration workflow when the goal is to preserve memory, reference value, or print readability while respecting the original image.
Clean up family portraits, wedding photos, military portraits, school pictures, and inherited albums for genealogy projects or personal archives.
Prepare aged photographs for memorial displays, historical reference, documentation, or reprints while keeping the original scene and period cues recognizable.
A careful source image gives restoration more real detail to work from and reduces the chance of unnatural repairs.
Ask for scratches, fading, stains, blur, cracks, dust, and uneven contrast to be reduced while preserving the original people, expressions, pose, clothing, background, composition, monochrome or color character, film texture, and period cues. Note whether the photograph should stay black-and-white, sepia, or color.
Restoration improves legibility, but missing detail is estimated. Human review is especially important for identity-sensitive faces and historically important images.
Compare faces, expressions, hands, clothing, and background objects with the original to make sure identities and scene details have not shifted.
Look closely at repaired cracks, scratches, stains, and missing areas for invented shapes, repeated texture, or unnatural patching.
Review grain, contrast, color, and edge sharpness so the photo still feels like an older print rather than an overprocessed modern image.
Common questions about preparing, restoring, and reviewing aged photographs.
Upload the clearest scan or evenly lit photograph you have, then review the cleaned result against the original for faithful faces, clothing, grain, and historical detail.