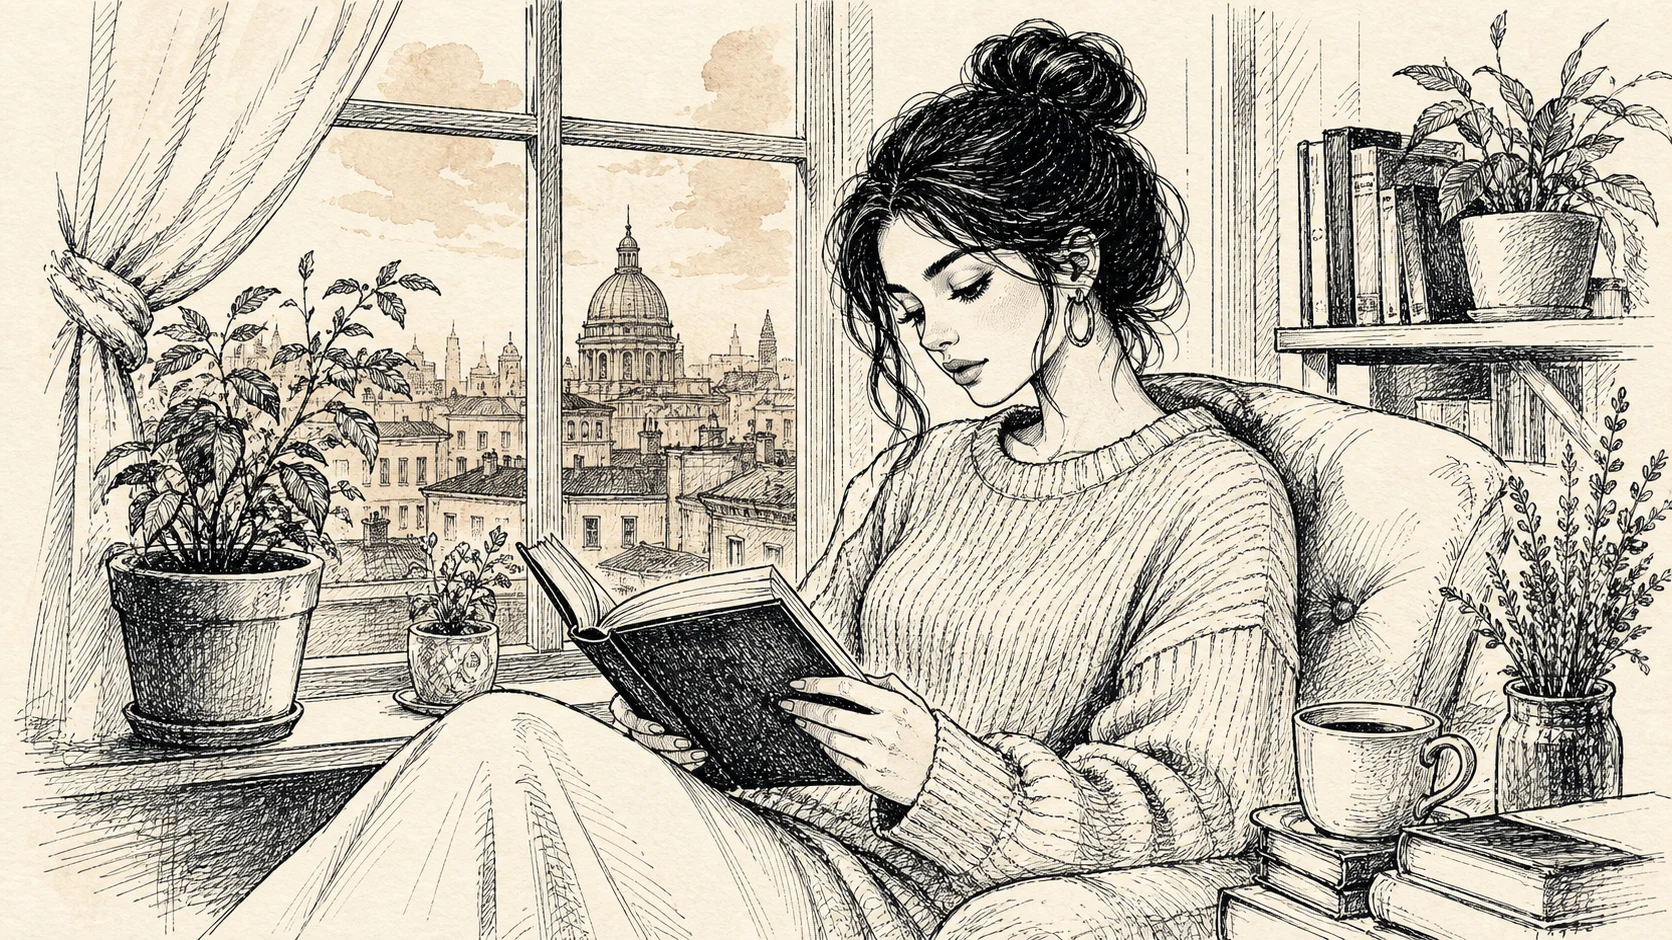
Ink Illustration Generator for crisp black-ink art

Ink Illustration Generator for crisp black-ink art

Transform a clear portrait or object photo into a refined ink-drawn illustration with crisp contours, expressive black linework, controlled shading, and a subtle handmade paper feel.

Ink Illustration Generator example result
0 / 2000
Template prompt

Ink Illustration Generator for crisp black-ink art

Apply the Ink Illustration effect to the uploaded image. Preserve the main subject identity or object shape, pose/action silhouette, key details, and composition. Convert the image into a refined ink illustration with confident black linework, crosshatching, controlled negative space, subtle paper texture, expressive contour detail, and editorial illustration quality. Keep the uploaded subject recognizable through the ink style.

Ink Illustration Generator example result

What is an Ink Illustration Generator?

The Ink Illustration Generator is designed to restyle a source photo as a black-ink artwork while keeping the subject recognizable. It emphasizes confident contour lines, crosshatching, controlled negative space, subtle paper grain, and editorial illustration quality.

How the ink transformation works

This template focuses on a handmade ink look while retaining the core structure and composition of the uploaded image.

What changes

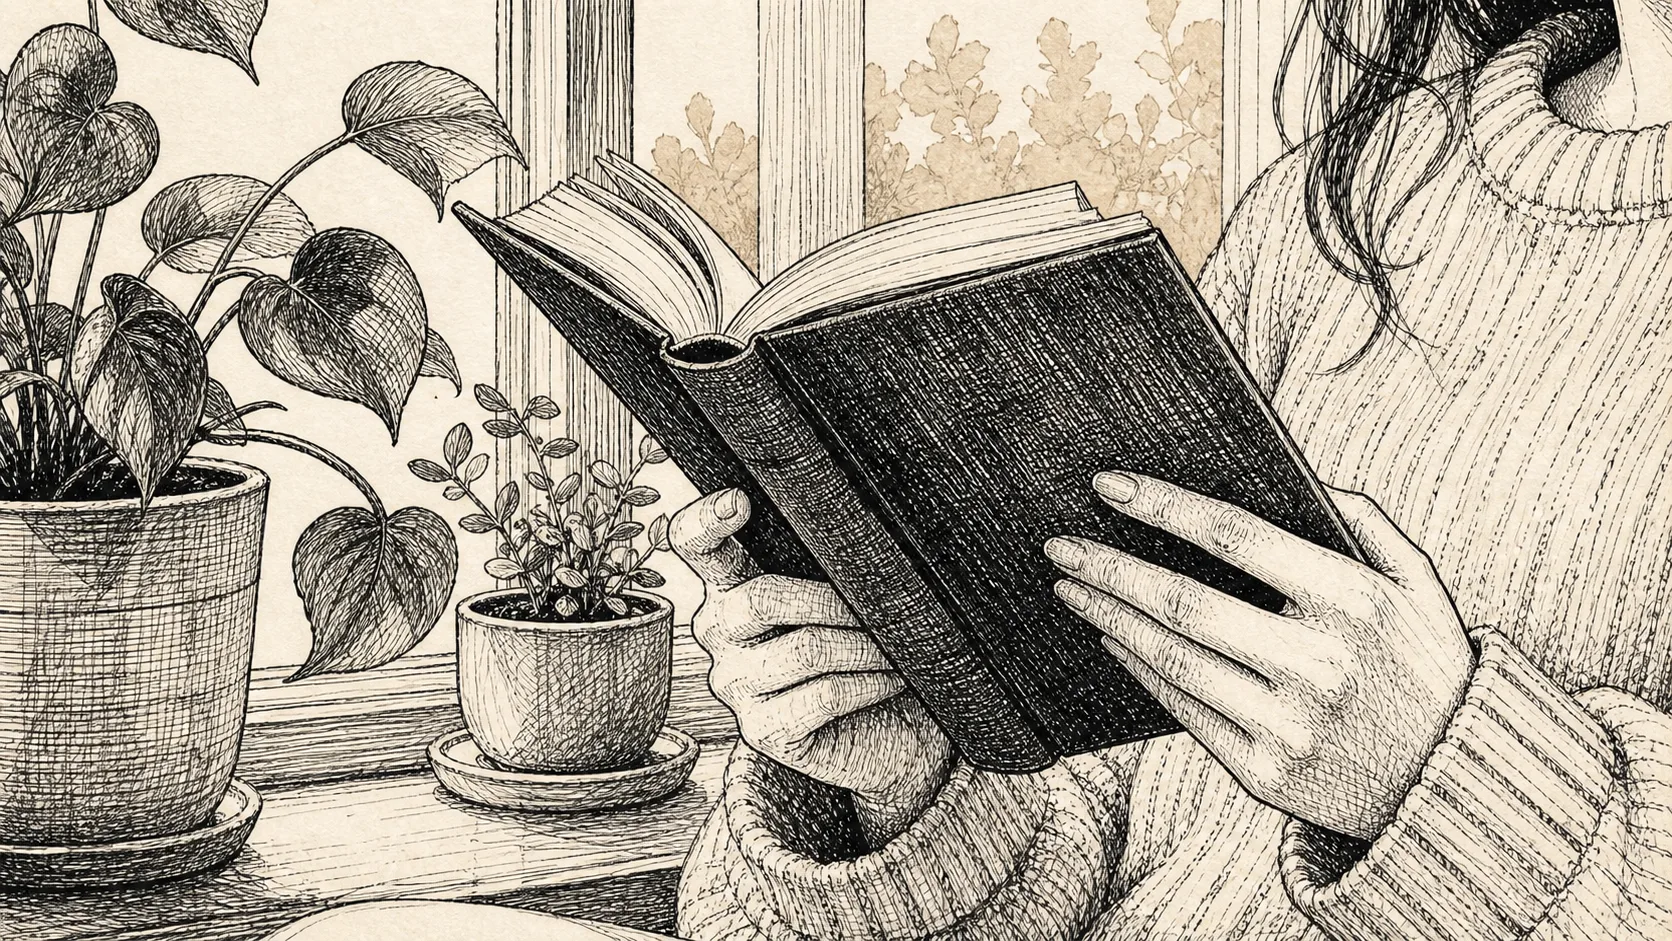
  • Turns a portrait or object photo into an ink-drawn illustration with crisp contours, controlled shading, and a handmade black-ink feel.
  • Adds dark expressive strokes, crosshatching, controlled negative space, and subtle paper grain.
  • Creates a refined illustration style with confident contour detail and editorial artwork character.
  • Applies the Ink Illustration effect while shaping the image into a cohesive black-line visual.
What stays recognizable

  • Preserves the main subject identity or object shape, pose, action silhouette, key details, and composition.
  • Keeps the uploaded subject recognizable through the ink style.
  • Maintains the subject’s defining features so the result still connects clearly to the source image.
  • Keeps important colors, pose, silhouette, and subject details visually coherent within the black-ink treatment.

How to create an ink illustration

Follow a simple process to move from a clear source photo to a polished ink-style illustration preview.

1

Upload a clear source image

Select a sharp portrait or object photo where the main subject, pose, silhouette, and important details are easy to see.

2

Apply the ink style

Use the ink illustration direction to emphasize confident black linework, crosshatching, controlled shading, and subtle paper texture.

3

Review and refine

Check the final image for recognizable identity, clean edges, coherent shading, and any artifacts around faces, hands, text, or small objects.

Ink Illustration style examples

Explore different ink illustration examples with crisp contours, expressive shading, and recognizable subject structure.

Ink Illustration Generator example result

Editorial ink drawing style

A refined ink illustration look with bold contour definition, dark linework, and subtle handmade texture.

Ink Illustration Generator Example 2

Crisp contour illustration

A clean black-ink treatment that emphasizes silhouette, crosshatching, and controlled negative space.

Ways to use the Ink Illustration Generator

Use this template when you want a focused ink illustration preview before choosing a final creative direction.

Creative image styling

Turn a portrait, pet photo, product image, or object study into a crisp ink Illustration for a personal or creative project.

Visual direction testing

Compare the black-ink visual direction before refining, sharing, or presenting the result in a mood board, concept draft, or design exploration.

How to prepare your image

A stronger source image helps the ink treatment keep the subject readable while adding expressive linework and shading.

Source image checklist

  • Use a sharp source image with the main subject clearly visible.
  • Avoid heavy blur, blocked details, extreme crops, or confusing overlaps.
  • Choose a source whose pose and framing support the intended Ink Illustration Generator result.

Prompt guidance

For best results, ask for a refined ink illustration with confident black linework, crosshatching, controlled negative space, subtle paper texture, expressive contour detail, and an editorial illustration feel. Mention any key features that must remain clear, such as facial structure, object shape, pose, clothing, or important accessories.

What to check in the result

Generated details can vary, so review the ink illustration before refining, sharing, or presenting it.

Recognizable subject

Compare the result with the original photo to confirm the subject identity, object shape, pose, action silhouette, and defining details still match.

Consistent ink treatment

Look for coherent black-ink linework, crosshatching, controlled shading, negative space, and paper texture across the full image.

Detail review

Inspect faces, hands, text, edges, small objects, and background transitions for distortions, awkward marks, or distracting artifacts.

Ink Illustration Generator FAQ

Quick answers about creating ink-style portraits, objects, and illustrative drafts from a source image.

What is Ink Illustration Generator?
It is a template for turning a portrait or object photo into an ink-style illustration with crisp contours, dark strokes, controlled shading, and a handmade black-ink look.
Is Ink Illustration Generator free?
Access details can vary. Check the current ClipCanva experience for any usage requirements before starting your image.
How do I use Ink Illustration Generator?
Upload a clear source image, make sure the subject and defining details are visible, then create an ink illustration preview. Review the result for identity, edges, shading, and small details.
What image formats does Ink Illustration Generator support?
Use common image formats supported by the upload flow. A sharp, well-lit photo with the subject clearly framed will usually give you a stronger ink illustration result.
Can I use Ink Illustration Generator results commercially?
Usage rights can depend on the source image and your intended use. Review the relevant terms and make sure you have permission for any photo, person, object, or artwork you upload.
What Ink Illustration Generator changes are applied?
It changes the image into a refined ink illustration with black linework, crosshatching, controlled negative space, paper texture, and expressive contour detail.
Which source image works best?
Choose a sharp portrait or object photo with a clear silhouette, visible features, and minimal obstruction. Avoid heavy blur, extreme crops, confusing overlaps, or blocked details.
How do I keep the subject recognizable?
Start with a clear photo and keep the original pose, silhouette, and key details visible. After creating the result, compare the face, object shape, hands, edges, and important features with the source.

Create a crisp Ink Illustration today

Use a clear portrait or object photo to create an ink-drawn visual with bold contours, controlled shading, and recognizable subject detail.