AI Henna Generator for Hand and Mehndi Designs

AI Henna Generator for Hand and Mehndi Designs

Create a henna design for hands, fingers, wrists, arms, ankles, or feet. Upload a clear photo to preview a pattern on you, or describe a standalone mehndi idea from scratch.

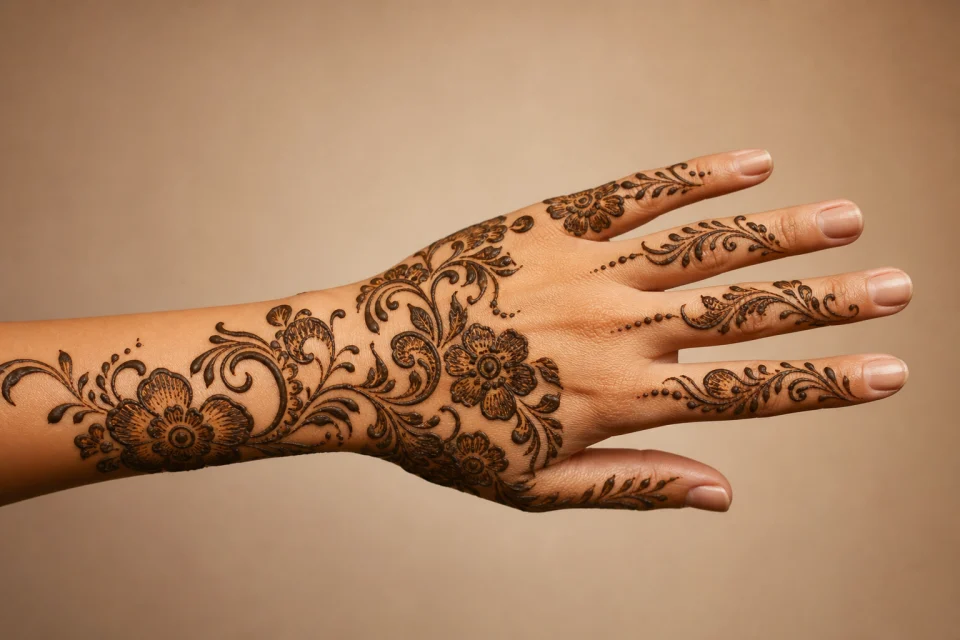
Realistic Arabic floral henna preview on the back of a hand
0 / 2000
Template prompt

AI Henna Generator for Hand and Mehndi Designs

Apply an elegant Arabic henna design to the back of the hand in the uploaded photo. Use flowing floral vines, bold leaves, clean curved lines, and balanced negative space. Follow the natural shape of the hand, preserve the fingers and skin texture, and keep the result realistic. Treat the design as visual inspiration, not a real skin application.

Realistic Arabic floral henna preview on the back of a hand

Create a henna design from a photo or prompt

The AI Henna Generator helps you create visual henna concepts for palms, fingers, backs of hands, wrists, forearms, ankles, and feet. Start with a clear source photo to see how a design could follow your natural contours, or describe a fresh mehndi pattern without uploading an image.

Transform a simple photo into a henna preview

Shape the design direction by choosing where the Henna appears, how much area it covers, and which mehndi style it should follow.

What you can change

  • Create a henna design for your hand, fingers, wrist, arm, or feet from a photo or written idea.
  • Upload a clear hand, wrist, arm, or foot photo and place the design along the natural contours.
  • Specify palm, fingers, back of hand, wrist, forearm, ankle, or feet, plus minimal, half, or full coverage.
  • Compare Indian bridal, Arabic floral, Moroccan geometric, mandala, jewelry-inspired, and modern minimal directions.
What should stay consistent

  • Follow the natural shape of the hand, preserve the fingers and skin texture, and keep the result realistic.
  • The main subject remains recognizable from the source image.
  • Defining colors, pose, silhouette, and important subject details stay coherent.

AI Henna Generator workflow

Move from a simple idea to a clearer henna preview by defining the source, placement, and style.

1

Start with a clear input

Use a sharp photo of the hand, wrist, arm, ankle, or foot, or begin with a standalone description if you do not need a personal preview.

2

Choose placement and coverage

Name the placement, such as palm, fingers, back of hand, wrist, forearm, ankle, or feet, then choose minimal, half, or full coverage.

3

Select a henna style

Describe the design direction, such as Arabic floral, Indian bridal, Moroccan geometric, mandala, jewelry-inspired, or modern minimal.

4

Refine the preview

Review the result for realism, subject consistency, clean edges, and natural alignment with the body area.

Henna design styles to try

Try different henna directions to compare coverage, pattern density, and overall mood.

Arabic floral henna with flowing vines

Arabic floral henna

Flowing floral vines, bold leaves, curved lines, and open negative space for a graceful back-of-hand look.

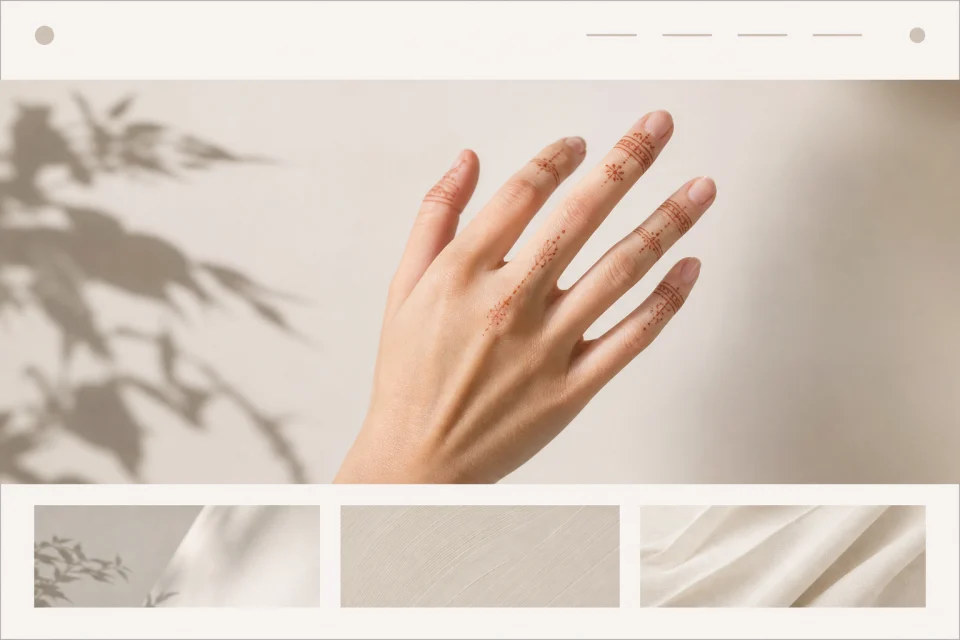
Minimal finger henna pattern

Minimal finger pattern

Light finger details and simple accents for a clean, modern style with minimal coverage.

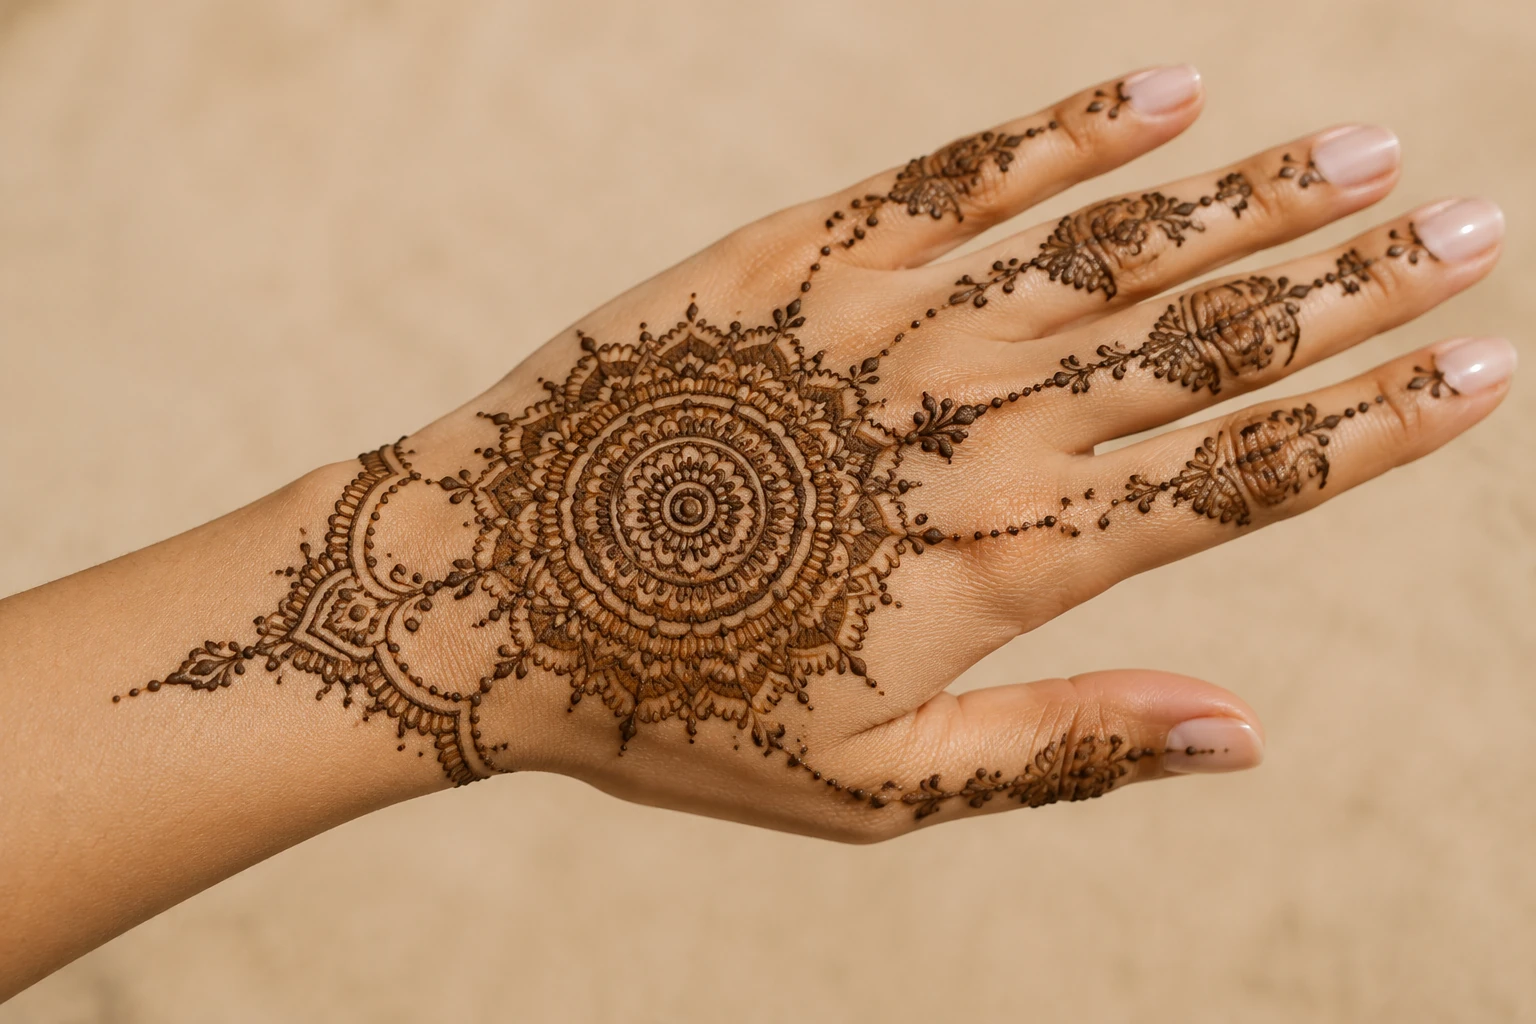
Mandala henna design on the back of a hand

Mandala hand design

A centered mandala layout with balanced ornamental details for a classic hand-focused design.

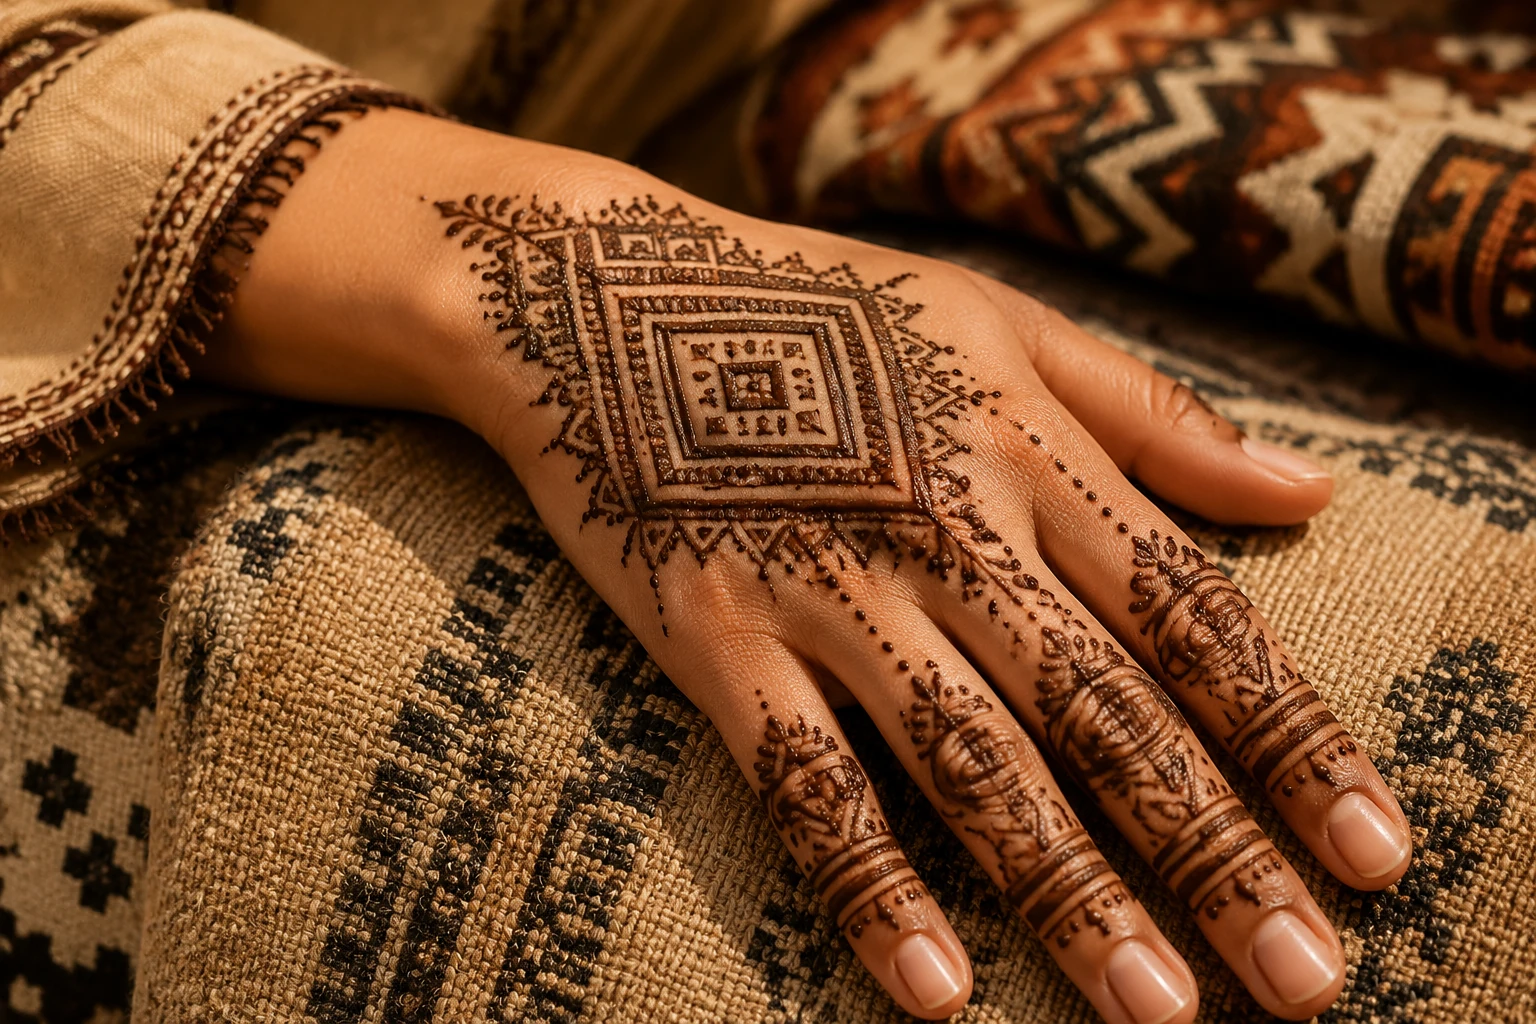
Moroccan geometric henna pattern

Moroccan geometric pattern

Structured lines and angular motifs for a Moroccan-inspired geometric henna direction.

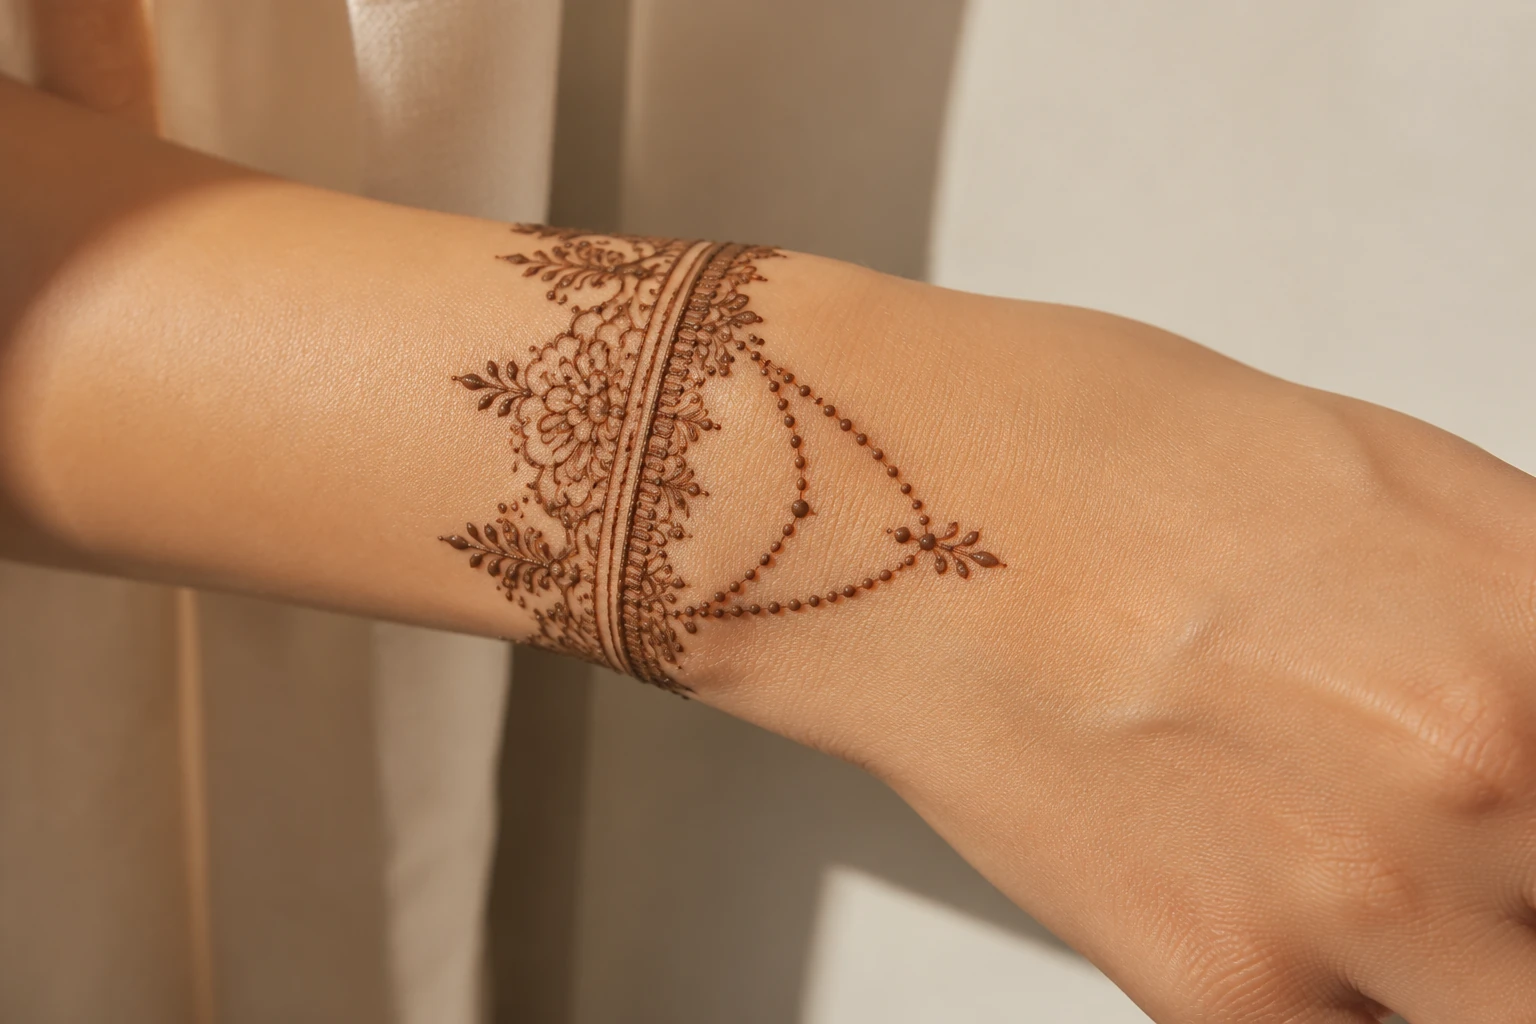
Henna bracelet pattern around the wrist

Henna bracelet wrist pattern

A bracelet-like henna band around the wrist, ideal for jewelry-inspired styling and lighter coverage.

Popular ways to use this Henna Generator

Use this template when you need a clear visual direction before planning, sharing, or refining a henna look.

Bridal planning

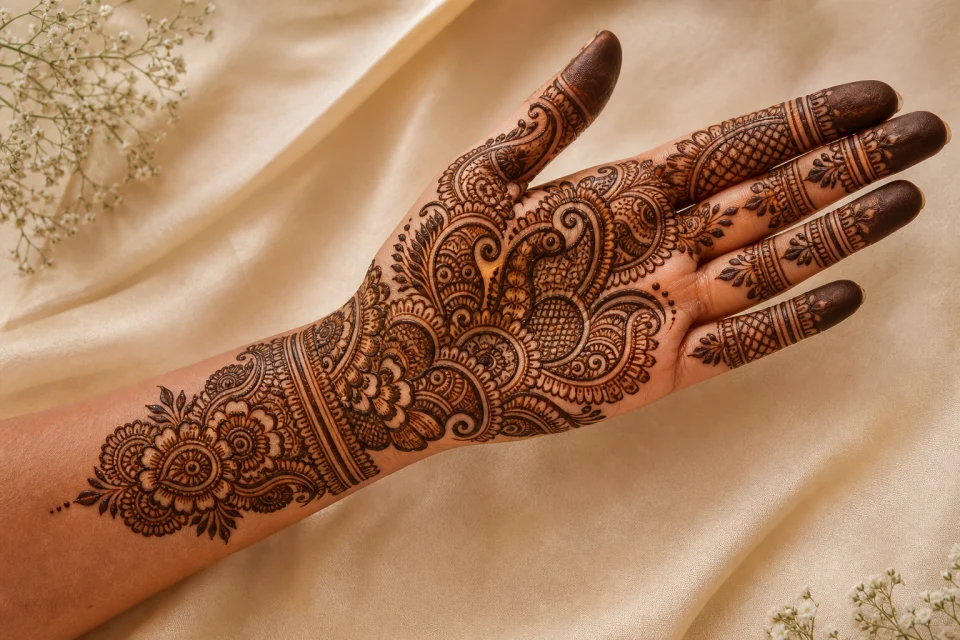
Explore bridal mehndi ideas for hands, wrists, arms, feet, and detailed full-coverage concepts.

Eid and Diwali looks

Preview festive henna styles for Eid, Diwali, family gatherings, and special celebrations.

Artist consultation

Bring a visual reference to a henna artist so you can discuss placement, density, and motifs more clearly.

Practice and inspiration

Study pattern flow, negative space, floral vines, mandalas, and geometric layouts for creative practice.

Personal project previews

Create a focused AI Henna Generator preview for a personal mood board, event plan, or creative project.

Style comparison

Compare visual directions before refining the prompt, sharing the concept, or presenting the result.

How to guide the henna design

A strong result starts with a clear image and a specific description of the style, placement, and coverage you want.

Choose the right source photo

  • Use a sharp source image with the main subject clearly visible.
  • Avoid heavy blur, blocked details, extreme crops, or confusing overlaps.
  • Choose a source whose pose and framing support the intended AI Henna Generator result.

Prompt tips for better henna designs

Mention the body area, style, coverage level, and key motifs. For example: “Apply an elegant Arabic henna design to the back of the hand with flowing floral vines, bold leaves, clean curved lines, and balanced negative space. Follow the natural shape of the hand, preserve the fingers and skin texture, and keep the result realistic.”

Review before you use the preview

Review each result as a visual draft. Generated details can vary, so a clearer source photo or more specific prompt may be needed.

Check subject accuracy

Compare the hand, fingers, wrist, foot shape, pose, and important details against the source photo.

Review the henna placement

Make sure the henna design follows natural contours and looks coherent across the selected area.

Look closely at details

Inspect edges, skin texture, fingers, jewelry, small objects, and background transitions for artifacts.

AI Henna Generator FAQ

Answers to common questions about creating, previewing, and refining henna design ideas.

Can I preview henna on my own hand?
Yes. Upload a clear photo of your hand, wrist, arm, ankle, or foot, then describe the placement and style you want. A straight, well-lit image with visible fingers and skin texture works best.
Which photo works best?
Use a sharp, evenly lit photo where the area for the design is not blocked by jewelry, sleeves, shadows, or motion blur. The full hand or foot should be visible if you want a larger pattern.
What henna styles can I generate?
You can explore Indian bridal, Arabic floral, Moroccan geometric, mandala, jewelry-inspired, bracelet-style, finger-focused, and modern minimal henna directions.
Can I control where the design appears?
Yes. Specify palm, fingers, back of hand, wrist, forearm, ankle, or feet, and mention whether you want minimal, half, or full coverage.
Can I show the result to a henna artist?
Yes. The result can be useful as a visual reference for a consultation, especially when you want to compare placement, density, or style direction before discussing details.
Does the generator apply real henna?
No. It creates a visual draft or preview only. It does not apply real henna to skin and should be treated as inspiration for planning or creative work.
What AI Henna Generator changes?
It can add a henna-inspired visual design to a suitable source image or create a standalone mehndi concept from your description, while aiming to keep the subject recognizable.
Which source image works best?
Choose an image where the main subject, pose, skin area, and edges are easy to see. Avoid extreme crops, confusing overlaps, heavy blur, or hidden fingers.

Create your henna design idea

Upload a clear photo or describe your mehndi concept, then refine the placement, coverage, and style until the henna design matches your vision.