AI Engraving Generator

AI Engraving Generator

Transform a clear photo or illustration into an engraving concept preview with crisp linework, hatching, cross-hatching, stippling, and print-like tonal contrast.

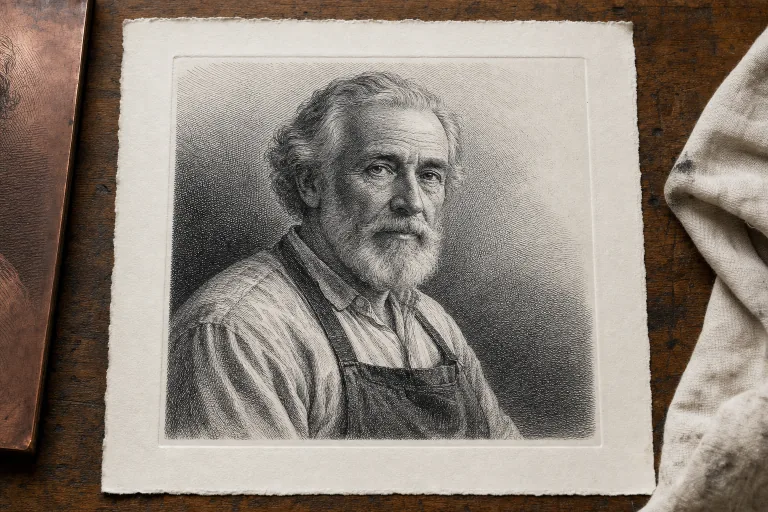
AI Engraving Generator preview with engraved linework and hatching
0 / 2000
Template prompt

AI Engraving Generator

Turn a photo or illustration into an engraving concept preview with linework, hatching, cross-hatching, stippling, contrast, and print-like tonal structure. The result is a visual concept preview, not production-ready laser, CNC, intaglio, or printmaking artwork. Check dimensions, line weight, materials, tool paths, separations, and fabrication settings in specialist software before production.

AI Engraving Generator preview with engraved linework and hatching

What is an AI Engraving Generator?

The AI Engraving Generator helps turn a source photo or illustration into a visual engraving concept. It emphasizes structured lines, cross-hatching, stippled shading, strong edges, and a print-inspired tonal look while keeping the main subject recognizable.

From source image to engraving concept

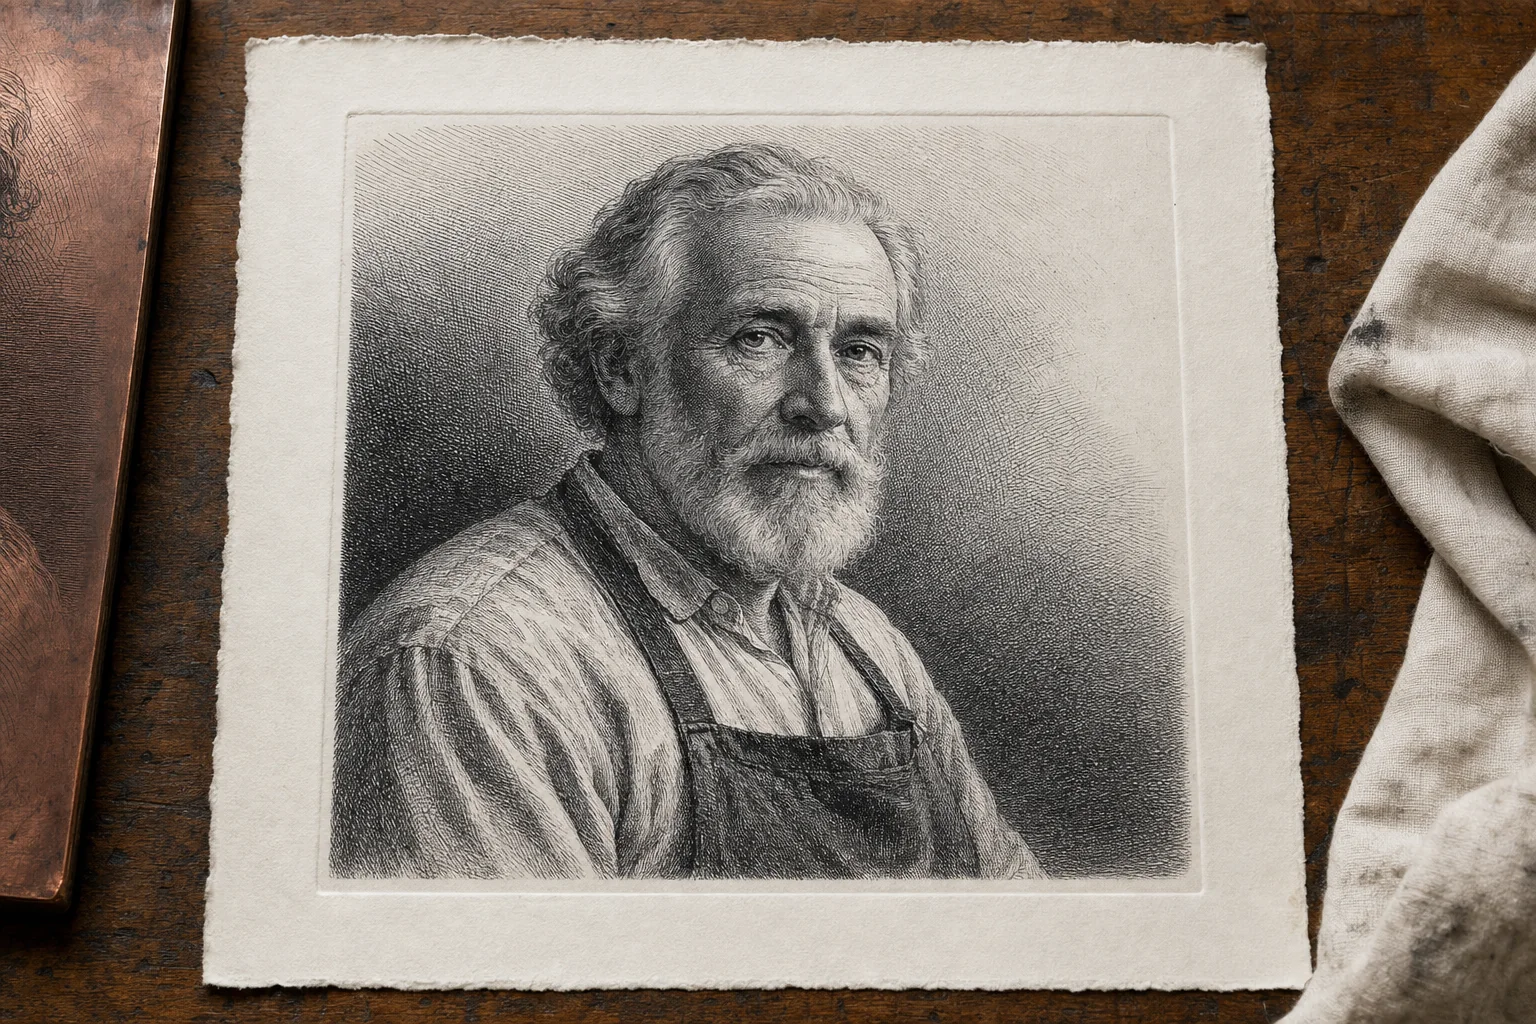
This template reinterprets your image as an engraving-inspired visual direction while keeping the subject and composition understandable.

What changes

  • Turns a photo or illustration into an engraving concept preview with linework, hatching, cross-hatching, stippling, contrast, and print-like tonal structure.
  • Explores engraving line styles that can make edges, shadows, and midtones feel more like a drawn or printed plate.
  • Works best from a clear, high-contrast photo or illustration with distinct edges and enough resolution to preserve fine linework.
  • Creates a visual concept preview, not production-ready laser, CNC, intaglio, or printmaking artwork.
What stays recognizable

  • The main subject remains recognizable from the source image.
  • Defining colors, pose, silhouette, and important subject details stay coherent.

AI Engraving Generator workflow

Follow a simple review-focused workflow to turn your source into an engraving concept preview and decide whether it needs refinement.

1

Choose a clear source

Select a sharp photo or illustration where the main subject, defining details, and composition are visible enough for an engraving-style interpretation.

2

Set the engraving direction

Guide the look with terms such as linework, hatching, cross-hatching, stippling, high contrast, fine strokes, or vintage print texture.

3

Review and refine

Compare the preview with the original image and review details, edges, faces, hands, text, and tonal transitions before using the result.

Engraving style variations

Explore different engraving-inspired looks by starting with a clear source image and adjusting the emphasis on linework, shadow texture, and contrast.

AI Engraving Generator example with detailed hatching and contrast

Detailed engraved linework

A detailed engraving-style preview with crisp contours, layered hatching, and strong tonal separation for a classic print-like look.

AI Engraving Generator example with stippling and cross-hatching

Stippled print texture

A compact preview direction that highlights the subject with visible engraving texture, stippled shadows, and structured cross-hatching.

Ways to use the engraving preview

Use the Engraving Generator online when you need a quick visual direction for a stylized image before further refinement or review.

Personal and creative projects

Create a focused AI Engraving Generator preview for a personal artwork, design study, editorial image, gift concept, or creative mood board.

Direction comparison

Compare the engraving visual direction before refining, sharing, or presenting the result to collaborators, clients, or a production specialist.

How to get a stronger engraving preview

A strong source and a precise direction help the engraving effect read clearly. Focus on visible edges, recognizable subject details, and the kind of line treatment you want to explore.

Source image checks

  • Use a sharp source image with the main subject clearly visible.
  • Avoid heavy blur, blocked details, extreme crops, or confusing overlaps.
  • Choose a source whose pose and framing support the intended AI Engraving Generator result.

Prompt guidance

Describe the subject and the desired engraving feel, such as fine hatching, bold cross-hatching, stippled shadows, high contrast, vintage print texture, or cleaner linework. If the result needs to stay close to the original, mention the features that must remain recognizable.

What to review before using the result

Generated details can vary, so review the preview carefully before using it in a project or presenting it as a direction.

Subject recognition

Compare the subject identity, silhouette, pose, and defining details with the source image to confirm the concept still reads correctly.

Engraving consistency

Check that the engraving treatment feels coherent across the full image, including line direction, hatching density, stippling, and contrast.

Detail quality

Inspect faces, hands, text, edges, small objects, and background transitions for artifacts, broken shapes, or distracting noise.

AI Engraving Generator FAQ

Answers to common questions about source images, engraving style, recognition, and production review.

What is AI Engraving Generator?
It is a template for creating an engraving-style concept preview from a photo or illustration. The output focuses on linework, hatching, cross-hatching, stippling, contrast, and print-like tonal structure.
What input works best?
Use a sharp, clear, high-contrast image where the subject, silhouette, pose, and important details are easy to see. Avoid heavy blur, blocked details, extreme crops, or overlapping elements that make the subject hard to interpret.
Is the result ready for laser or print production?
No. The result is a visual concept preview, not production-ready laser, CNC, intaglio, or printmaking artwork. Check dimensions, line weight, materials, tool paths, separations, and fabrication settings in specialist software before production.
What AI Engraving Generator changes can I expect?
It changes the image into an engraving-inspired treatment with structured strokes, hatching, cross-hatching, stippling, stronger contrast, and print-like shading while aiming to preserve the main subject.
Which source image works best?
Choose a photo or illustration with distinct edges, enough resolution for fine linework, and a composition that clearly supports the subject you want to feature.
How do I keep the subject recognizable?
Start with a source where the subject identity, pose, silhouette, and defining details are visible. After creating the preview, compare those elements with the original and refine if they drift too far.
What should I review before using the result?
Inspect faces, hands, text, edges, small objects, and background transitions. Also check whether the engraving treatment remains coherent across the image and whether important details have become too noisy or too faint.

Create an engraving-style preview

Use a clear source image and create an engraving-style preview with linework, hatching, stippling, and print-inspired contrast.