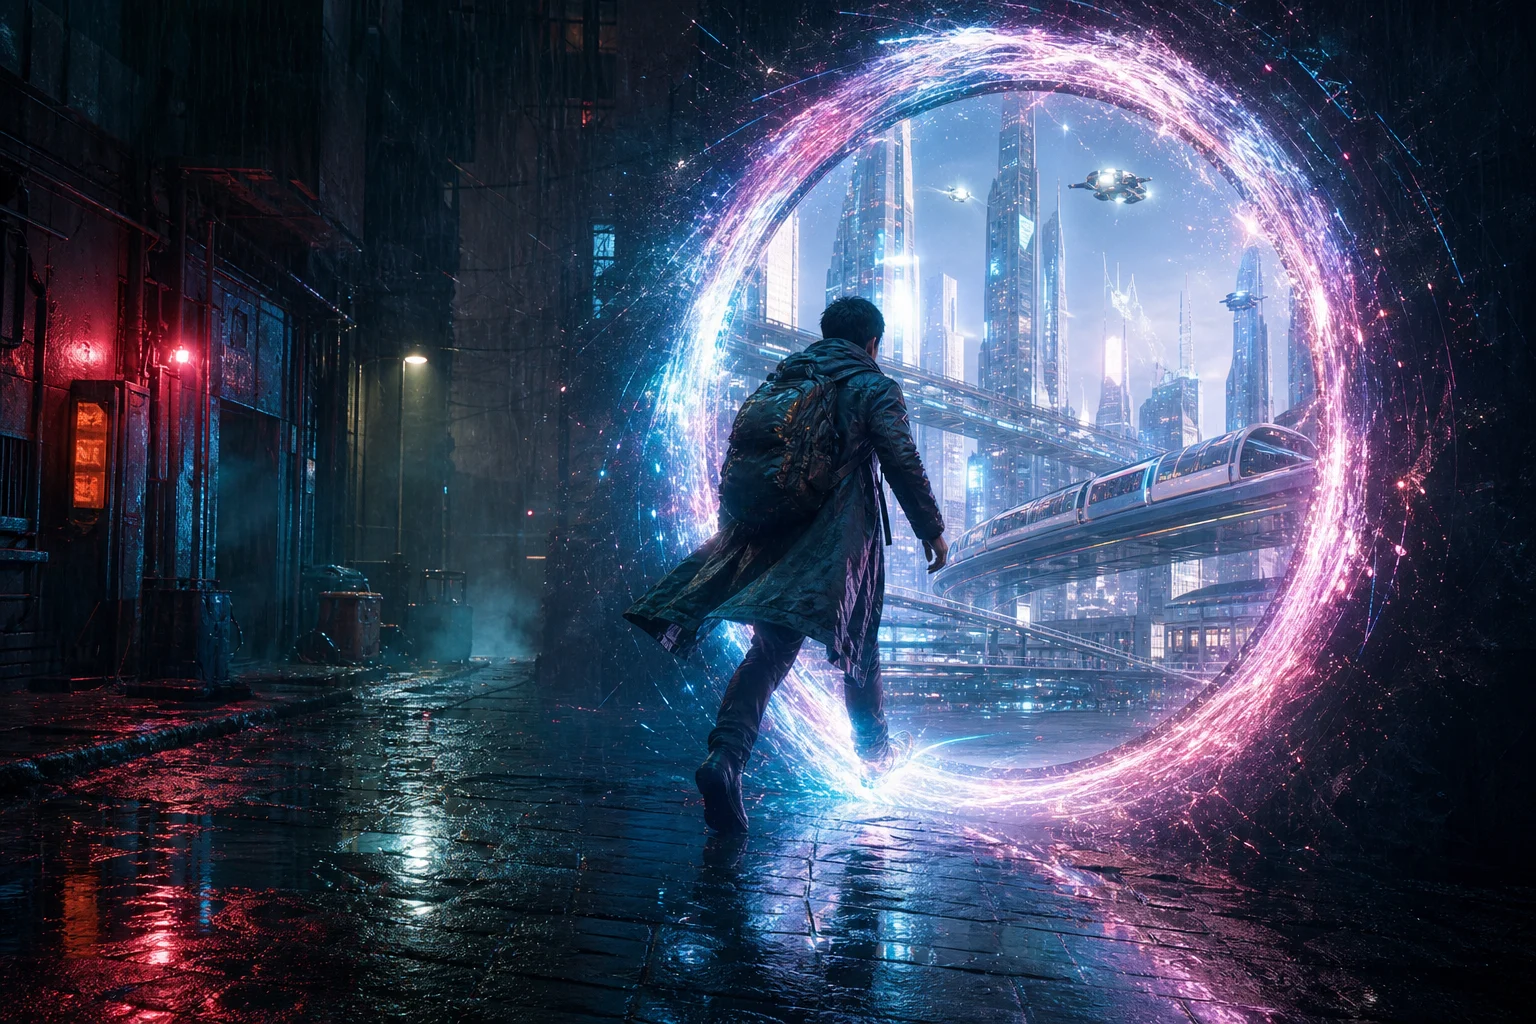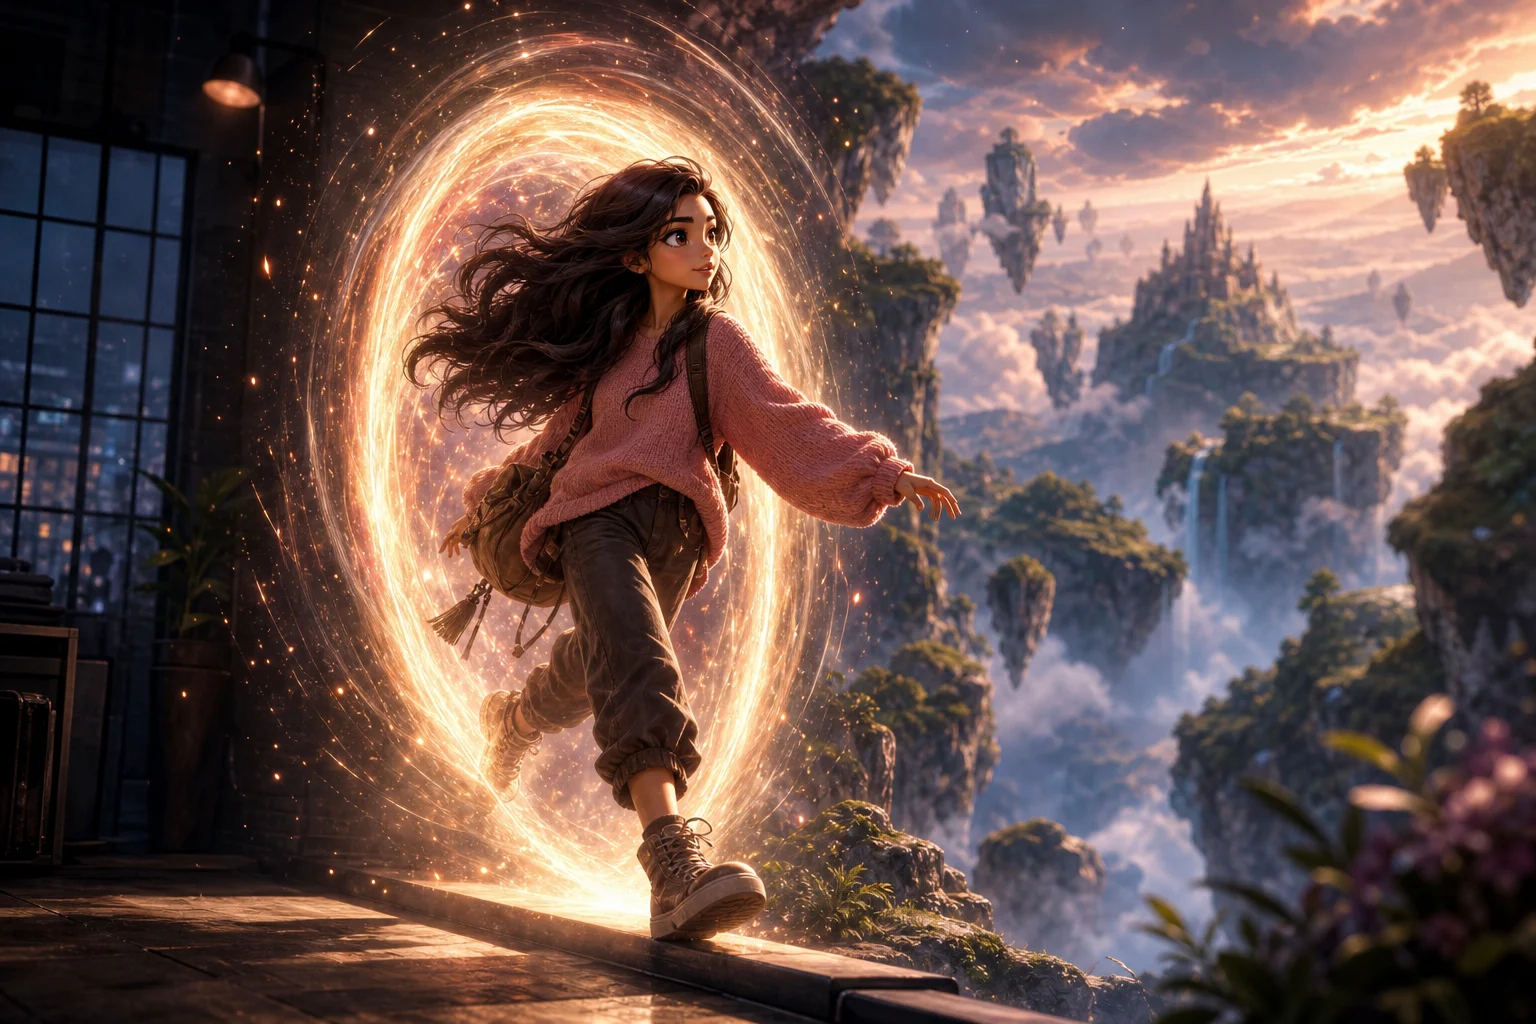
AI Character Portal Travel Effect

AI Character Portal Travel Effect

Upload a clear character image and transform it into a cinematic fantasy scene where the subject steps through a glowing Portal toward a new Travel destination.

AI Character Portal Travel Effect example
0 / 2000
Template prompt

AI Character Portal Travel Effect

Apply the AI Character Portal Travel effect to the uploaded character image. Preserve the character identity, face or creature features, outfit colors, body silhouette, and key accessories. Recompose the image so the character steps through or stands beside a glowing travel portal, with cinematic fantasy lighting, magical particles, depth, rim glow, and a destination scene visible through the portal. Allow pose adjustment only to support the portal-travel action while keeping the character recognizable.

AI Character Portal Travel Effect example

What is the AI Character Portal Travel Effect?

The AI Character Portal Travel Effect turns a source Character image into a dramatic scene with a luminous gateway, magical particles, rim lighting, depth, and a destination visible beyond the Portal. It is designed for fantasy edits, concept previews, social posts, visual references, and creative drafts where the character should remain recognizable while entering or standing beside a travel portal.

From character image to cinematic portal scene

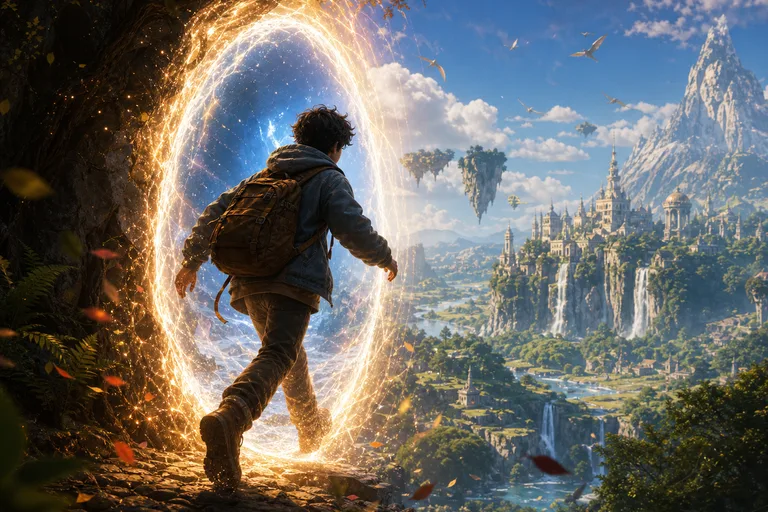
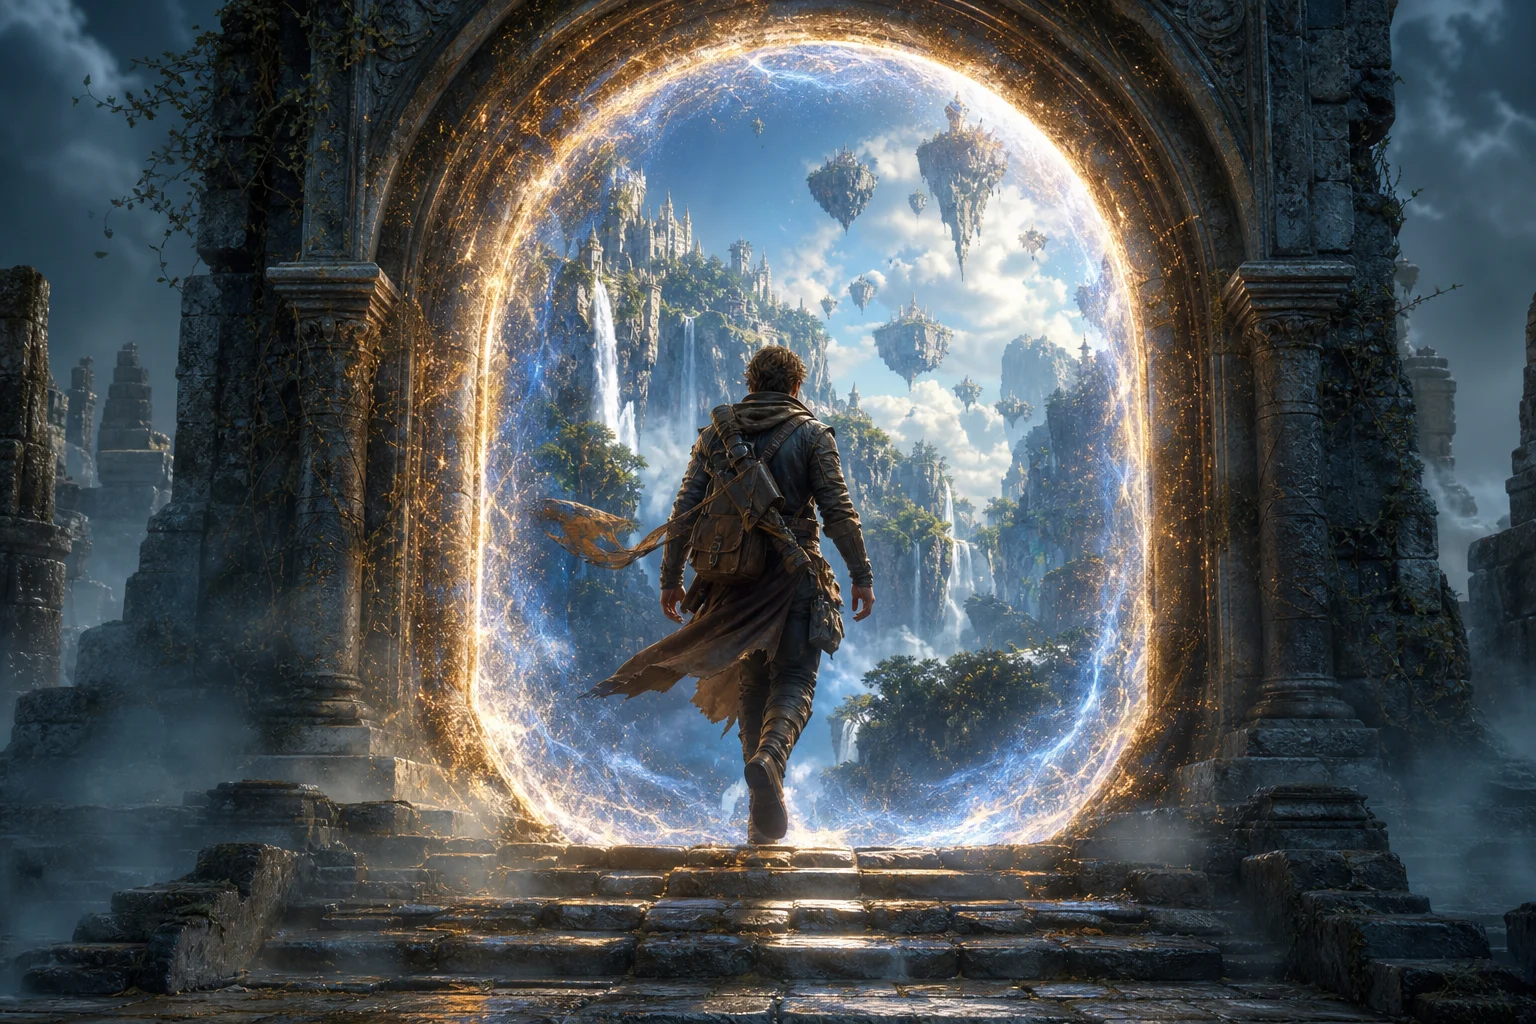
This template reshapes a character image into a fantasy travel moment while balancing the new environment with the subject’s recognizable details.

What changes

  • Places your uploaded Character into a scene where they step through or stand beside a glowing Travel Portal.
  • Adds portal light, destination scenery, depth, motion, magical particles, rim glow, and cinematic fantasy atmosphere.
  • Recomposes the image so the subject feels integrated with the gateway and the world visible through it.
  • Creates a focused visual draft for posts, mockups, references, presentations, or creative direction.
What stays recognizable

  • Preserves the character identity, face or creature features, outfit colors, body silhouette, and key accessories.
  • Allows pose adjustment only when it supports the portal-travel action and keeps the character recognizable.
  • Keeps the main subject visually connected to the source image.
  • Maintains defining colors, silhouette, and important subject details as coherently as possible.

How the AI Character Portal Travel Effect works

A simple process helps the result stay close to the source while adding a cinematic fantasy Portal scene.

1

Upload a clear character image

Choose a sharp image where the character’s face or creature features, outfit, silhouette, and accessories are visible.

2

Set the fantasy direction

Specify the travel destination, portal color, mood, and key details that should remain recognizable.

3

Review and refine

Compare the output with the source, then check the Portal, lighting, edges, hands, face, and background transitions for coherence.

Portal travel effect variations

Explore different portal moods, destinations, and lighting styles while keeping the core idea of a recognizable character crossing into another world.

AI Character Portal Travel Effect background preview

Glowing fantasy gateway

A bright fantasy portal look with glowing rim light, particles, and a dramatic destination beyond the gateway.

AI Character Portal Travel Effect example 1

Cinematic travel moment

A cinematic scene where the character appears mid-travel, surrounded by magical depth, haze, and destination scenery.

AI Character Portal Travel Effect example 2

Mystic destination reveal

A more atmospheric portal composition with strong contrast, rim glow, and fantasy environment detail around the subject.

Best uses for the Character Portal Travel Effect

Use this effect when you need a dramatic fantasy travel visual that keeps the subject recognizable while adding a glowing gateway and destination reveal.

Creative project previews

Create a focused preview for a personal artwork, role-play character, game concept, story scene, or fantasy mood board.

Visual direction comparison

Test how a character looks in a Portal Travel scene before refining the direction, sharing it, or presenting it to collaborators.

How to get a stronger portal travel scene

Use a source image where the subject’s identity, outfit, silhouette, and important accessories are visible. A clean starting image helps the portal light and destination scenery wrap around the character more naturally.

Source image checklist

  • Use a sharp source image with the main subject clearly visible.
  • Avoid heavy blur, blocked details, extreme crops, or confusing overlaps.
  • Choose a source whose pose and framing support the intended AI Character Portal Travel Effect result.

Prompt guidance

Describe the destination, mood, and action clearly. For example: a brave explorer stepping through a blue crystal portal into an ancient forest, with glowing particles, cinematic rim light, and misty depth. Mention details that must stay recognizable, such as costume colors, creature features, weapons, or accessories.

Review before you use the result

Generated details can vary, so review the image carefully before using it as a final asset, client draft, mockup, or visual reference.

Check character identity

Compare the face or creature features, body silhouette, outfit colors, pose, and key accessories with the source image.

Review the portal effect

Make sure the Portal light, destination scene, magical particles, depth, and cinematic atmosphere feel connected across the full image.

Inspect fine details

Inspect faces, hands, small objects, edges, background transitions, and any text-like marks for visual artifacts before sharing or presenting the result.

AI Character Portal Travel Effect FAQ

Common questions about preparing a source image, reviewing the result, and using the Character Portal Travel Effect online.

What is AI Character Portal Travel Effect?
AI Character Portal Travel Effect is a visual template that places a character into a cinematic fantasy scene with a glowing Portal, travel destination, magical light, depth, and atmospheric motion around the subject.
Is AI Character Portal Travel Effect free?
Availability and access can vary by product experience. Check the current page controls for the most accurate option before creating your image.
How do I use AI Character Portal Travel Effect?
Start with a sharp character image, then use the template to create a scene where the subject steps through or stands beside a glowing travel portal. Review the output for identity, edges, and background coherence before using it.
What image formats does AI Character Portal Travel Effect support?
Use a common image format such as JPG, PNG, or WebP when available. For best results, choose a clear file where the face, outfit, silhouette, and accessories are easy to see.
Can I use AI Character Portal Travel Effect results commercially?
Usage terms can depend on the platform, source material, and final context. Review the applicable rights and any permissions for your uploaded character image before using results in commercial work.
What AI Character Portal Travel Effect changes are applied?
It adds a glowing Portal, destination scenery, cinematic fantasy lighting, magical particles, rim glow, depth, and a sense of travel motion while recomposing the subject into the scene.
Which source image works best?
A sharp, well-lit image with one clearly visible main subject works best. Avoid heavy blur, blocked details, extreme crops, or overlapping elements that make the character hard to interpret.
How do I keep the subject recognizable?
Use a source image with strong identifying details, then review the result against the original face or creature features, outfit colors, silhouette, pose, and accessories. If recognition is weak, try a clearer source or a more specific prompt.

Make your character step into another world

Create a fantasy Portal Travel scene from a clear Character image, then review the details and refine the direction for your project.