
Co się zmienia
- Wprowadzane są selektywne neonowe światło konturowe, poświata, kontrast kolorów i atmosferyczne odbicia
- Scena zyskuje kierunek oświetlenia inspirowany nocą, cyberpunkiem, muzyką, modą lub kampanią
Zmień portret, zdjęcie produktu, scenę uliczną lub obraz kampanii w czytelny kadr oświetlony neonami dzięki selektywnej poświacie, kolorowemu światłu konturowemu i wiarygodnym odbiciom, które zachowują oryginalny obiekt.
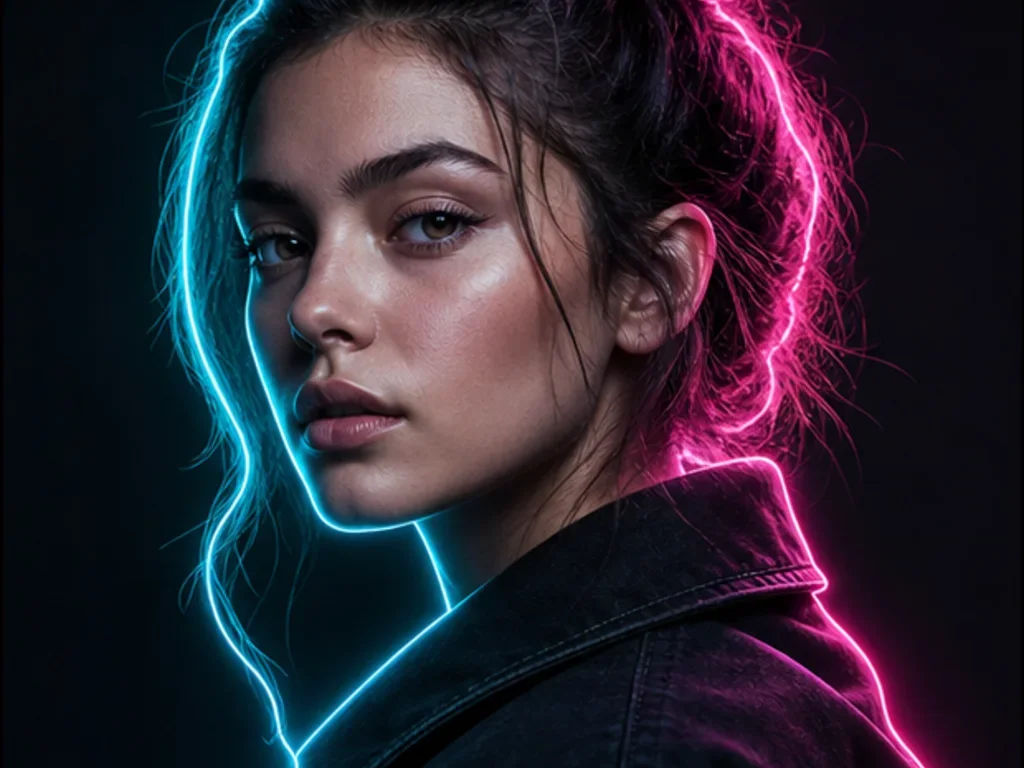
Edit the uploaded photo by adding controlled neon rim light and selective glow around the main subject. Preserve the subject, face, pose, product shape, background structure, and important textures. Keep skin tones believable, prevent clipped highlights, and place the glow along real edges rather than covering detail. Use only the uploaded photo that the user has the right to edit. Create a visual effect, then leave the result ready for close review.
Ten szablon stosuje kontrolowany efekt neonowej poświaty do przesłanego obrazu. Jest przeznaczony do zdjęć, na których główny obiekt musi pozostać rozpoznawalny, a kolor jest dodawany przez światło krawędziowe, atmosferyczną poświatę, odbicia i kontrast, a nie ciężką nakładkę.
Zdjęcie zostaje przekształcone za pomocą kolorowego światła, podczas gdy oryginalna kompozycja pozostaje jego podstawą. Celem jest stylizowana neonowa atmosfera z kontrolowanymi światłami i zachowaną teksturą.
Wykonaj prosty proces kreatywny, aby neonowy efekt pozostał kontrolowany, czytelny i powiązany z oryginalnym obrazem.
Wybierz zdjęcie z wyraźnym obiektem, widocznymi konturami, użytecznymi cieniami lub neutralną przestrzenią oraz detalami w światłach, które można odzyskać.
Zdecyduj, czy obraz ma mieć klimat cyberpunku, nocnego życia, muzyki, nowoczesnej mody, produktu czy gotowej kampanii.
Użyj najwyżej dwóch lub trzech neonowych kolorów, a następnie określ, gdzie poświata ma się pojawić, na przykład na krawędziach obiektu, światłach w tle, odblaskowych powierzchniach lub liniach architektonicznych.
Przed użyciem końcowego obrazu sprawdź rozpoznawalność, rozmieszczenie poświaty, odbicia, odcienie skóry, światła na materiałach, przepalenia, pasmowanie i przypadkowe kolorowe krawędzie.
Te przykłady pokazują, jak to samo podejście do neonowego oświetlenia może wspierać portrety, ruch, produkty i obrazy kampanii inspirowane muzyką.
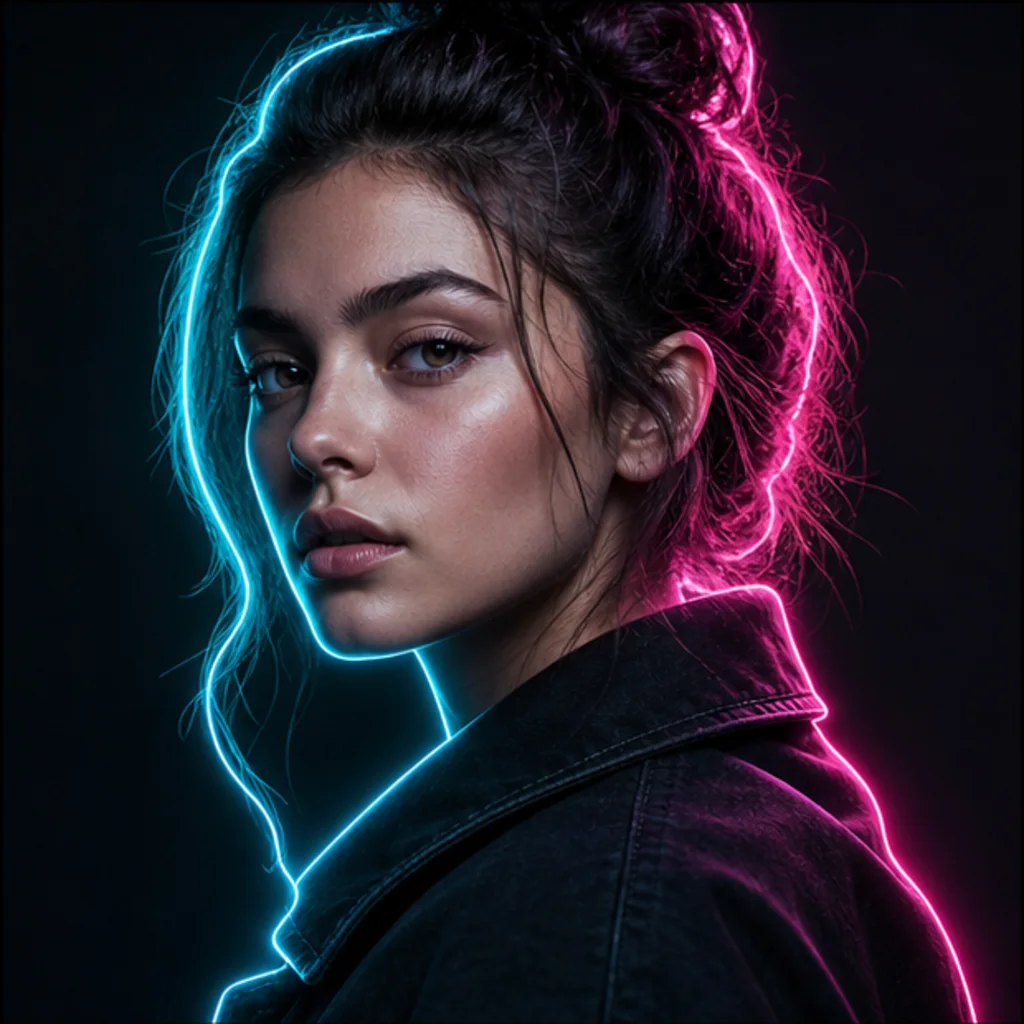
Obróbka portretu z cyjanowym i magentowym światłem konturowym wokół twarzy, włosów i ramion, która zachowuje ekspresję oraz detale skóry.
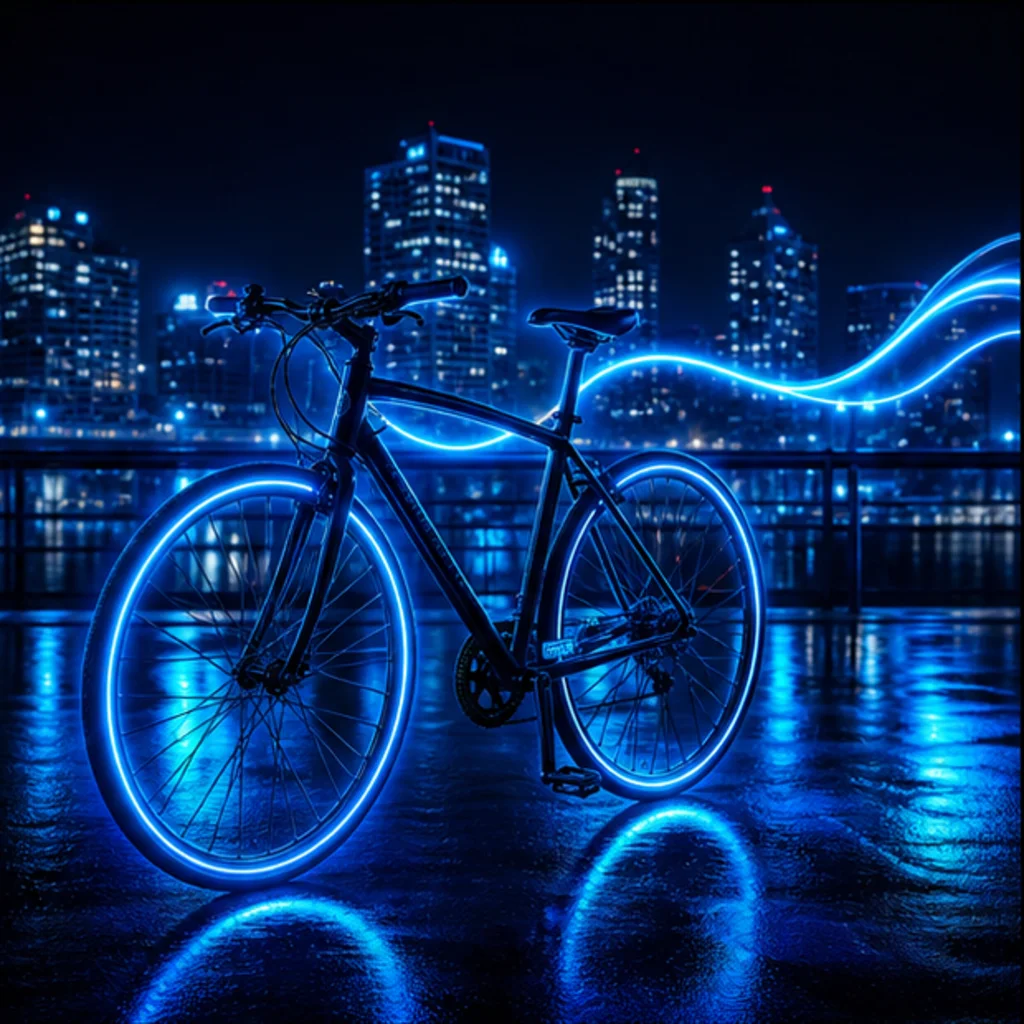
Nocna scena rowerowa z błękitnymi neonowymi smugami światła i atmosferycznym kontrastem, który dodaje energii, zachowując czytelność roweru i rowerzysty.
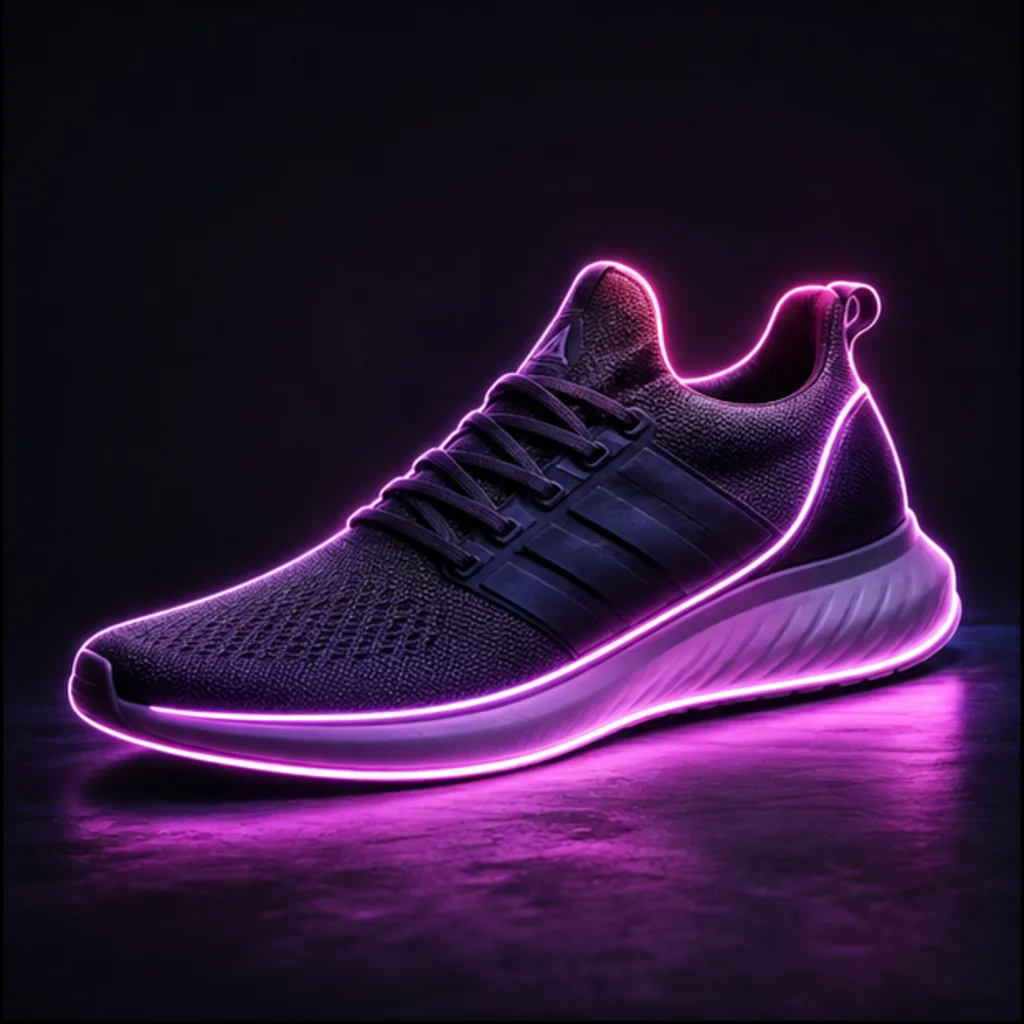
Zdjęcie sneakersa z fioletową poświatą na krawędziach i kontrolowanymi światłami, które podkreślają kształt, teksturę oraz odblaskową reakcję materiału.
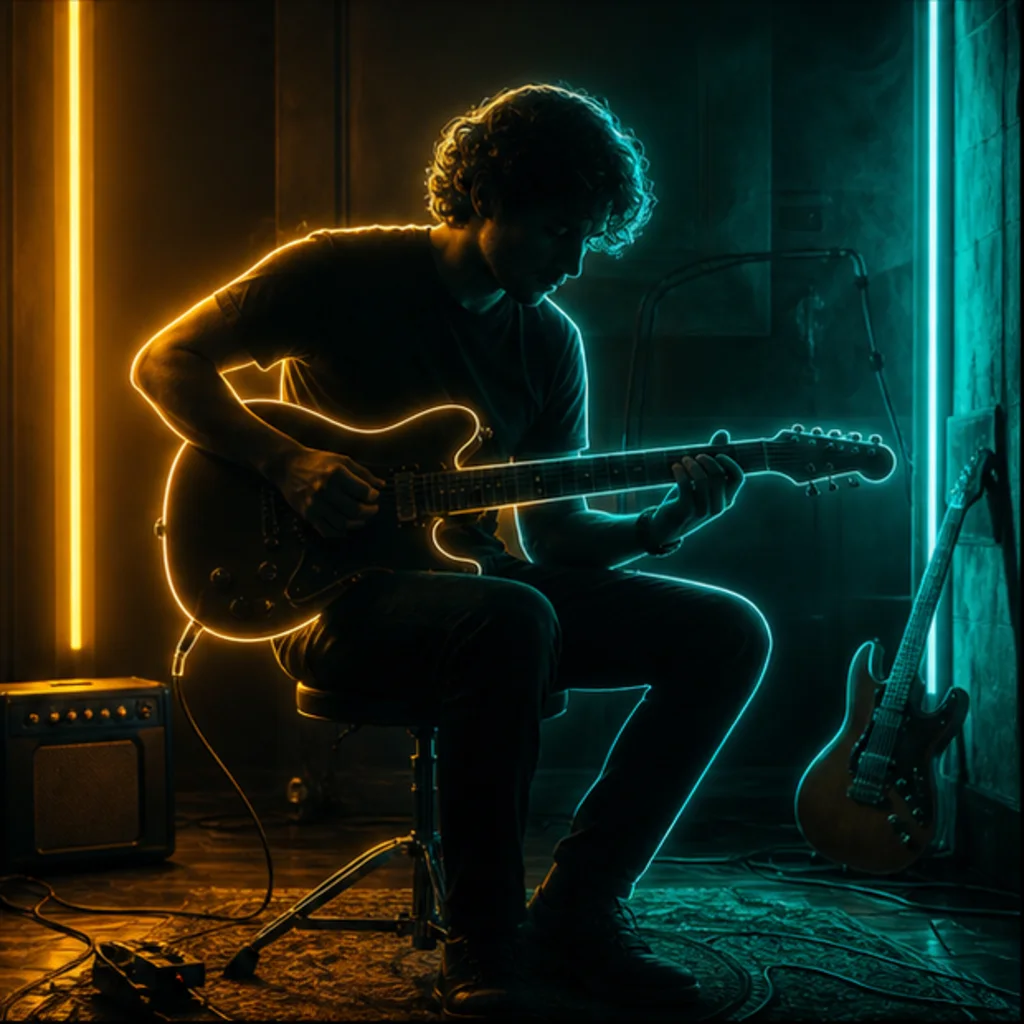
Scena skupiona na muzyku z bursztynowym i turkusowym neonowym oświetleniem, tworząca nastrój studia, okładki albumu lub promocji wydarzenia przy zachowaniu oryginalnej pozy i otoczenia.
Stosuj ten efekt, gdy chcesz uzyskać mocniejszą koncepcję oświetlenia bez zastępowania głównego obiektu zdjęcia lub zakrywania jego detali.
Twórz koncepcje okładek, promocje artystów, miniatury gamingowe, posty społecznościowe i obrazy kampanii wydarzeń z wyrazistą poświatą oraz atmosferą nocnej sceny.
Dodawaj cyjanowe, magentowe, fioletowe, błękitne, bursztynowe lub turkusowe światło konturowe do portretów, zachowując czytelność twarzy, pozy, ubioru i ekspresji.
Nadaj sneakersom, akcesoriom, produktom technologicznym, butelkom, pojazdom lub odblaskowym materiałom światło krawędziowe gotowe do kampanii, zachowując kształt i teksturę produktu.
Odkrywaj kierunki oświetlenia do sesji, scenografii, plakatów, lookbooków i materiałów marki przed wyborem ostatecznej koncepcji kreatywnej.
Dobry prompt powinien opisywać obiekt, kierunek oświetlenia, paletę kolorów, miejsce poświaty oraz to, co ma pozostać niezmienione. Utrzymuj spójną paletę, aby efekt neonu wyglądał celowo, a nie chaotycznie.
Poproś o kontrolowane neonowe światło konturowe i selektywną poświatę wokół głównego obiektu. Podaj kolory, takie jak cyjan i magenta albo bursztyn i turkus. Wspomnij o krawędziach, powierzchniach lub elementach tła, które powinny emitować lub odbijać światło, oraz zaznacz, że twarz, kształt produktu, poza, kompozycja, tekstury i wiarygodne odcienie skóry mają pozostać widoczne.
Przed użyciem gotowego obrazu w grafice, reklamach, miniaturach lub układach kampanii obejrzyj go w pełnym rozmiarze. Neonowe oświetlenie jest najskuteczniejsze, gdy buduje nastrój przy zachowaniu czytelnych detali.
Upewnij się, że twarz, produkt, poza, pojazd, instrument lub główny obiekt nadal są łatwe do rozpoznania po zastosowaniu oświetlenia.
Sprawdź szerokość aureoli, kierunek światła konturowego, siłę odbić oraz to, czy poświata podąża za rzeczywistymi krawędziami, zamiast unosić się nad ważnymi detalami.
Oceń skórę, tkaninę, metal, szkło, gumę i powierzchnie ścian, aby kolorowe światło wyglądało wiarygodnie w danej scenie.
Sprawdź jasne obszary pod kątem przepaleń, pasmowania kolorów, utraconej tekstury i przypadkowych neonowych krawędzi, zwłaszcza wokół włosów, dłoni, odblaskowych obiektów oraz granic o wysokim kontraście.
Najczęstsze pytania o przygotowanie zdjęcia źródłowego, dobór kolorów i ocenę końcowego efektu neonowego oświetlenia.
Stwórz neonowo oświetloną wersję swojego obrazu do grafiki muzycznej, materiałów społecznościowych, kampanii nocnego życia, portretów modowych, reklam produktów lub kreatywnych moodboardów, zachowując czytelność oryginalnego obiektu.