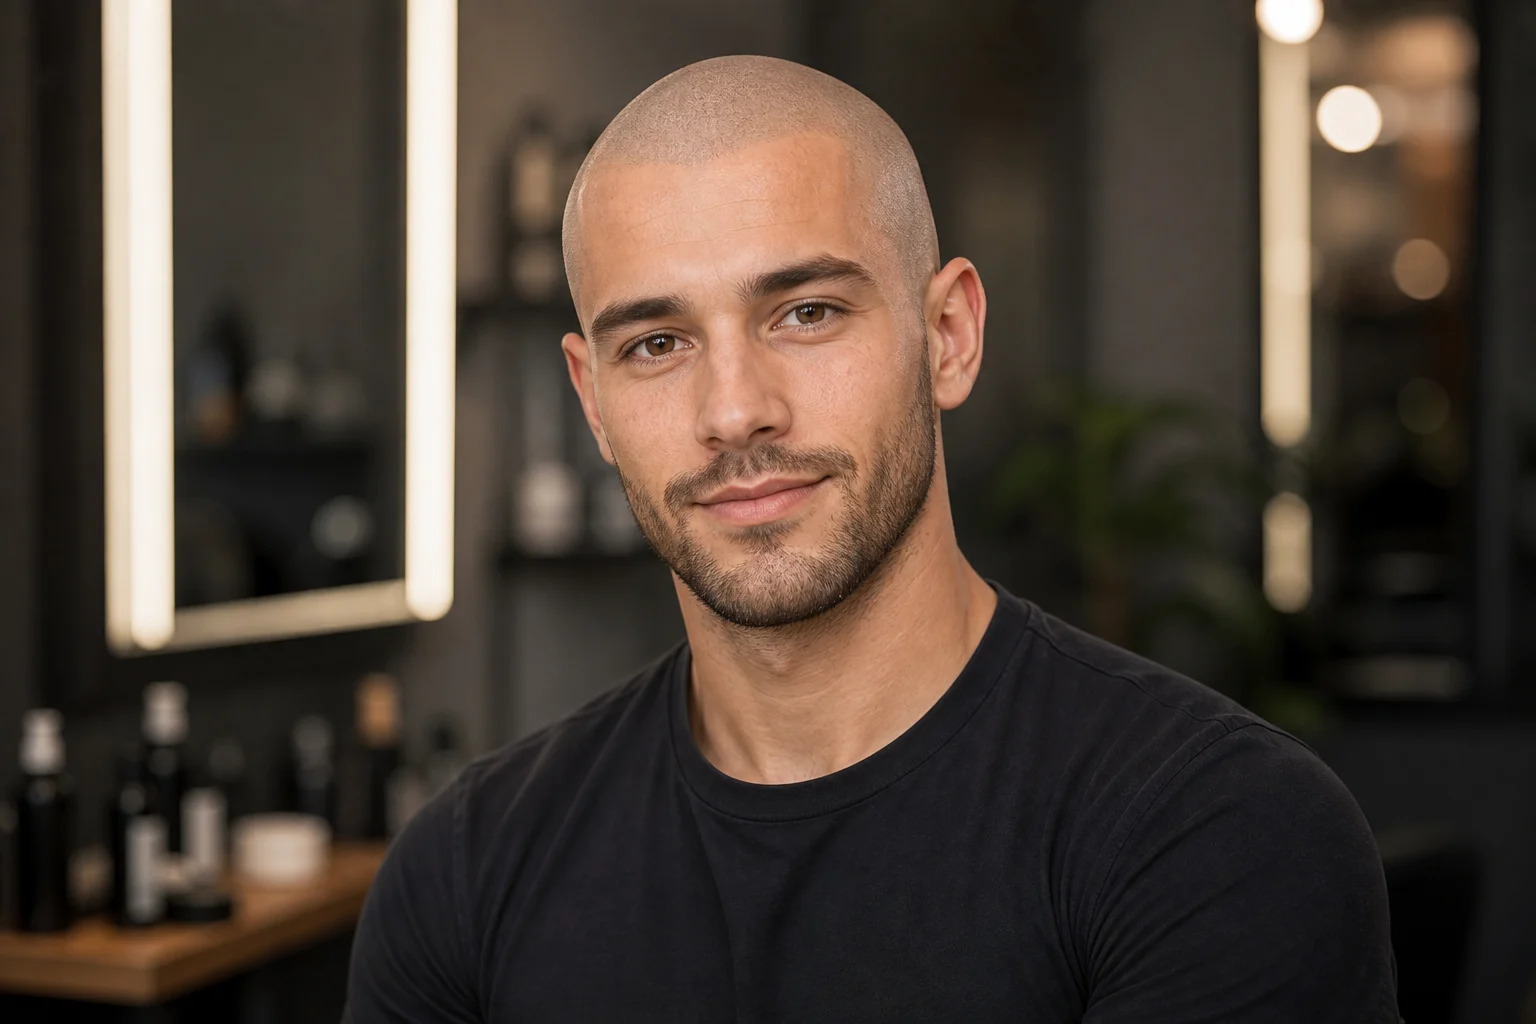
AI Bald Filter for realistic bald portrait previews

AI Bald Filter for realistic bald portrait previews

Preview a realistic Bald look from your portrait while keeping the same face, expression, pose, lighting, clothing, and background intact.

AI bald filter portrait main result
0 / 2000
Template prompt

AI Bald Filter for realistic bald portrait previews

Apply the AI Bald Filter effect to the uploaded portrait. Preserve the same person, face shape, facial features, expression, pose, clothing, lighting, camera angle, and background. Change only the hair area into a realistic bald or shaved-head preview with natural scalp shape, skin tone blending, clean hairline transition, realistic shadows, and photorealistic texture. Do not alter other facial details.

AI bald filter portrait main result

What is the AI Bald Filter?

The AI Bald Filter turns a clear portrait into a realistic bald or closely shaved preview. It focuses on the hair area, blending scalp shape, skin tone, shadows, and hairline transitions while preserving the person’s recognizable facial features and original photo style.

What the AI Bald Filter does

This template concentrates the edit on the hair area, turning the portrait into a believable Bald preview while keeping the rest of the image aligned with the original.

What changes

  • Preview a realistic bald version of your portrait with clean hairline blending, natural scalp texture, and the same face, pose, and lighting.
  • Create realistic bald portraits with composition, lighting, and details tuned for this specific look.
  • Review the AI Bald Filter result before downloading, then rerun with a clearer photo or tighter prompt when needed.
  • Upload a clear image to AI Bald Filter, review the preview, and keep the version that fits your use case.

What stays consistent

  • Preserve the same person, face shape, facial features, expression, pose, clothing, lighting, camera angle, and background.
  • The main subject remains recognizable from the source image.
  • Defining colors, pose, silhouette, and important subject details stay coherent.

How to use the AI Bald Filter

Follow a simple portrait workflow to create a focused Bald preview and catch issues before keeping the result.

1

Upload a clear portrait

Choose a sharp image where the face, hairline, head shape, and lighting are visible without heavy blur or obstruction.

2

Describe the intended look

Use wording that asks for a realistic Bald or shaved-head preview and specifies that only the hair area should change.

3

Review the result

Check the preview for identity, scalp realism, hairline blending, and any artifacts around the face or background.

4

Refine and keep the best version

If needed, try a clearer photo, adjust the prompt, or choose another version that better fits your use case.

AI Bald Filter examples

Try different portrait angles and expressions to compare how the Bald look appears across realistic photo styles.

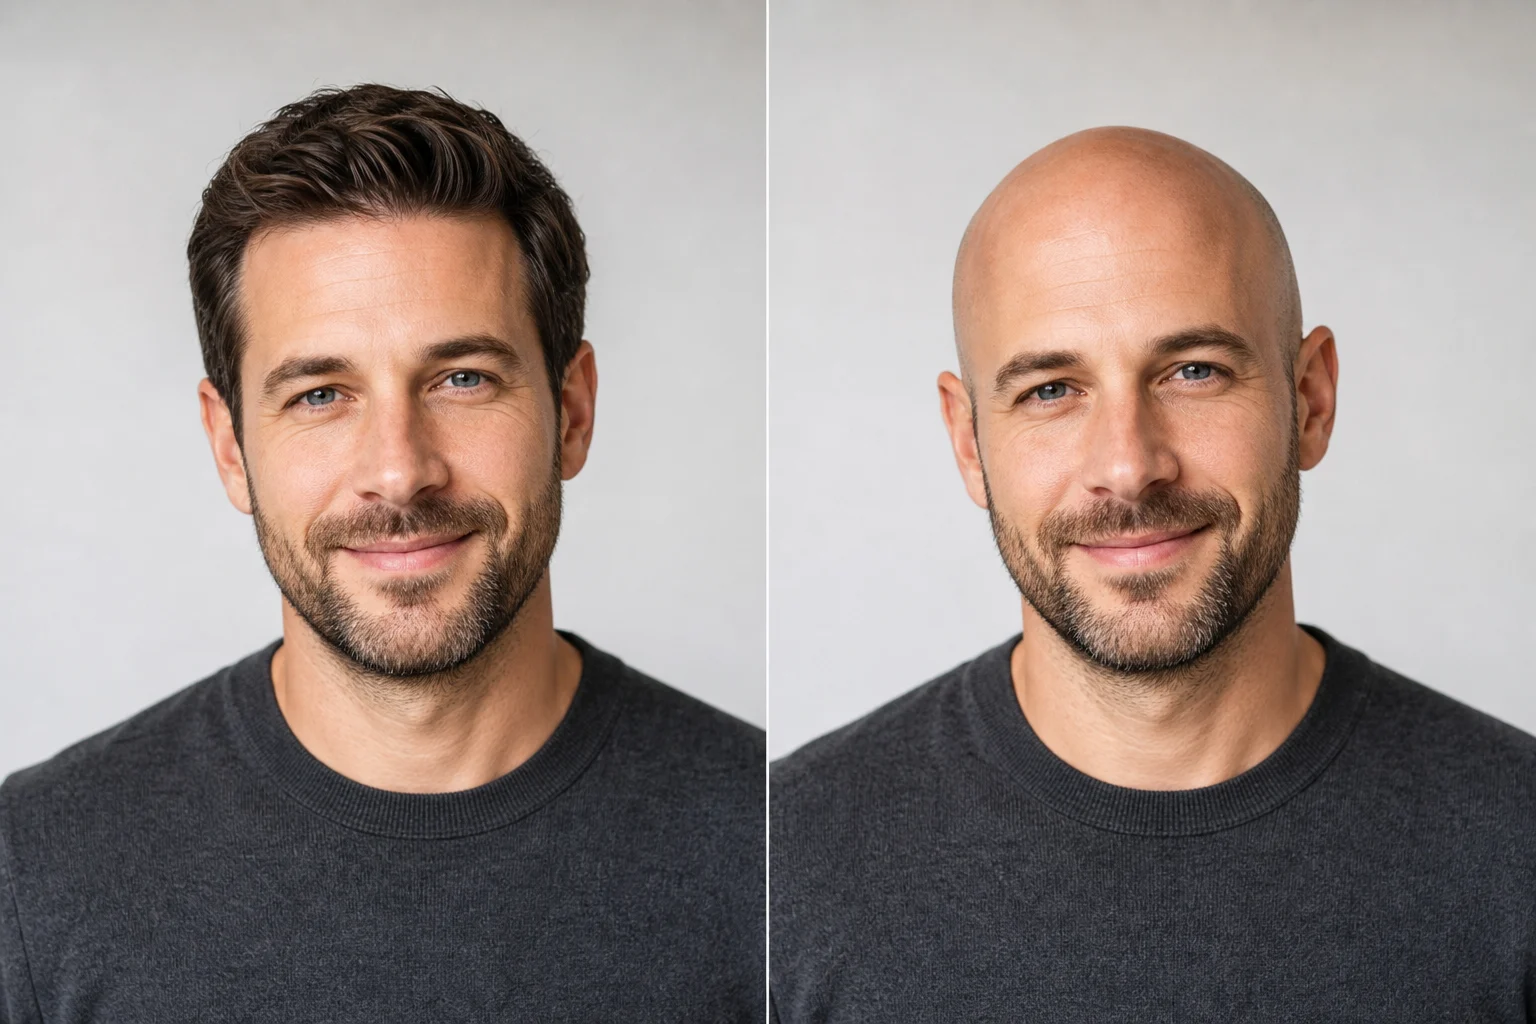
AI bald filter portrait example 1

Natural portrait preview

A clean portrait example showing a realistic Bald effect with natural scalp blending and consistent facial details.

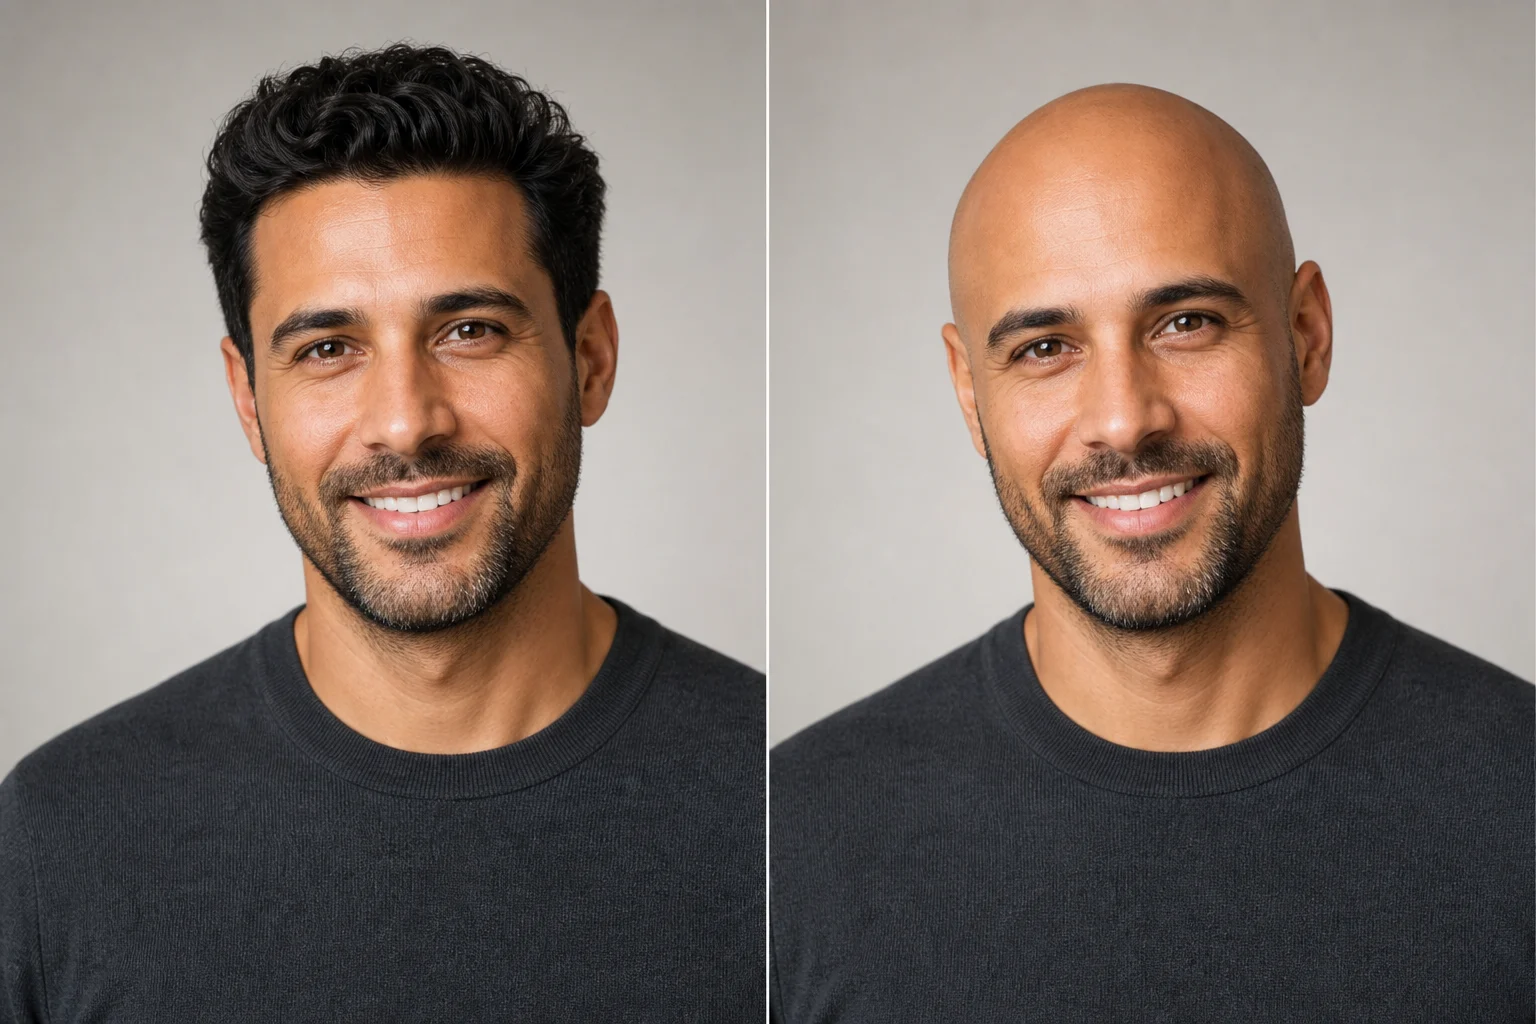
AI bald filter portrait example 2

Close-up bald look

A closer Bald Filter result focused on face shape, hairline transition, and believable scalp texture.

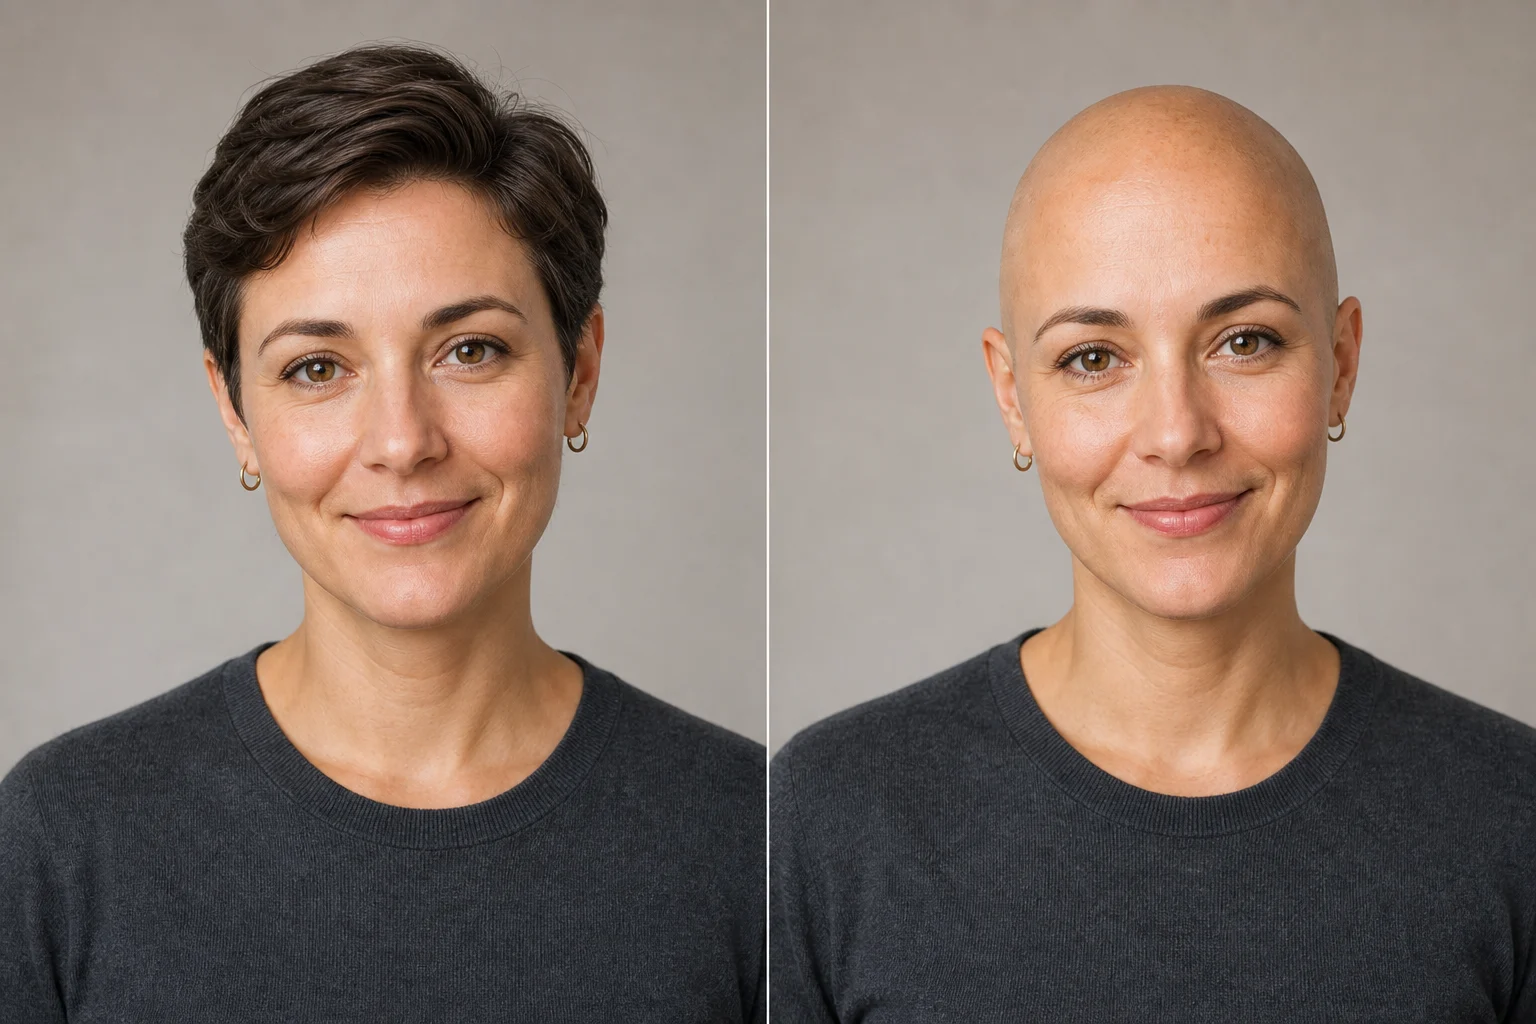
AI bald filter portrait example 3

Consistent photo edit

A realistic portrait variation that preserves lighting, clothing, and background while changing the hair area.

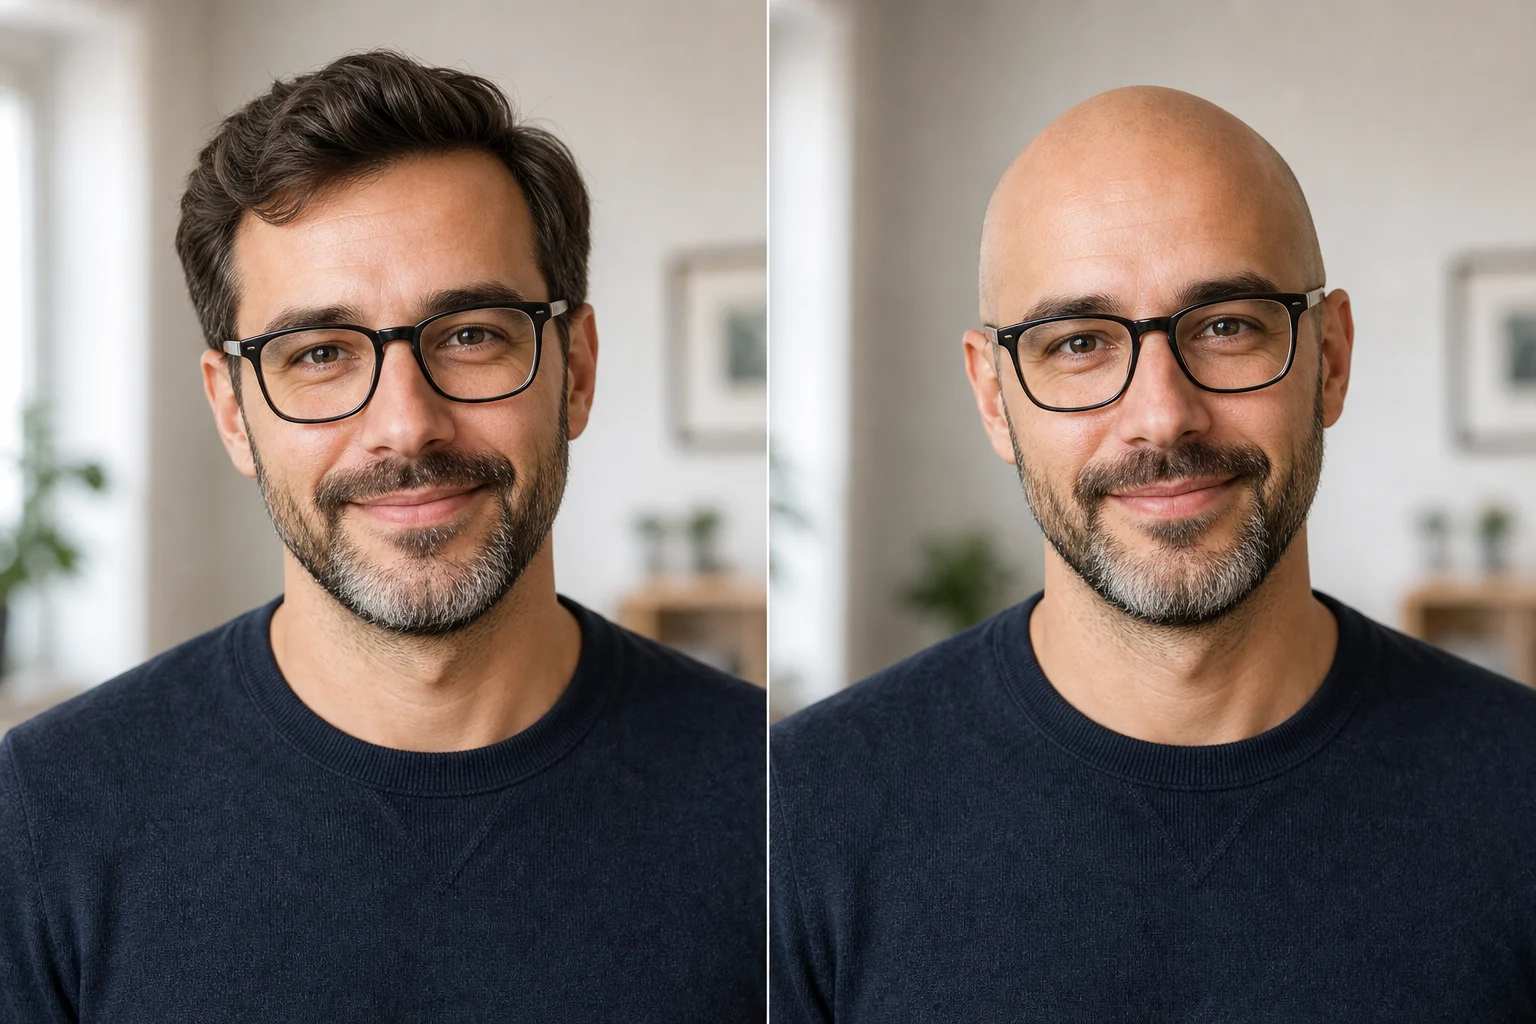
AI bald filter portrait example 4

Comparison-ready result

A creative Bald preview for comparing the subject’s original hairstyle with a shaved-head visual direction.

Best uses for the AI Bald Filter

Use this Bald Filter online when you need a quick visual direction for a portrait idea, comparison, or creative edit.

Personal portrait previews

Preview a Bald version of your own portrait or a character image while keeping the identity and original photo style recognizable.

Before-and-after comparisons

Compare the bald look with the original portrait before refining, sharing, or presenting a creative direction.

How to get a better AI Bald Filter result

Start with a sharp, well-lit portrait and describe the Bald effect clearly. A precise prompt helps keep the edit focused on the hair area while leaving the rest of the image stable.

Source image checks

  • Use a sharp source image with the main subject clearly visible.
  • Avoid heavy blur, blocked details, extreme crops, or confusing overlaps.
  • Choose a source whose pose and framing support the intended AI Bald Filter result.

Prompt guidance

Apply a realistic AI Bald Filter to the uploaded portrait. Keep the same person, face shape, facial features, expression, pose, clothing, lighting, camera angle, and background. Change only the hair area into a natural bald or shaved-head preview with believable scalp shape, skin tone blending, soft shadows, clean hairline transition, and photorealistic texture. Do not alter other facial details.

Review your Bald Filter preview

Generated details can vary between runs, so review the preview before using it. A clearer source image or more specific wording can help if the first version does not fit the look you want.

Confirm the subject still matches

Compare the face shape, facial features, expression, pose, and overall silhouette with the original portrait.

Review the bald treatment

Look closely at the scalp texture, skin tone blending, shadows, and hairline transition to make sure the Bald effect feels natural.

Check the whole image

Inspect edges, ears, forehead, facial hair, hands, clothing, small objects, and background transitions for visible artifacts.

AI Bald Filter FAQ

Common questions about using this Bald Filter online for realistic portrait previews.

What is the AI Bald Filter?
The AI Bald Filter is a portrait editing template that previews how someone may look bald or closely shaved. It keeps the same face, pose, lighting, and background while changing the hair area into a natural-looking scalp preview.
Is the AI Bald Filter free?
Availability can vary by product access or current usage limits. Check the tool interface for the latest options before starting or downloading your result.
How do I use the AI Bald Filter?
Upload a clear portrait, use the AI Bald Filter prompt, review the preview, and keep the version that best matches your goal. If the result looks unclear, try a sharper image or a more specific prompt.
What photos work best for a bald look preview?
Sharp portraits work best, especially images where the face, hairline, head shape, and lighting are easy to see. Avoid heavy blur, extreme crops, hats, blocked hair, or overlapping objects around the head.
Can I use AI Bald Filter results commercially?
Usage depends on the image you upload, the people shown, and the rules of the place where you plan to use the result. Review any applicable permissions before using the image in public or professional contexts.
What does the AI Bald Filter change?
It changes the hair area into a realistic Bald or shaved-head look with scalp texture, skin tone blending, shadows, and a clean transition around the hairline. The face, pose, clothing, lighting, and background should remain consistent.
Which source image works best?
Choose a clear front-facing or three-quarter portrait with the subject visible and well lit. The head should not be hidden by hats, hair accessories, hands, or heavy shadows.
How do I keep the subject recognizable?
Use a photo where defining facial details are sharp, then review the output against the original. Check the face shape, expression, silhouette, and background transitions before saving the version you prefer.

Try the AI Bald Filter on your portrait

Upload a clear portrait and create a realistic Bald preview with natural scalp blending, consistent lighting, and the same recognizable subject.