
참조 이미지 업로드
편집 권한이 있는 이미지를 선택하고, 피사체, 프레이밍, 변경이 필요한 영역이 명확한지 확인하세요.
이미지를 업로드하고 전체 이미지나 선택된 영역을 지정한 다음, 나머지 시각적 요소를 검토 상태로 유지하며 수정할 부분을 설명하세요.
나노 바나나 인페인트는 업로드한 참조 이미지의 선택된 영역을 서면 지시사항으로 변경하기 위한 ClipCanva 워크플로우입니다. 구도는 이미 적절하지만, 한 객체, 배경 영역, 표면, 또는 시각적 디테일에 새로운 버전이 집중적으로 필요한 경우에 사용하세요.
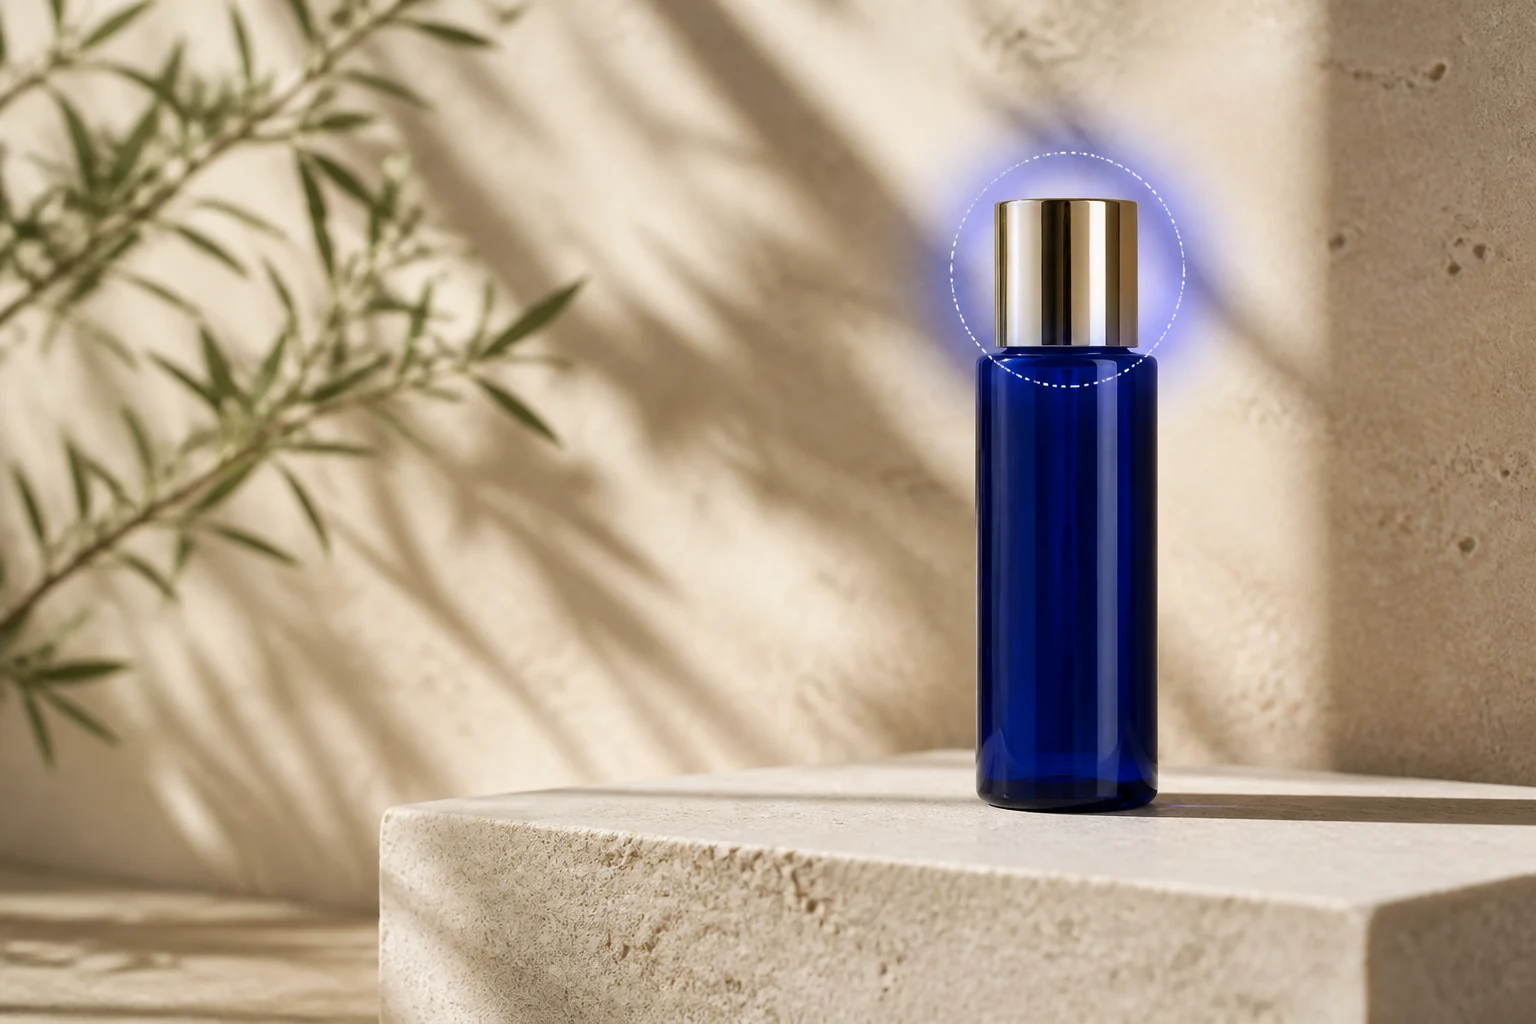
요청한 변경 사항을 세부적으로 제한하여 편집된 영역이 원본 이미지와 어떻게 조화를 이루는지 평가하기 쉽게 하세요.
편집 권한이 있는 이미지를 선택하고, 피사체, 프레이밍, 변경이 필요한 영역이 명확한지 확인하세요.
광범위한 변경을 위해 전체 이미지 편집을 선택하거나, 단 하나의 객체, 표면, 또는 배경 섹션만 변경되어야 할 때 선택 영역을 지정하세요.
제거, 교체, 수리, 또는 추가해야 할 사항을 명시하는 편집 지시사항을 작성하세요. 중요한 경우 재질, 조명, 색상, 주변 상황을 포함시키세요.
결과물을 원본 이미지와 비교한 후, 경계, 피사체, 또는 조명에 다른 작업이 필요하다면 지시사항이나 선택 영역을 수정하세요.
이미지 편집기는 참조 이미지, 영역 선택, 편집 지시사항 및 출력 설정을 하나의 초점 맞춘 변경 작업을 위해 함께 관리합니다.

전체 구도를 재해석하도록 요청하는 대신, 이미지에서 변경할 부분을 지정하여 지역적 편집을 수행할 때 사용합니다.

편집된 영역이 실용적인 방향성을 갖도록, 대상 객체나 디테일, 요청된 변경 사항, 재질, 조명, 배경 상황을 설명하세요.
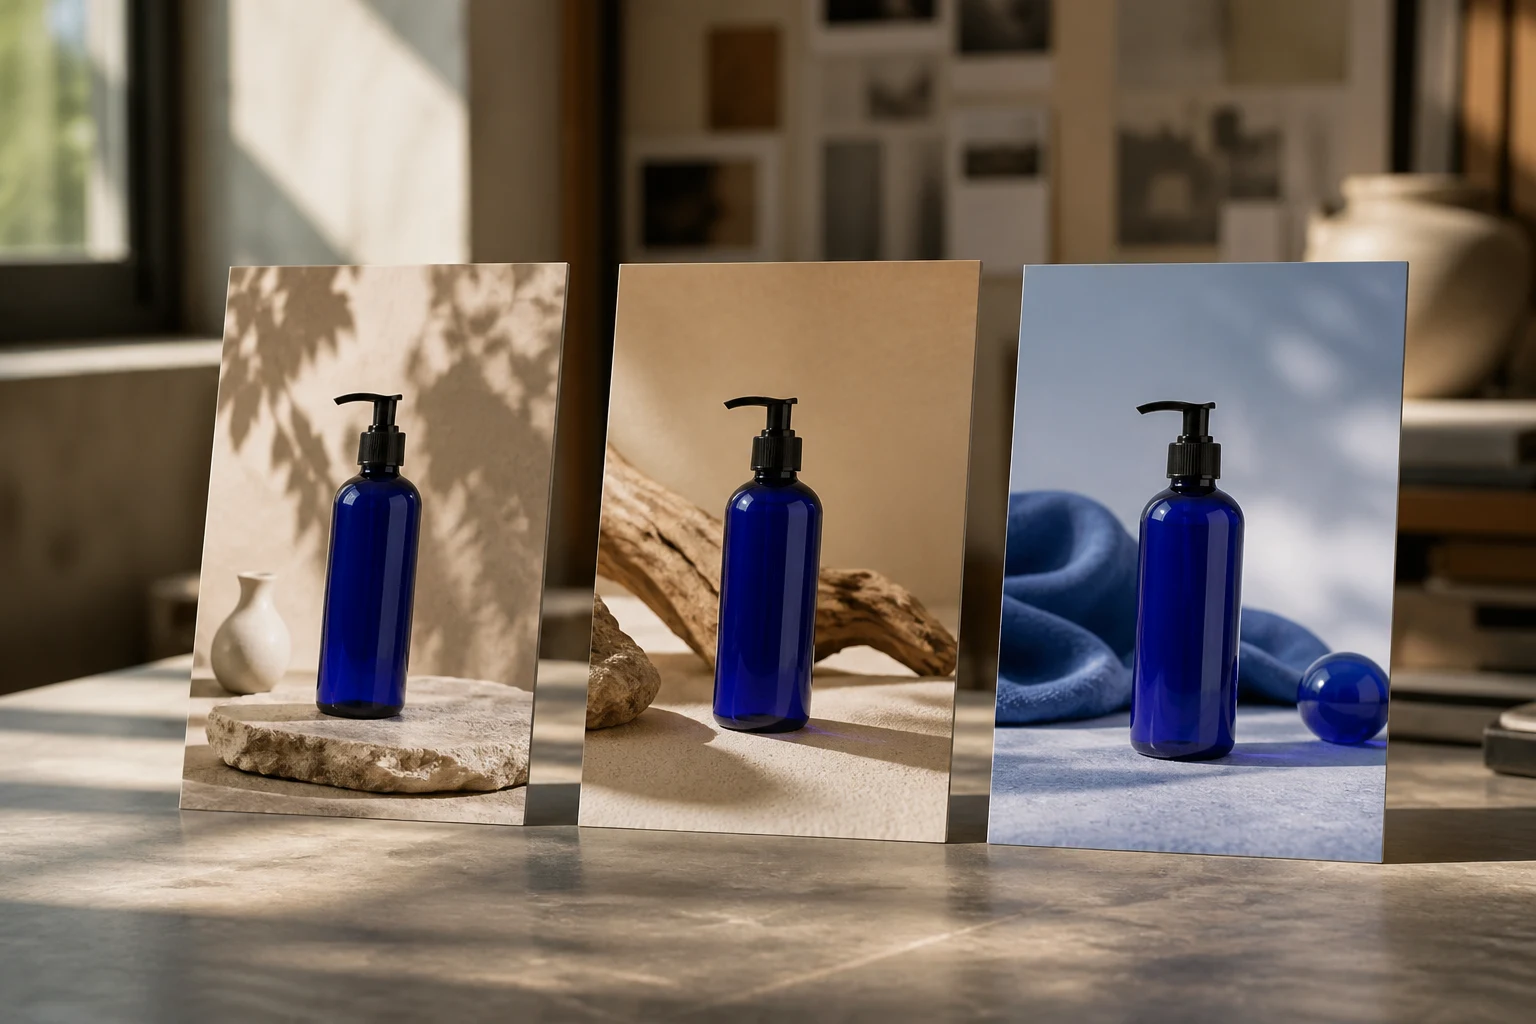
업데이트된 시각 자료가 특정 목적지를 가질 때, 화면비, 해상도, 출력 수, 품질에 대한 사용 가능한 이미지 설정을 활용하세요.
원본 이미지는 유용하지만 한 부분만 새로운 시각적 방향이 필요할 때 집중적인 지역적 편집을 사용하세요.
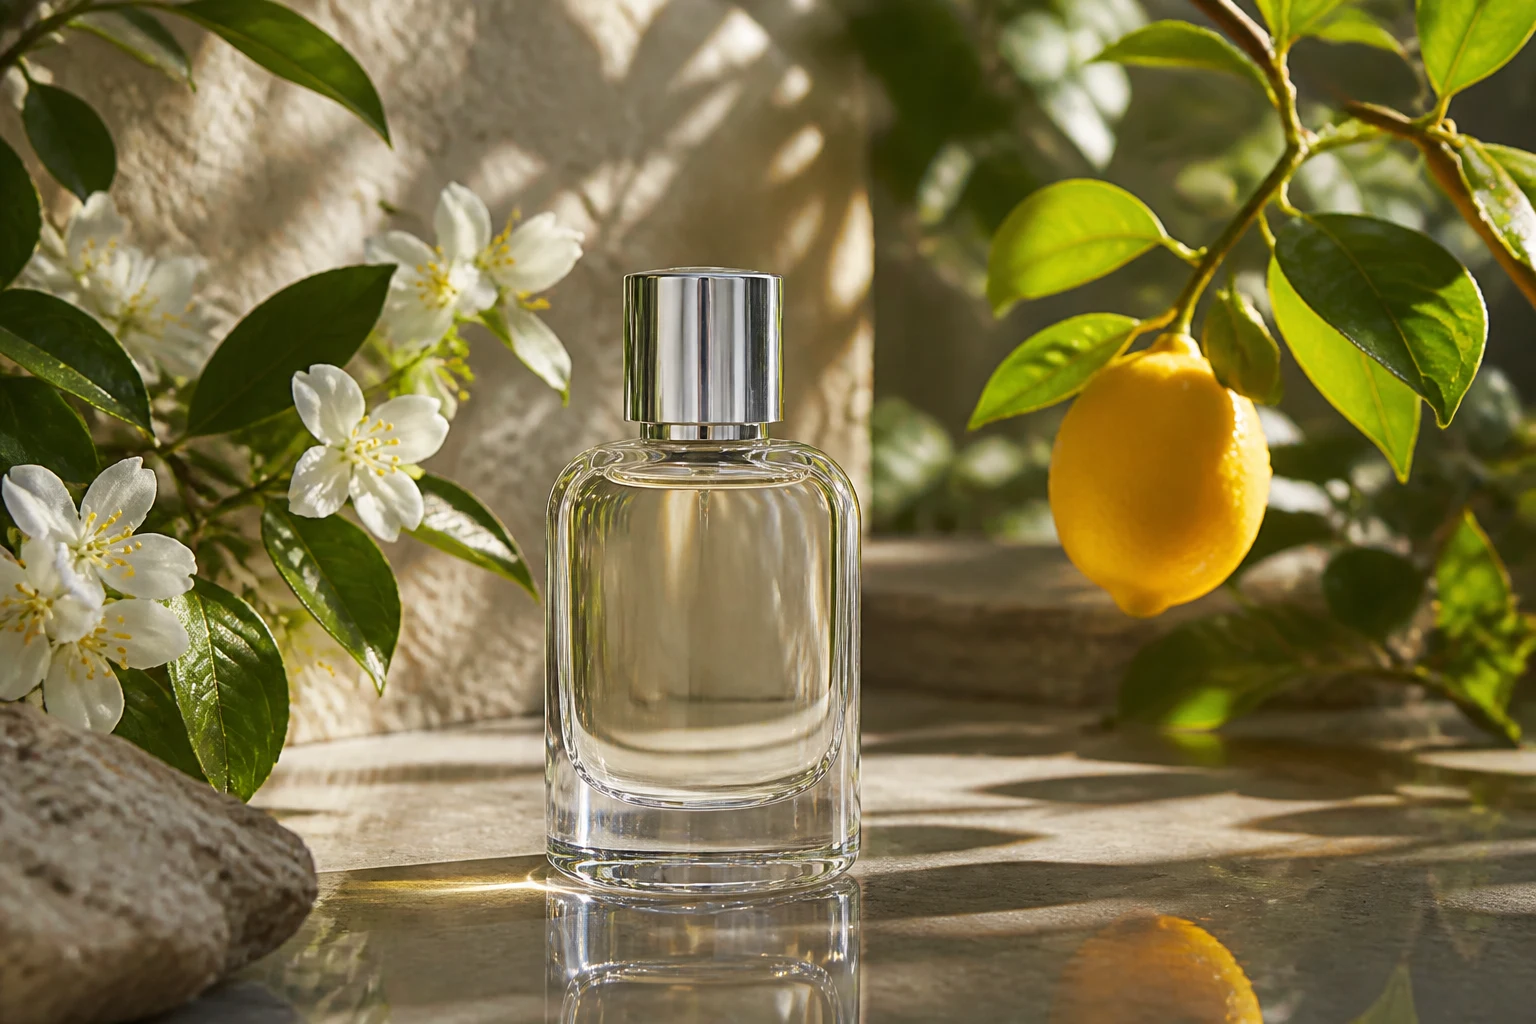
이미 효과적인 제품 프레이밍은 유지한 채, 소품, 표면, 색상, 라벨 부분, 또는 작은 배경 방해 요소를 교체하세요.

컨셉이나 캠페인 초안에 사용하기 전에, 인물사진이나 라이프스타일 이미지의 작은 물건, 배경 부분, 의류 디테일, 또는 가장자리를 정교하게 다듬으세요.
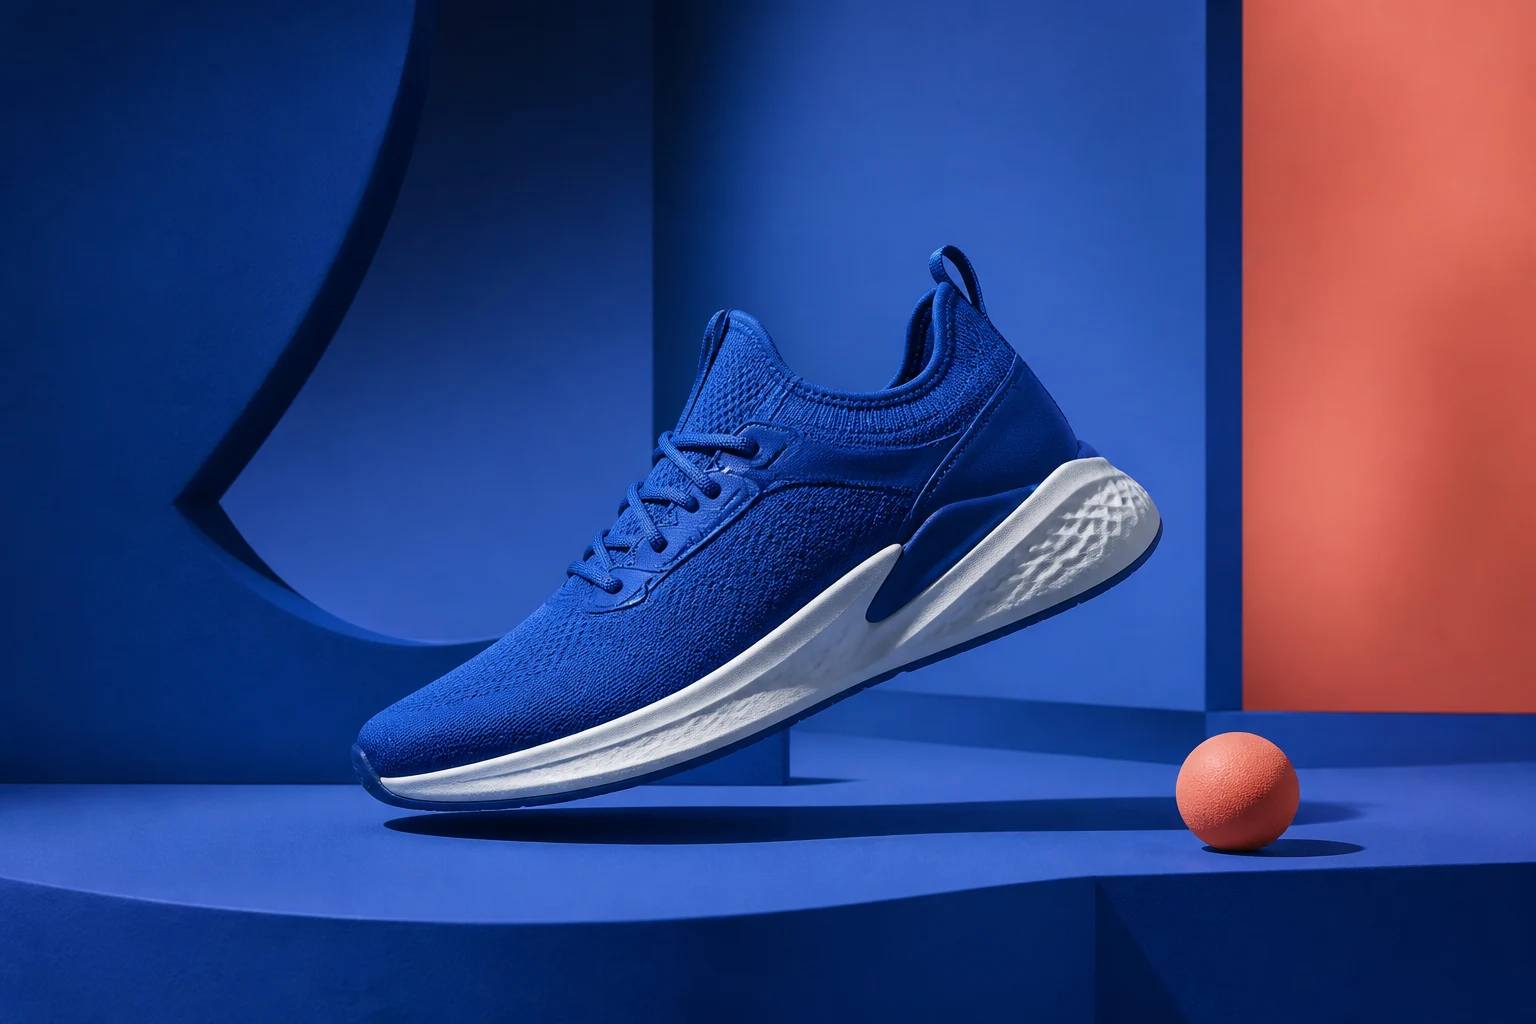
전체 이미지를 다시 생성하는 대신, 게시물, 썸네일, 배너, 또는 광고 컨셉에 대상이 명확한 편집을 가해 시각적 요소 하나만 변경하세요.
지역적 편집은 가시적인 경계, 조명, 또는 일관성 문제를 야기할 수 있으므로, 변경된 영역과 손대지 않은 주변부 모두를 검토하세요.

선택된 영역이 원본 이미지와 만나는 가장자리를 검사하여 이음새, 후광, 갑작스러운 질감 변화, 또는 잘못 위치한 디테일이 없는지 확인하세요.
주요 피사체, 포즈, 제품 형태, 구도, 그리고 선택되지 않은 중요한 디테일들이 의도된 용도에 맞게 여전히 적합한지 확인하세요.
편집된 부분과 주변 이미지 사이의 그림자, 반사, 색온도, 입자감, 질감, 원근감을 비교하세요.
업데이트된 이미지가 해당 채널이나 검토용 덱에 맞는 올바른 화면비, 해상도, 자르기, 안전 영역을 가지고 있는지 확인하세요.
선택 영역 이미지 편집은 생성된 변형본이므로, 모든 원본 픽셀, 질감, 또는 시각적 관계를 정확히 보존하지 않을 수 있습니다.
특히 선택 영역이 복잡한 객체나 피사체와 겹칠 경우, 편집이 인근의 그림자, 반사, 질감, 또는 가장자리에 변화를 줄 수 있습니다.
손, 얼굴, 반복되는 패턴, 투명 재질, 세밀한 글씨, 복잡한 기하학 구조는 추가적인 선택 작업이나 수동 보정이 필요할 수 있습니다.
자신이 소유하거나 편집 권한을 가진 이미지만 업로드하고, 결과물을 공개하기 전에 브랜드, 제품, 제3자 권리를 확인하세요.
AI 인페인팅, 선택 영역 편집, 지시사항, 이미지 결과, 업데이트된 시각 자료 사용 전 확인 사항에 대한 답변입니다.
허용된 참조 이미지를 업로드하고, 선택 영역을 지정하며, 지역적 변경 사항을 설명한 후, 세밀하게 검토할 수 있는 편집본을 생성하세요.