
Lataa kuva
Valitse laitteeltasi JPG-, PNG- tai WEBP-kuva.
Pehmennä JPG-, PNG- tai WEBP-tiedoston yksi valittu alue kuvan sumennustyökalulla ja tarkista käsitelty tulos selaimessasi.
Lähdekuva
Valitse kuva nähdäksesi lähteen esikatselun.
Tulos
Kuvan sumennustyökalu pehmentää kuvan osaa, jolloin valitun alueen yksityiskohdat näkyvät heikommin. Tämä työkalu on suunniteltu kohdennettuun muokkaukseen: valitse tuettu tiedosto, merkitse yksi suorakulmainen alue, muodosta muutos ja tarkista tulos.
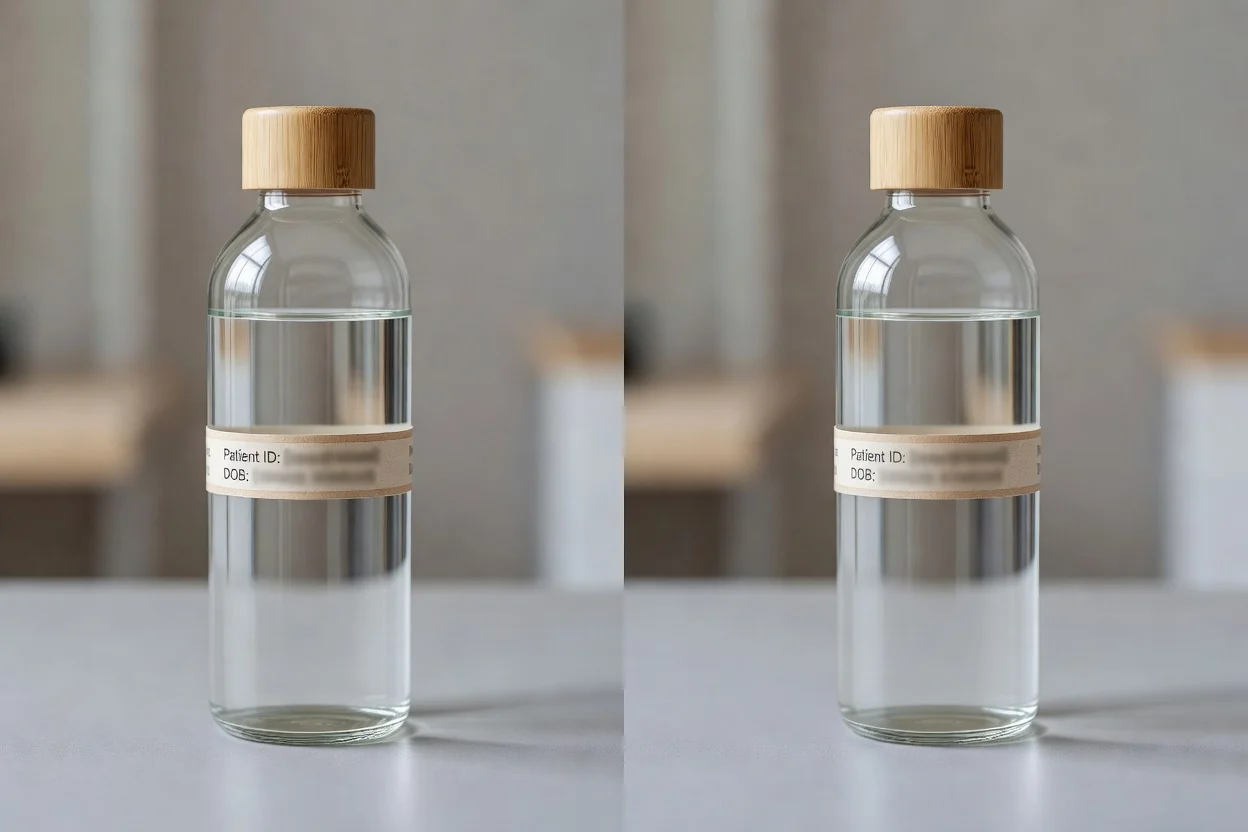
Sumenna kuvan osa verkossa lyhyellä ja tarkistettavalla prosessilla.
Valitse laitteeltasi JPG-, PNG- tai WEBP-kuva.
Vedä suorakulmainen alue, johon sumennustehoste halutaan lisätä.
Muodosta muokkaus, jotta valittu alue pehmenee esikatselussa.
Tekninen toiminta syöttötiedostoille, käsittelysäätimille ja ladattavalle tulosteelle.
Lataa JPG-, PNG- tai WEBP-kuva aloittaaksesi sumennustehtävän.
Työkalu luo käsitellyn tulostetiedoston tarkistettavaksi, kun valittu alue on sumennettu.
Säätimet tukevat yhden suorakulmaisen alueen valintaa, tuloksen muodostamista ja paikallista käsittelyä selaimessa.
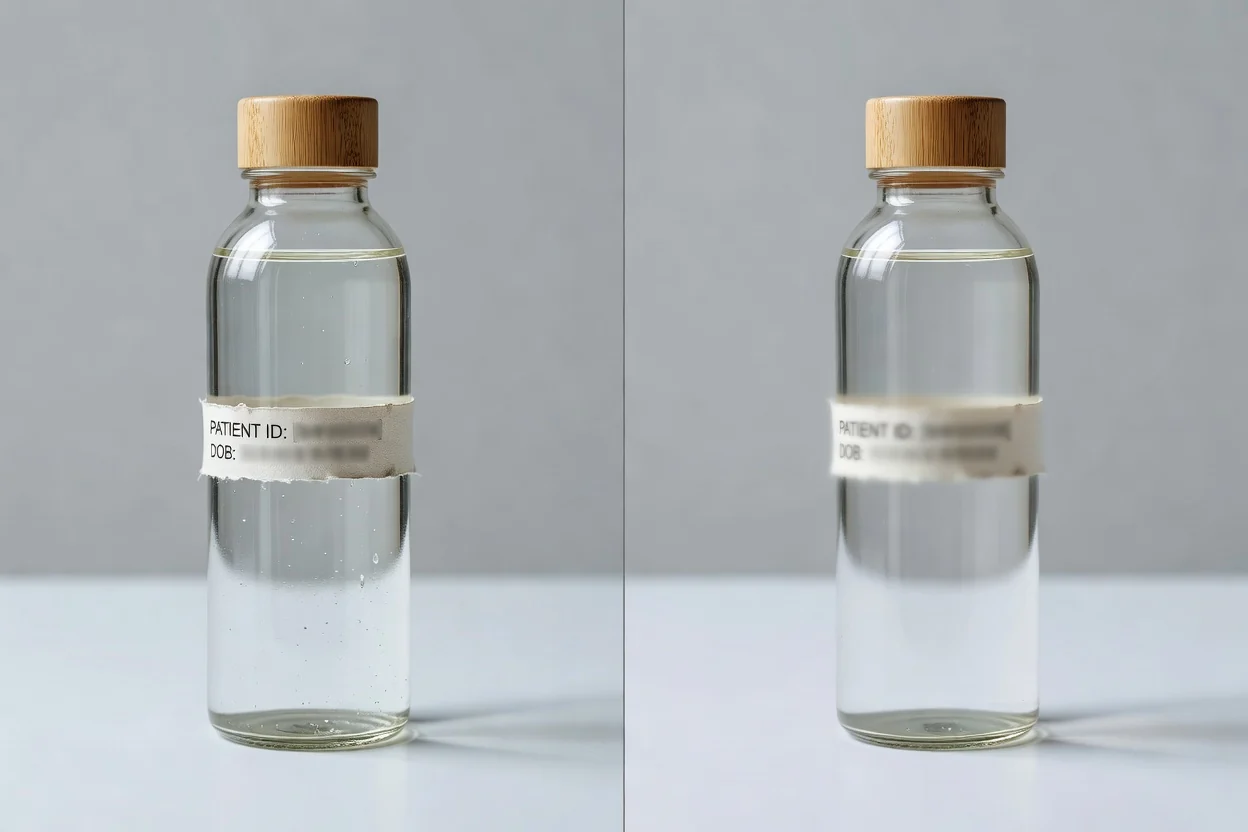
Kohdennettujen säätimien avulla voit sumentaa osan kuvasta ilman monimutkaisen muokkausohjelman käyttöönottoa.
Merkitse kuvaan yksi suorakulmainen alue ja käytä sumennusta vain valitulla alueella.
Muodosta muokkaus ja tarkista tulos ennen käsitellyn tiedoston tallentamista.
Käsittele kuva paikallisesti selaimessa sujuvaa verkkotyönkulkua varten.
Käytä sumennustehtävään yleisiä kuvasyötteitä, kuten JPG-, PNG- ja WEBP-tiedostoja.
Käytännön tapoja, joilla sisällöntuottajat, markkinoijat ja tiimit käyttävät työkalua tarvitessaan nopeaa kuvan säätöä.

Sumenna kuvan yksi valittu alue vähentääksesi taustan yksityiskohdan, tekstin tai pienen visuaalisen häiriötekijän herättämää huomiota.
Valmistele muodostettu tulos esitystä, kampanjaluonnosta tai sisäistä tarkistusta varten, kun yhden alueen tulisi näkyä vähemmän korostetusti.
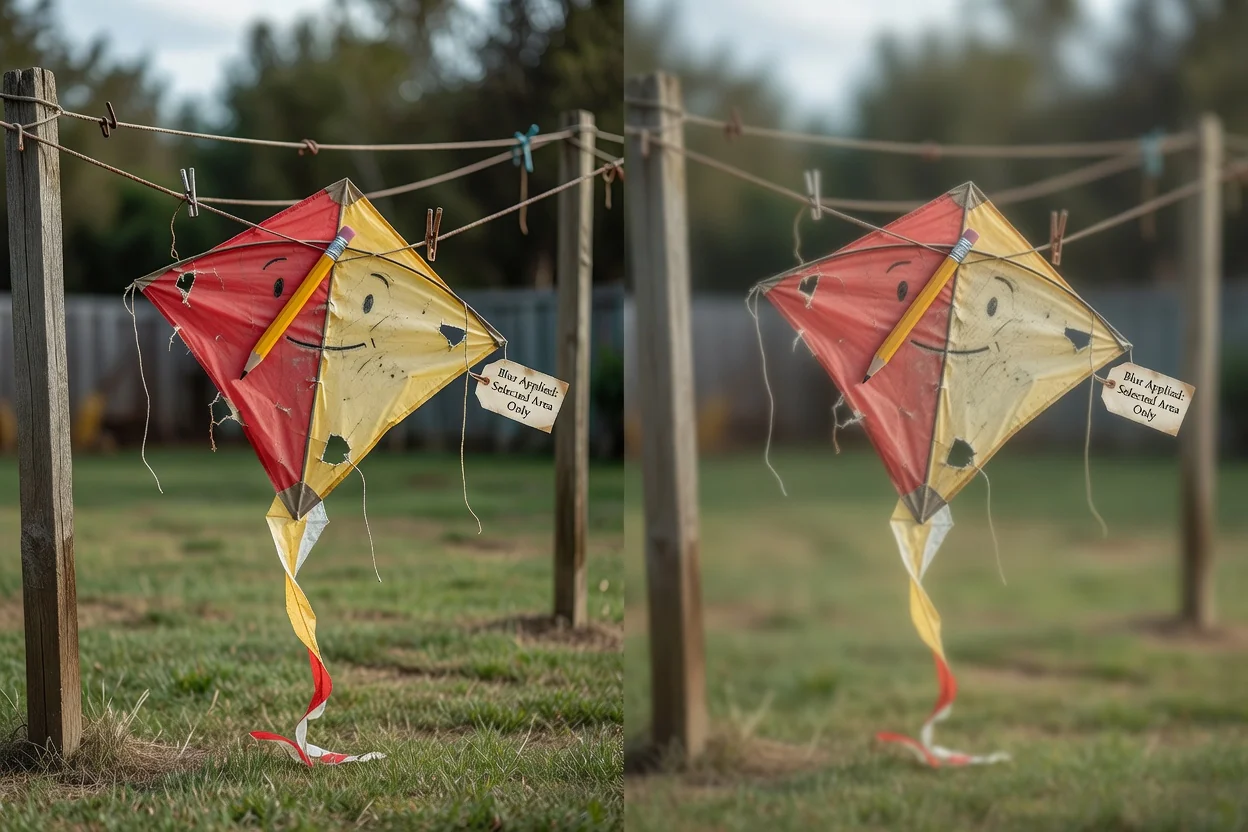
Käsittele kuva paikallisesti selaimessa, kun tehtävä on yksinkertainen valitun alueen sumennus eikä kokonainen muokkauskerta.
Ymmärrä nämä rajoitukset, ennen kuin pidät sumennettua alkuperäiskuvaa valmiina.
Yhtä tulostetta kohden voi valita yhden suorakulmaisen alueen. Toista käsittely, jos tarvitset erillisiä sumennettuja alueita erillisiin tuloksiin.
Sumennus voi tehdä yksityiskohdista vaikeammin luettavia, mutta se ei ole taatusti turvallinen peittomenetelmä alkuperäistiedoston erittäin arkaluonteisille tiedoille.
Lopullinen ulkoasu riippuu alkuperäisen kuvan sisällöstä, valitusta alueesta ja sumennuksen muodostuksesta.
Yleisiä kysymyksiä kuvan sumennustyökalun käytöstä ja siitä, mitä tulokselta voi odottaa.
Muita ClipCanvan työkaluja kuvanmuokkauksen samankaltaisiin tehtäviin.
Lataa tuettu kuva, valitse pehmennettävä alue, muodosta muokkaus ja tarkista käsitelty tulos.