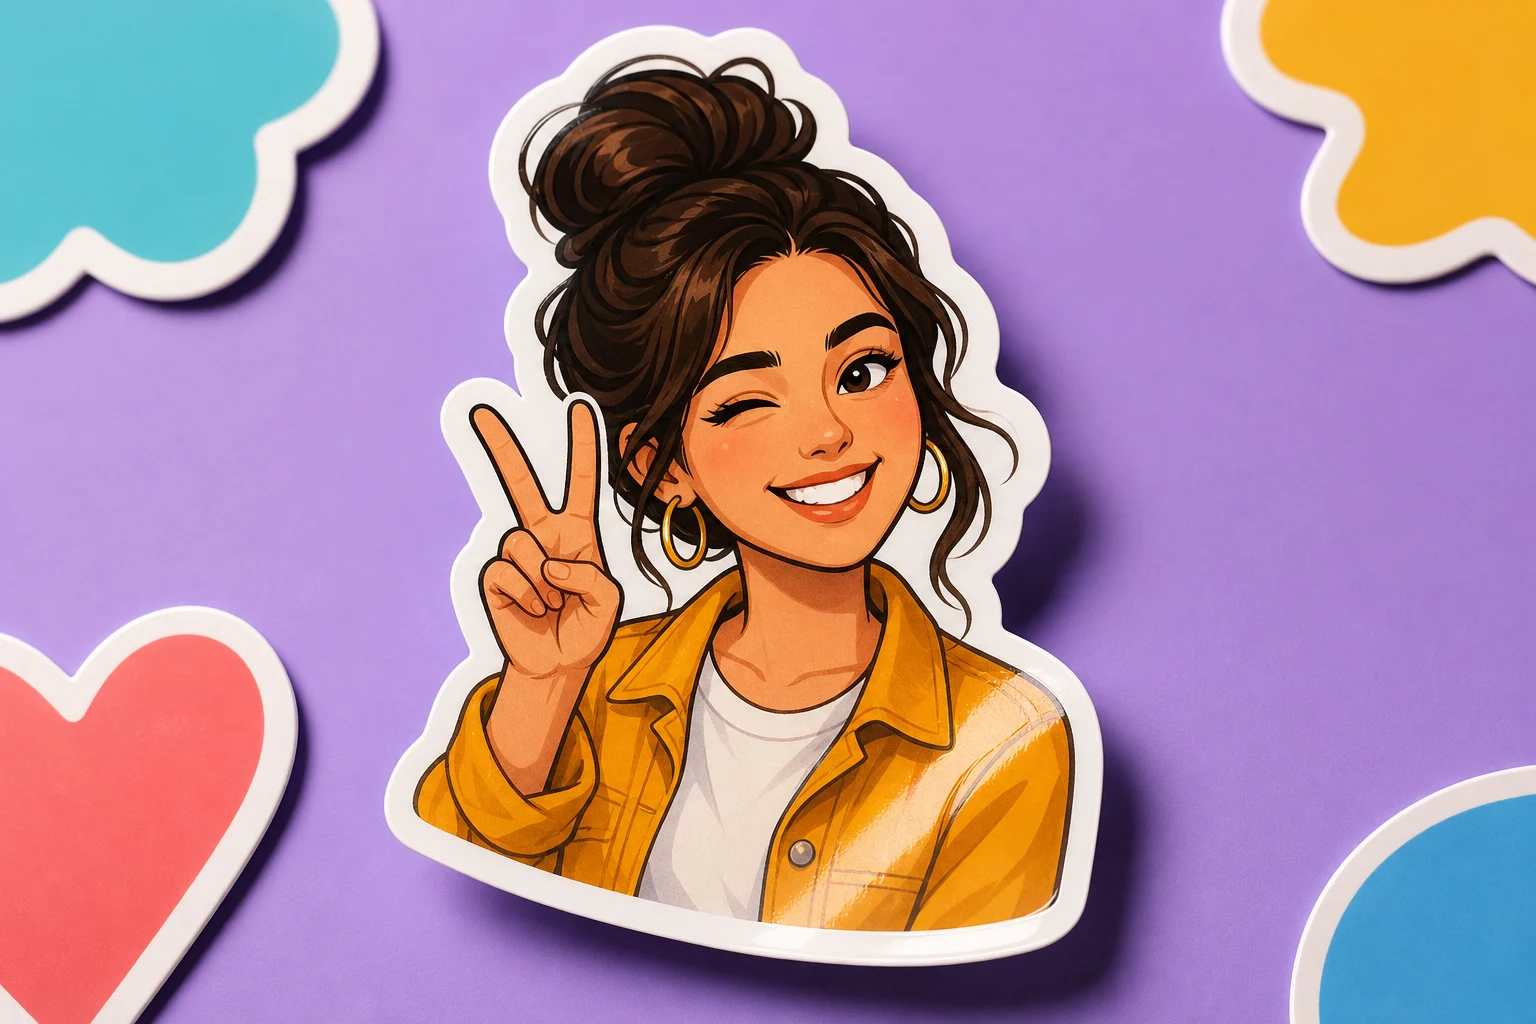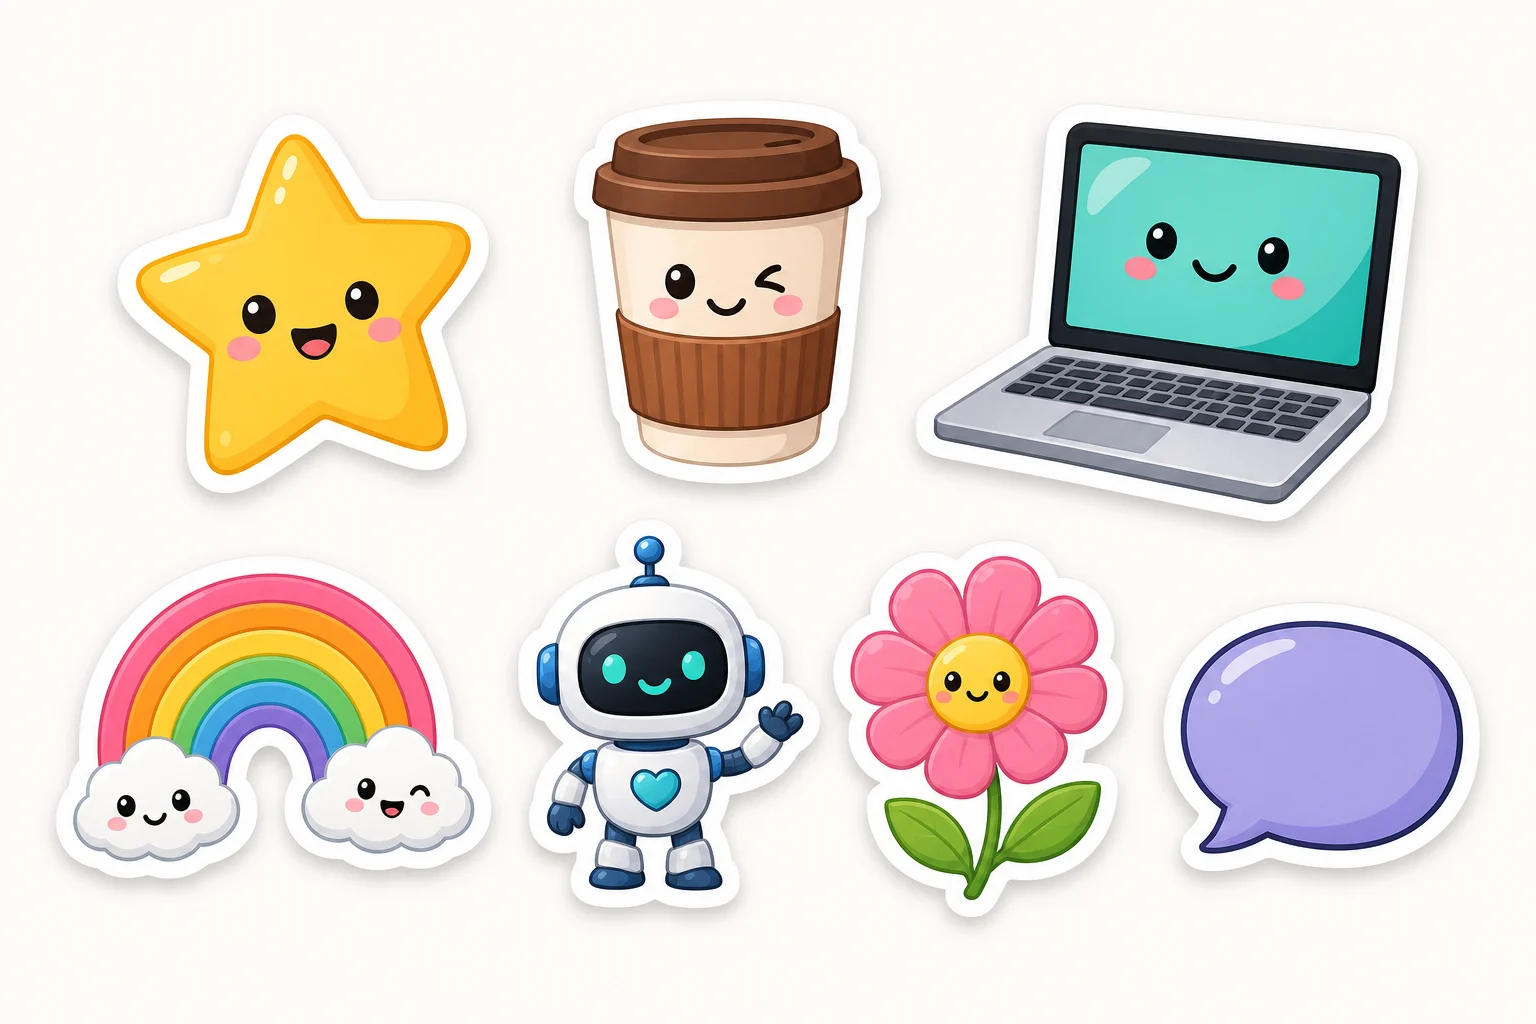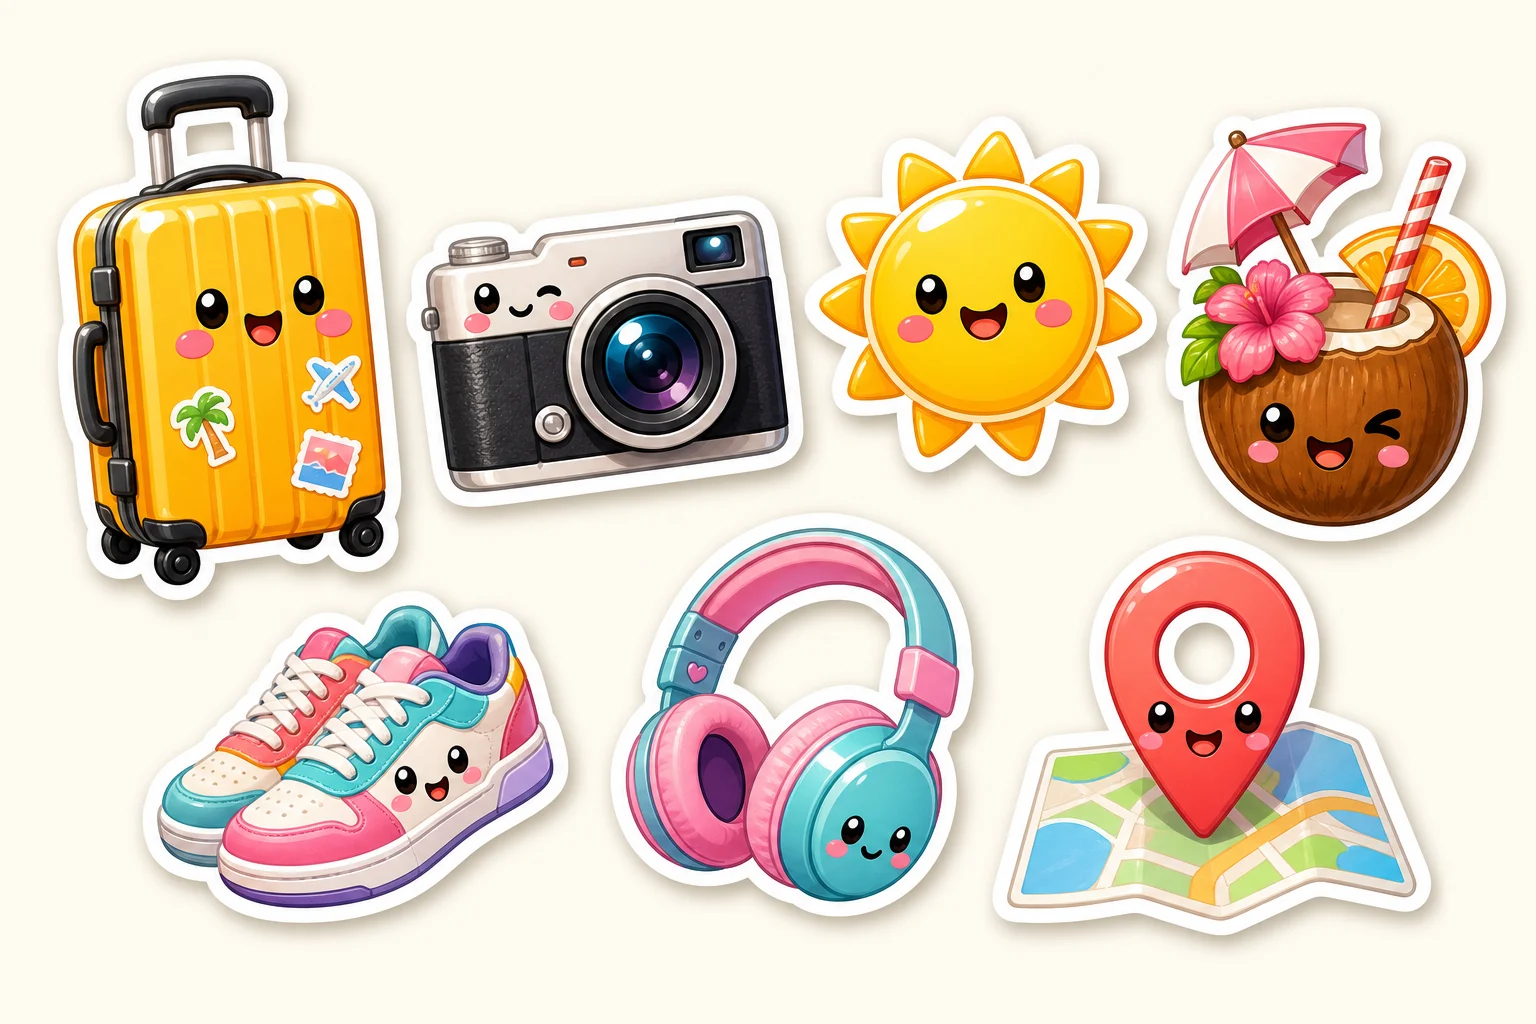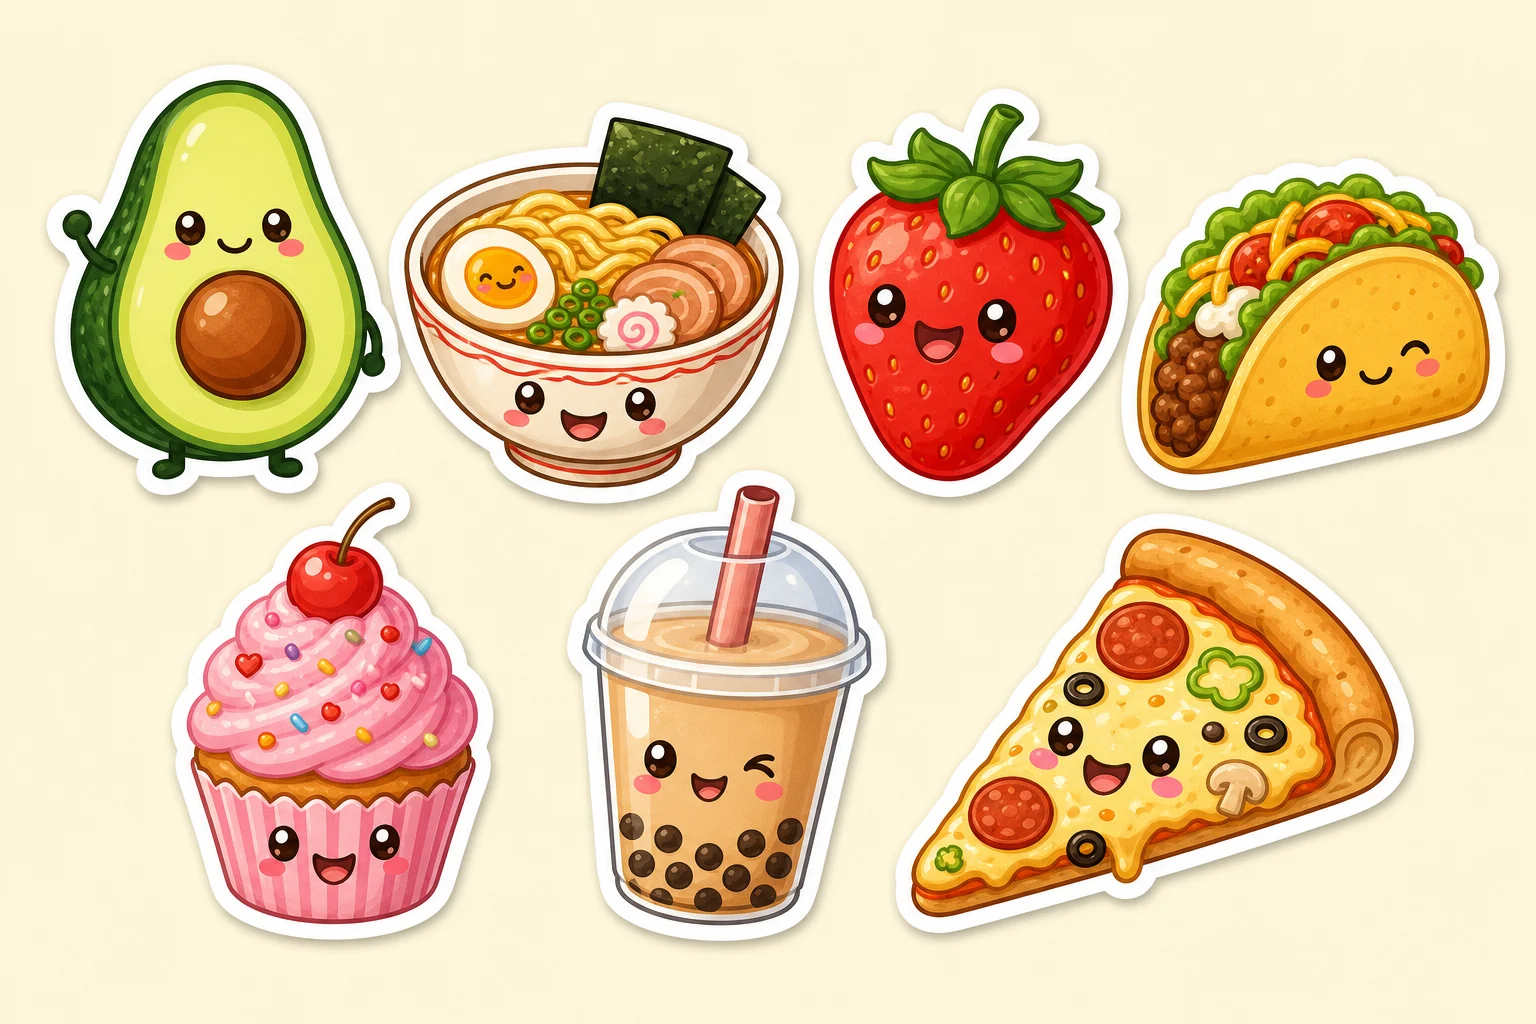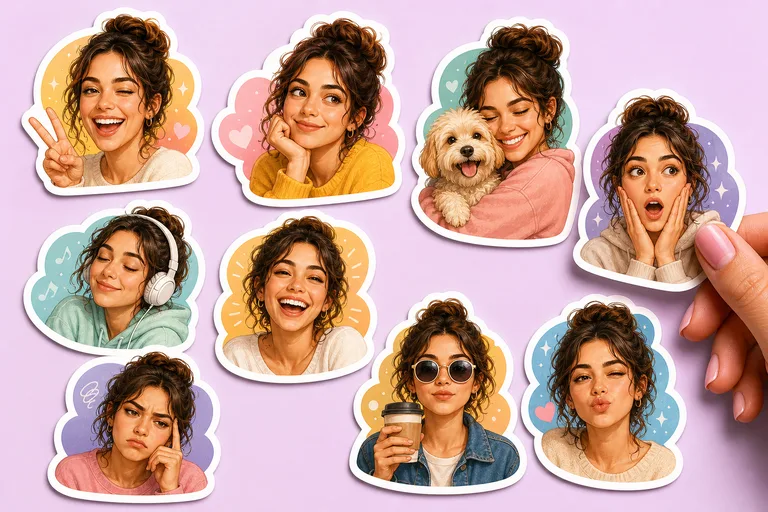
Turn a portrait, pet, or object into a playful Sticker image with a thick white border, clean subject separation, bold color, and a polished shareable look.
Apply the AI Sticker Generator effect to the uploaded image. Preserve the main subject identity or object shape, pose/action silhouette, expression, key colors, and distinctive details. Rebuild it as a custom die-cut sticker with bold clean outline, playful illustration style, thick white border, high contrast, simplified background or transparency, and share-ready polish. Keep the sticker clearly based on the uploaded subject.
What this AI Sticker Generator creates
The AI Sticker Generator template helps reshape a clear source image into a custom sticker-style design. It keeps the subject recognizable while adding a bold outline, simplified illustration detail, vibrant color, and a clean background or transparent-style composition.
How your image is transformed
This template focuses on a custom sticker effect: recognizable subject first, then a bold border, bright color, and a simplified composition that feels ready to share.
What changes
Turn a portrait, pet, or object into a sticker-style image with a thick border, clean subject separation, playful color, and shareable composition.
Add a thick white border, simplified shapes, vibrant color, and a clean sticker-ready background.
Create images for posts, mockups, references, or client drafts.
Rebuild the subject as a custom die-cut Sticker with a bold clean outline, playful illustration style, high contrast, and polished composition.
What stays recognizable
Preserve the main subject identity or object shape, pose or action silhouette, expression, key colors, and distinctive details.
Keep the Sticker clearly based on the uploaded subject.
Keep the main subject recognizable from the source image.
Maintain defining colors, pose, silhouette, and important subject details in a coherent way.
AI Sticker Generator workflow
Start with a clear image, define the sticker style, then review the result for subject accuracy and clean edges.
1
Upload a suitable source
Choose a portrait, pet, or object image where the main subject is sharp, visible, and not heavily blocked by other elements.
2
Set the visual direction
Describe the desired Sticker look, including a thick white border, bold outline, playful illustration style, and clean background.
3
Review the result
Check whether the subject identity, pose, expression, colors, and distinctive details still match the source image.
4
Refine another version
If needed, adjust the prompt with more specific notes about the border, background, color mood, or details that must stay recognizable.
AI Sticker Generator examples
Explore different subject types and compositions while keeping the same bold sticker-ready treatment.
Classic die-cut Sticker look
Turn a clear subject photo into a polished custom Sticker with a bold outline and bright, simplified styling.
Playful portrait or pet Sticker
Create a playful subject-focused sticker with strong separation, lively color, and a clean background.
Object-based Sticker concept
Use a product, prop, or object image as the basis for a bold Sticker with a thick white border.
High-contrast Sticker version
Emphasize a polished shareable composition with high contrast, simplified details, and a clean subject silhouette.
Ways to use this Sticker Generator
Use this Sticker Generator online when you need a quick visual direction, a playful avatar-style image, or a focused concept for a creative project.
Create a first version fast
Create an early sticker-style draft from a portrait, pet, or object photo before spending time on manual illustration.
Adapt the style to your project
Test a playful, bold, high-contrast sticker direction for a post, mockup, mood board, or presentation.
Create another version
Make another version with a clearer border, different color emphasis, or a cleaner background direction.
Preview a custom idea
Build a focused AI Sticker Generator preview for a personal or creative project using a recognizable source image.
Compare before refining
Compare the visual direction before refining, sharing, or presenting the result to others.
How to get a stronger sticker result
A strong prompt helps define the sticker style while protecting the subject details that make the image recognizable.
Source image checklist
Use a sharp source image with the main subject clearly visible.
Avoid heavy blur, blocked details, extreme crops, or confusing overlaps.
Choose a source whose pose and framing support the intended AI Sticker Generator result.
Prompt guidance
Apply the AI Sticker Generator effect to the uploaded image. Preserve the main subject identity or object shape, pose or action silhouette, expression, key colors, and distinctive details. Rebuild it as a custom die-cut Sticker with a bold clean outline, playful illustration style, thick white border, high contrast, simplified background or transparency, and share-ready polish. Keep the Sticker clearly based on the uploaded subject.
What to review before using the result
Generated details can vary, so review the image before using it in a post, mockup, reference board, or client draft.
Check recognition
Compare the subject identity, silhouette, pose, and defining details with the source image.
Review the style
Make sure the Sticker treatment looks coherent, including the outline, border, color, and simplified background.
Inspect fine details
Inspect faces, hands, text, edges, small objects, and background transitions for artifacts or unclear details.
AI Sticker Generator FAQ
Common questions about preparing photos, choosing details, and reviewing AI Sticker Generator results.
What is an AI sticker generator?
An AI sticker generator turns a prompt or image into a sticker-style visual. This template is designed for photo-to-sticker results with a thick border, clear subject cutout, simplified shapes, and playful color.
Is the AI sticker generator free?
Availability and access can change, so check the current ClipCanva page for the latest options before starting your project.
How do I make a sticker from a photo?
Upload a clear photo of the person, pet, or object you want to feature, then describe the sticker look you want. Strong source images with visible edges, expressions, and defining colors usually give the clearest direction.
What photos work best for stickers?
Photos with one clear subject, sharp focus, visible pose, and minimal overlap work best. Avoid heavy blur, blocked details, extreme crops, or busy backgrounds that make the subject hard to separate.
Can I use AI stickers commercially?
Usage rights can depend on the source image, subject matter, and where the final design will appear. Review the applicable terms and make sure you have the necessary permissions for any recognizable people, brands, or artwork.
What details should I include for AI Sticker Generator?
Include the subject type, desired mood, border thickness, background preference, key colors, and any details that must remain recognizable, such as a pet’s markings, a person’s expression, or an object’s shape.
What makes AI Sticker Generator useful?
It is useful when you want to quickly explore a sticker-ready visual direction from a portrait, pet photo, product shot, or object reference before refining, sharing, or presenting the concept.
What AI Sticker Generator changes should I expect?
It changes the image into a die-cut sticker look with a bold clean outline, thick white border, simplified illustration styling, stronger contrast, and a cleaner composition while keeping the subject identity intact.
Create your AI Sticker Generator image
Use a clear portrait, pet photo, or object image to create a bold sticker-style version with recognizable details and a polished visual direction.